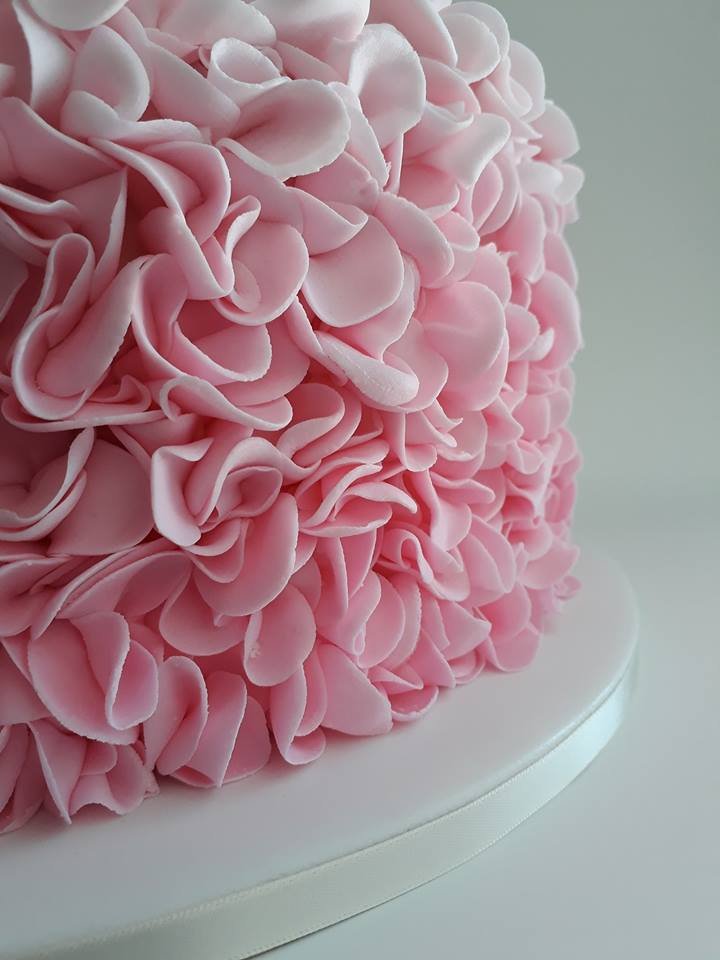
Cake decorating
“I’ve been using Story Book Cake mixes for 3 years and love the consistency and simple method of only having to add melted butter and boiling water. The best quality ingredients Karyn and Mark use speak for themselves in the beautifully rich and balanced flavours, every time I bake. When I’m icing and decorating the cakes, I can rest easy knowing they are stable enough inside to hold the weight of fondant.”

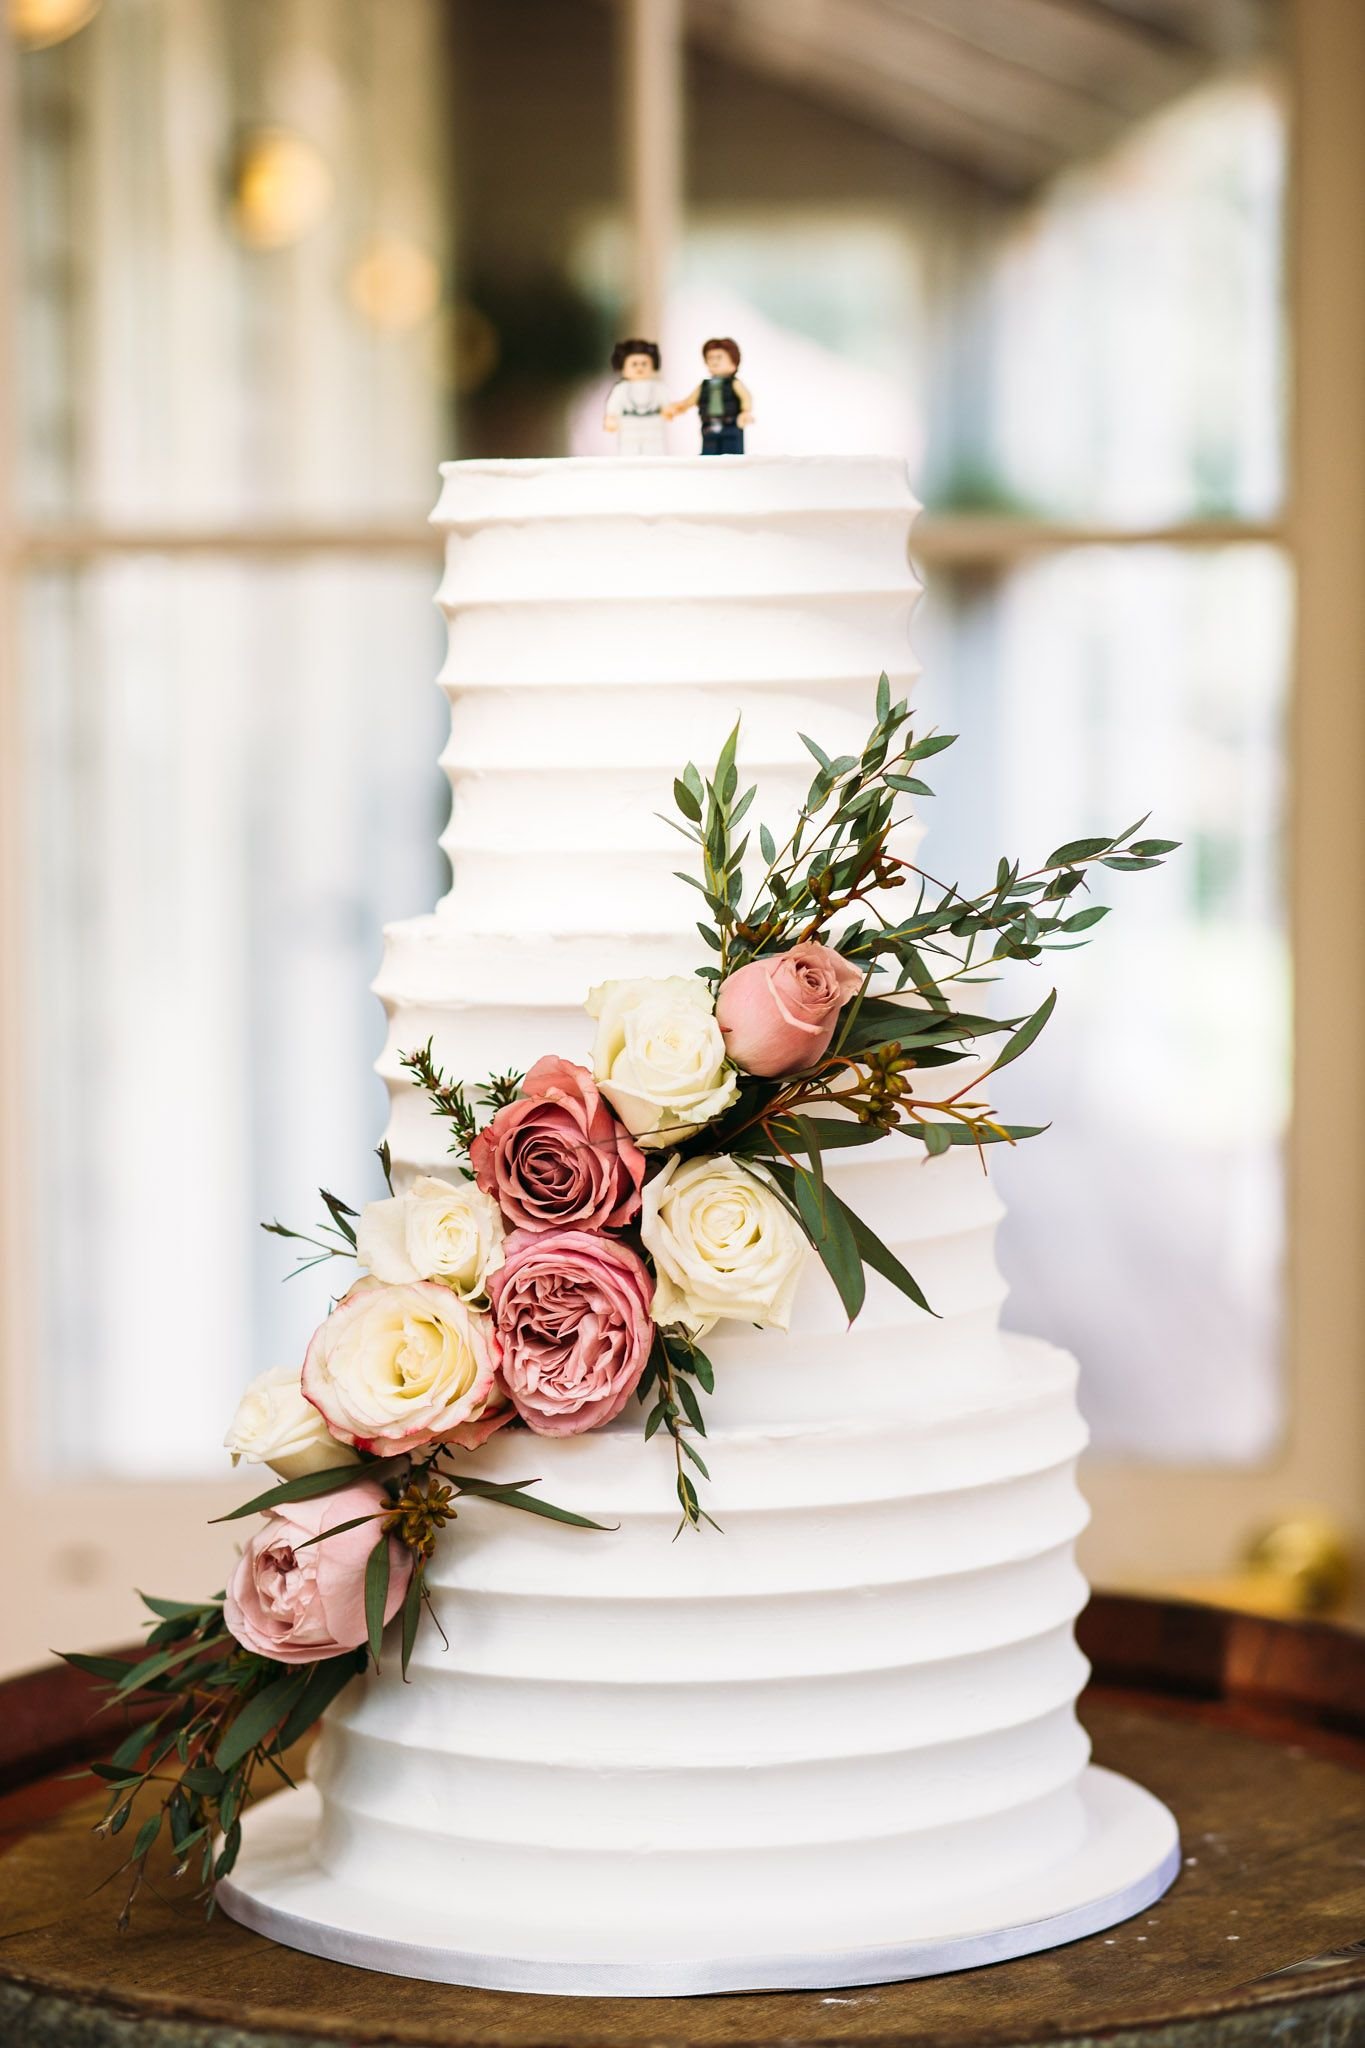
Our cake mixes are used by professional cake makers as the base for their beautiful creations. We created these products when we were making our own wedding and special occasion cakes. We no longer decorate cakes professionally as we are focussing on our products line, but we’d love to share some cake decorating tips with you.
6” Double Height Cake Tutorial

What you will need
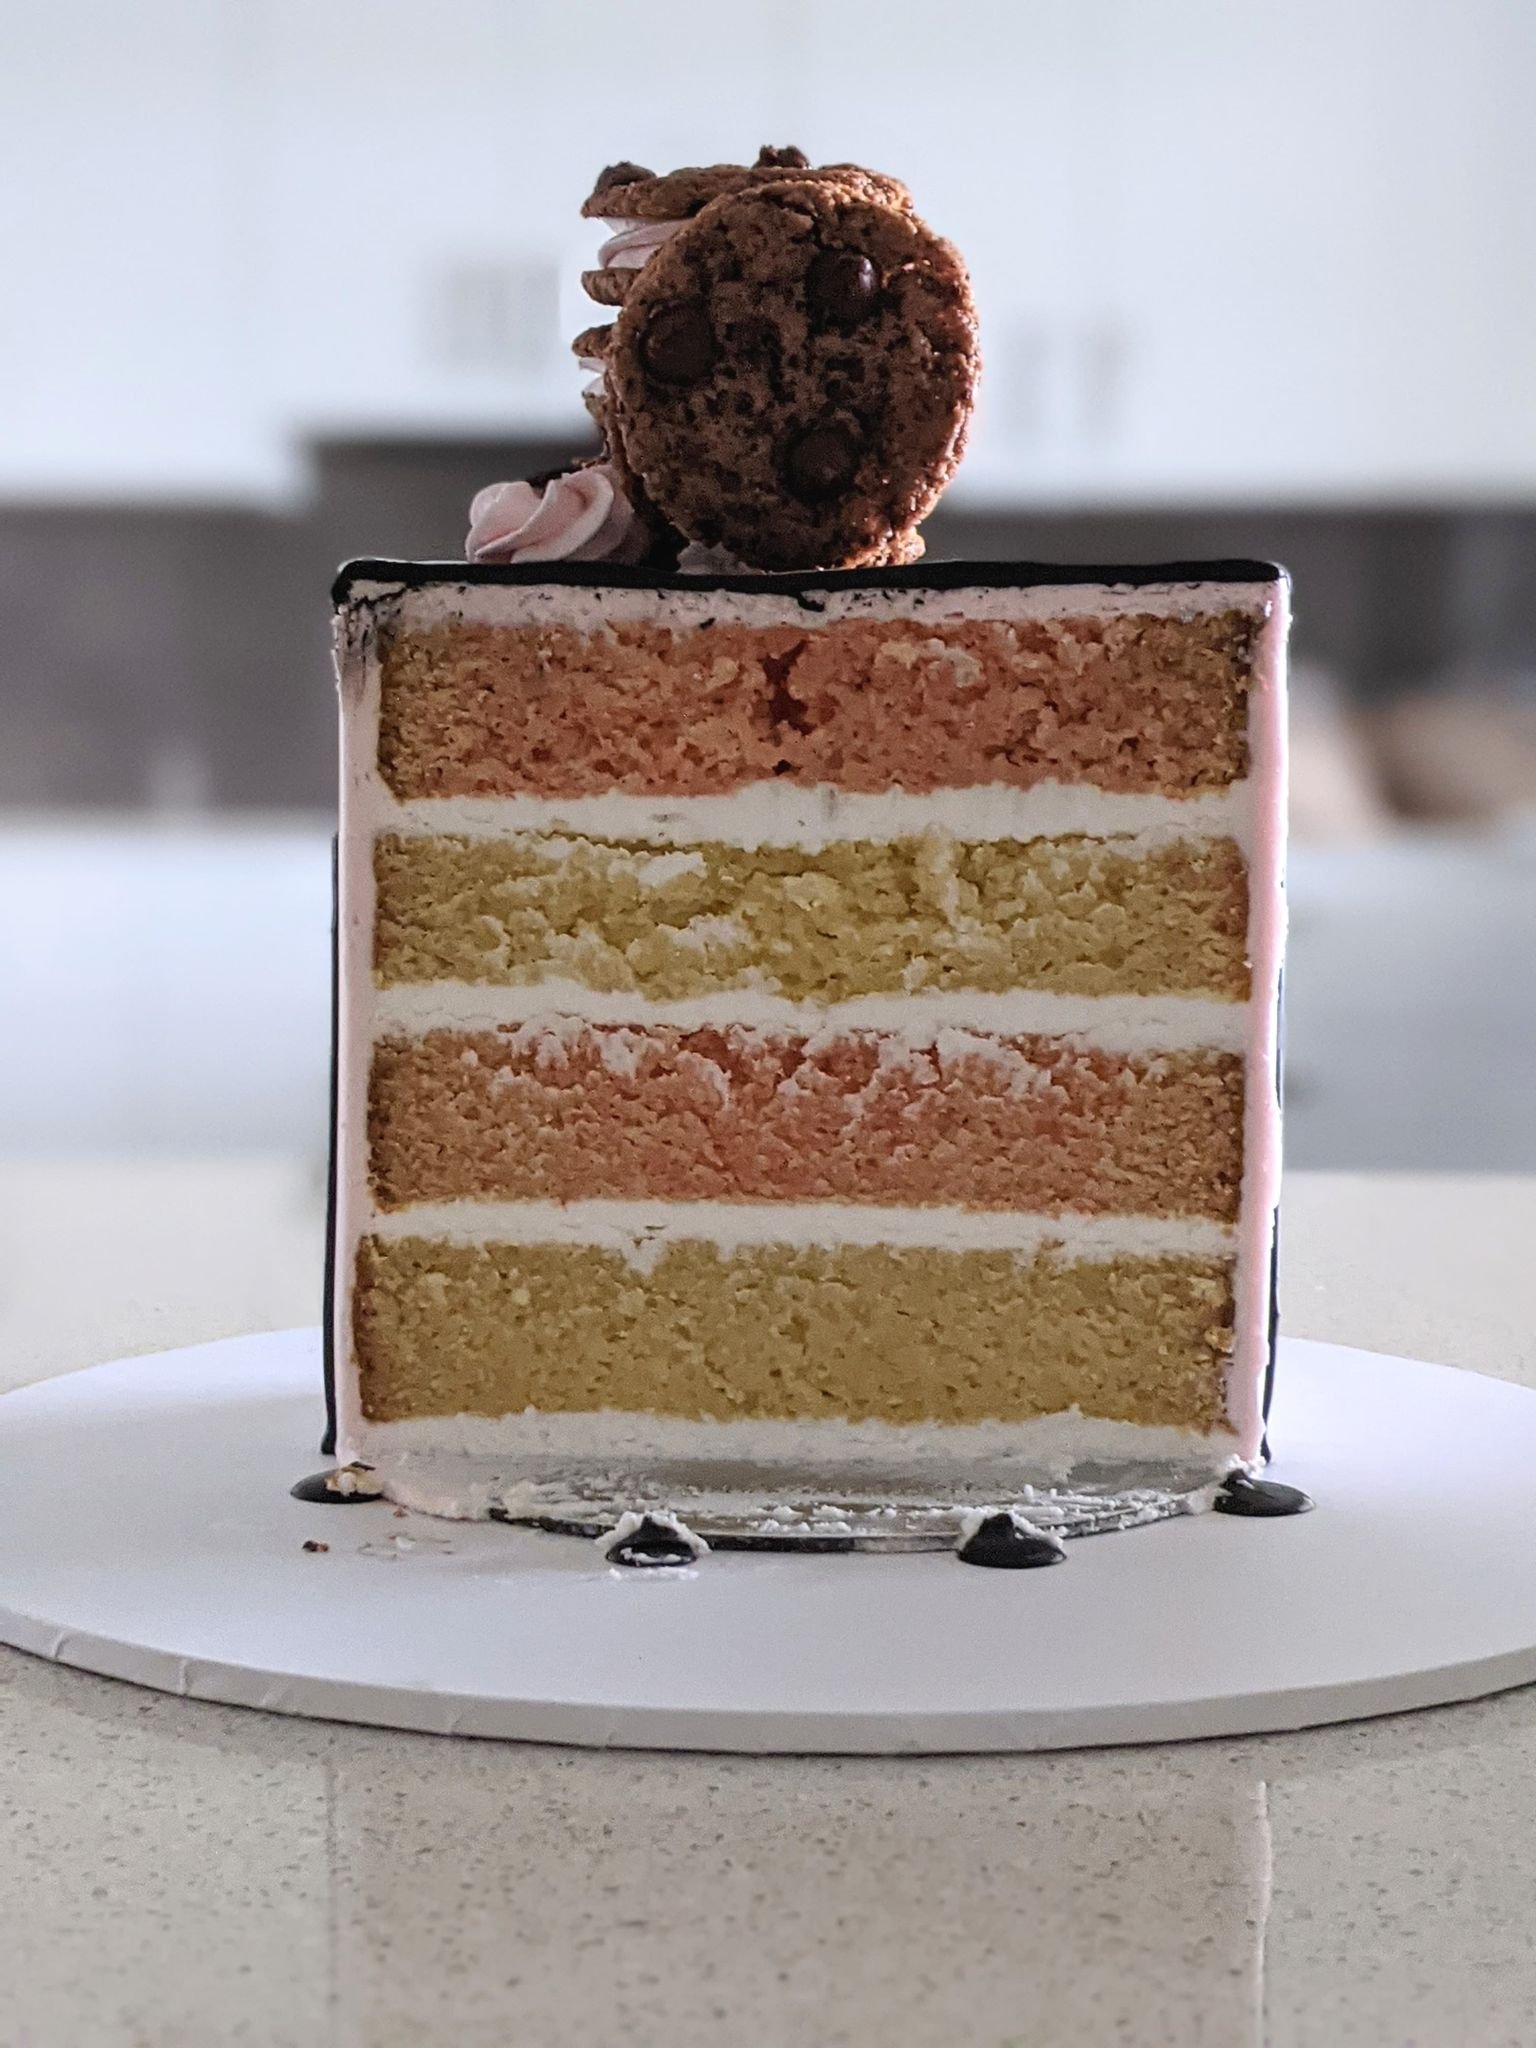
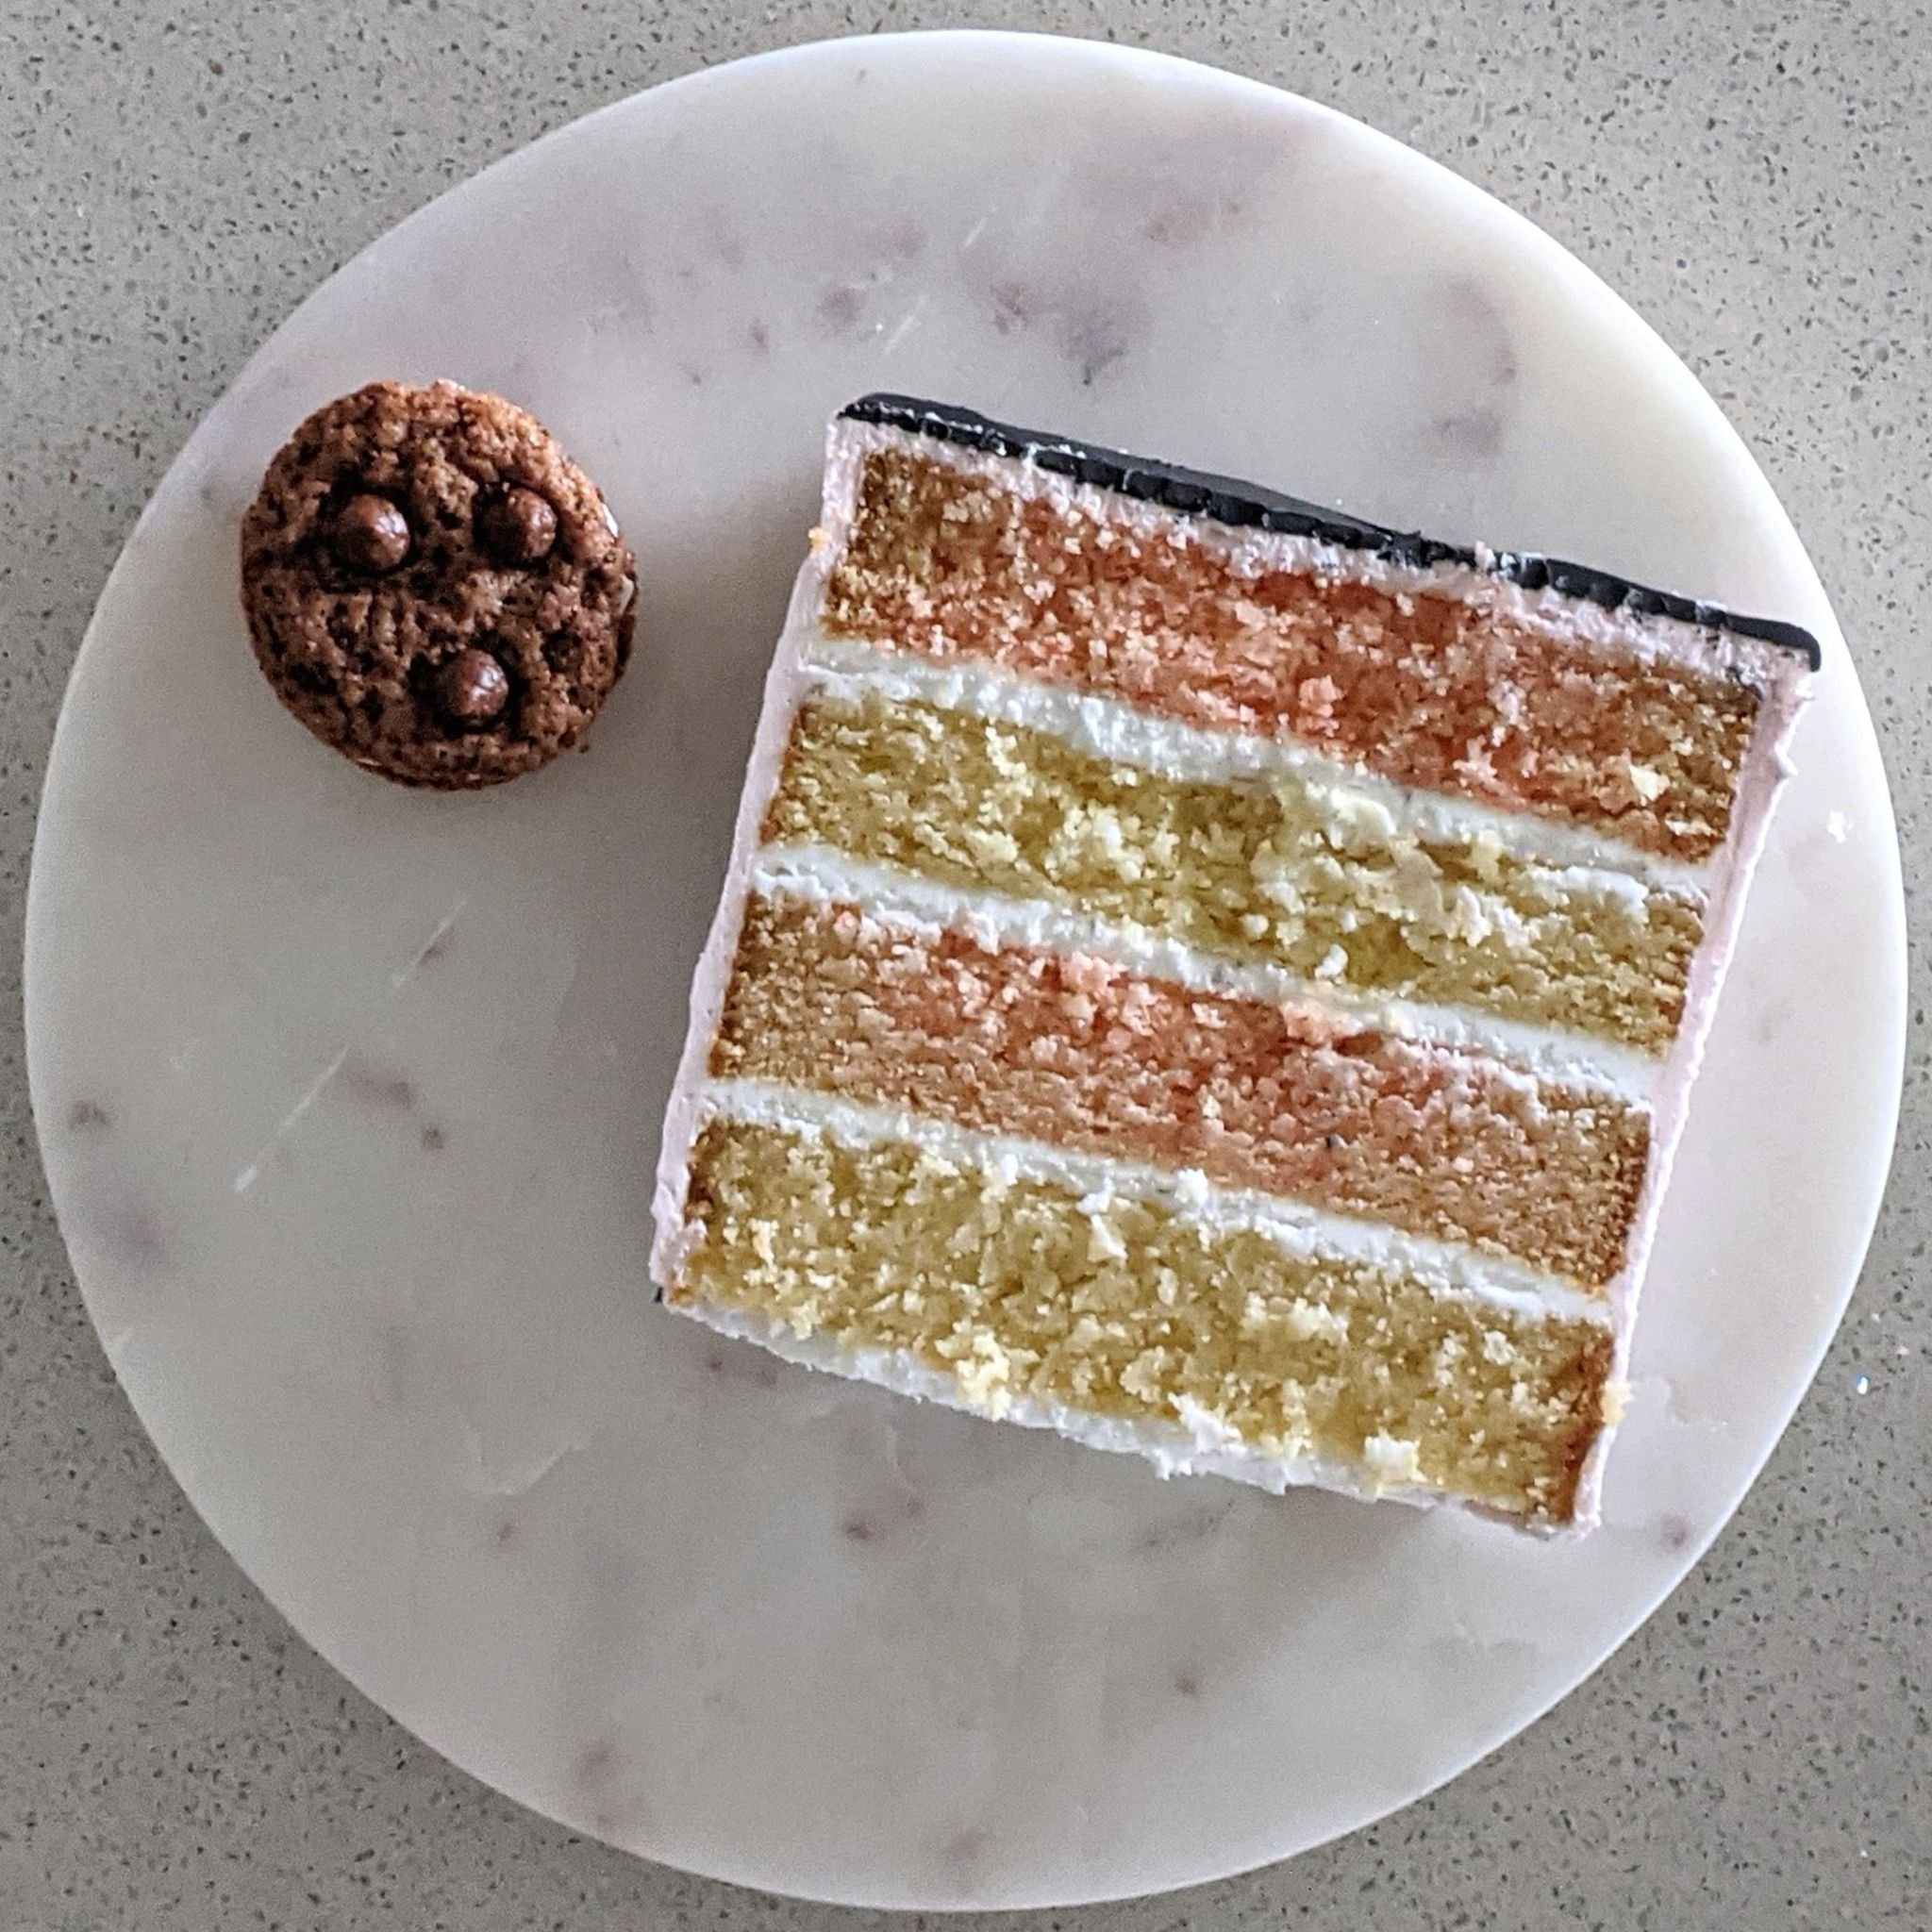
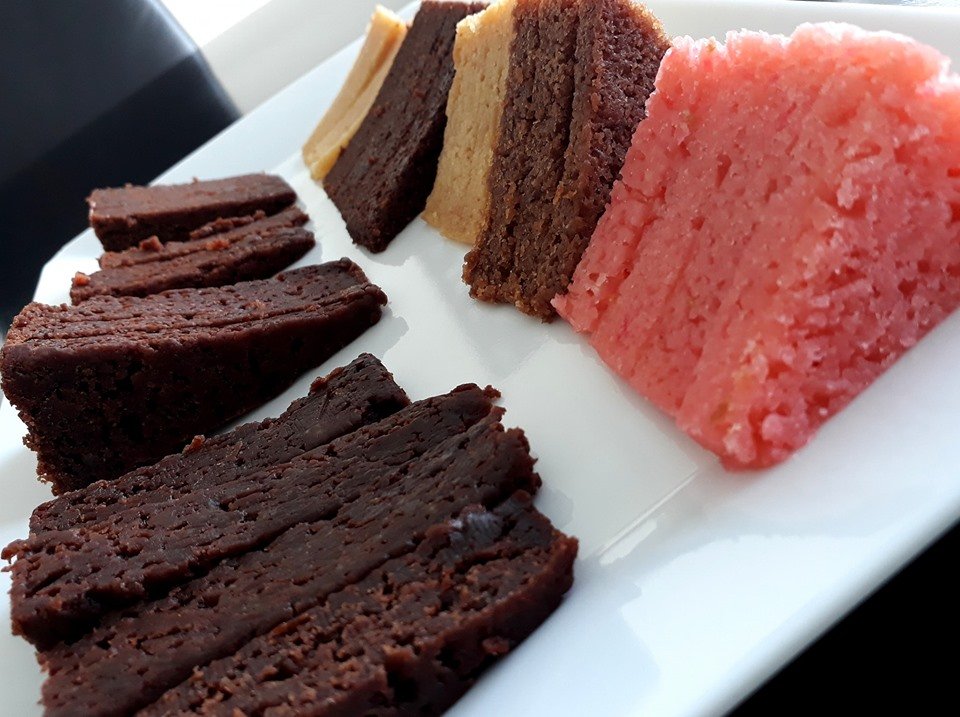
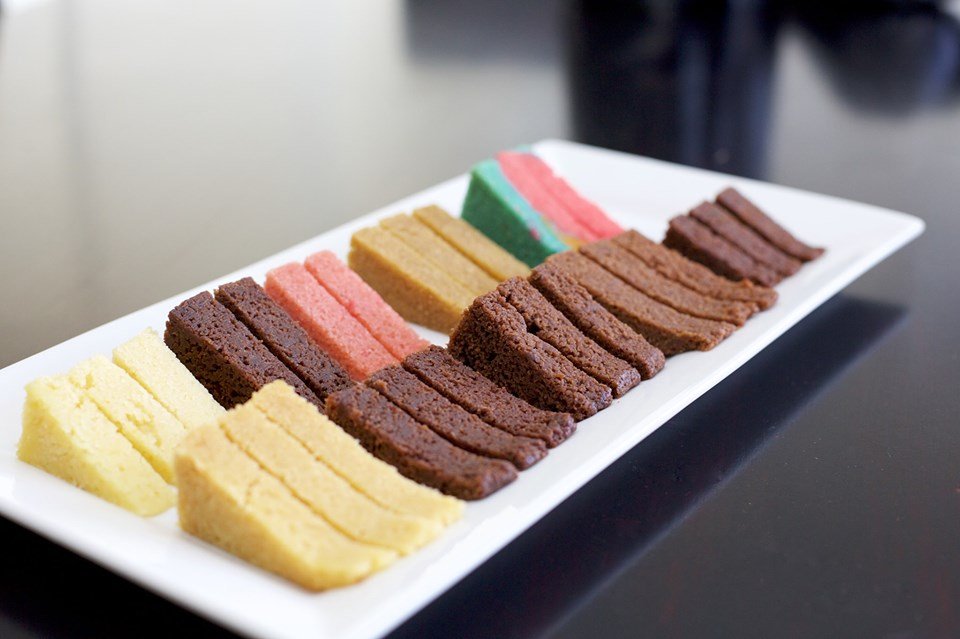
2 x Story Book Cake Mixes of your choice, I like to use 2 different flavours
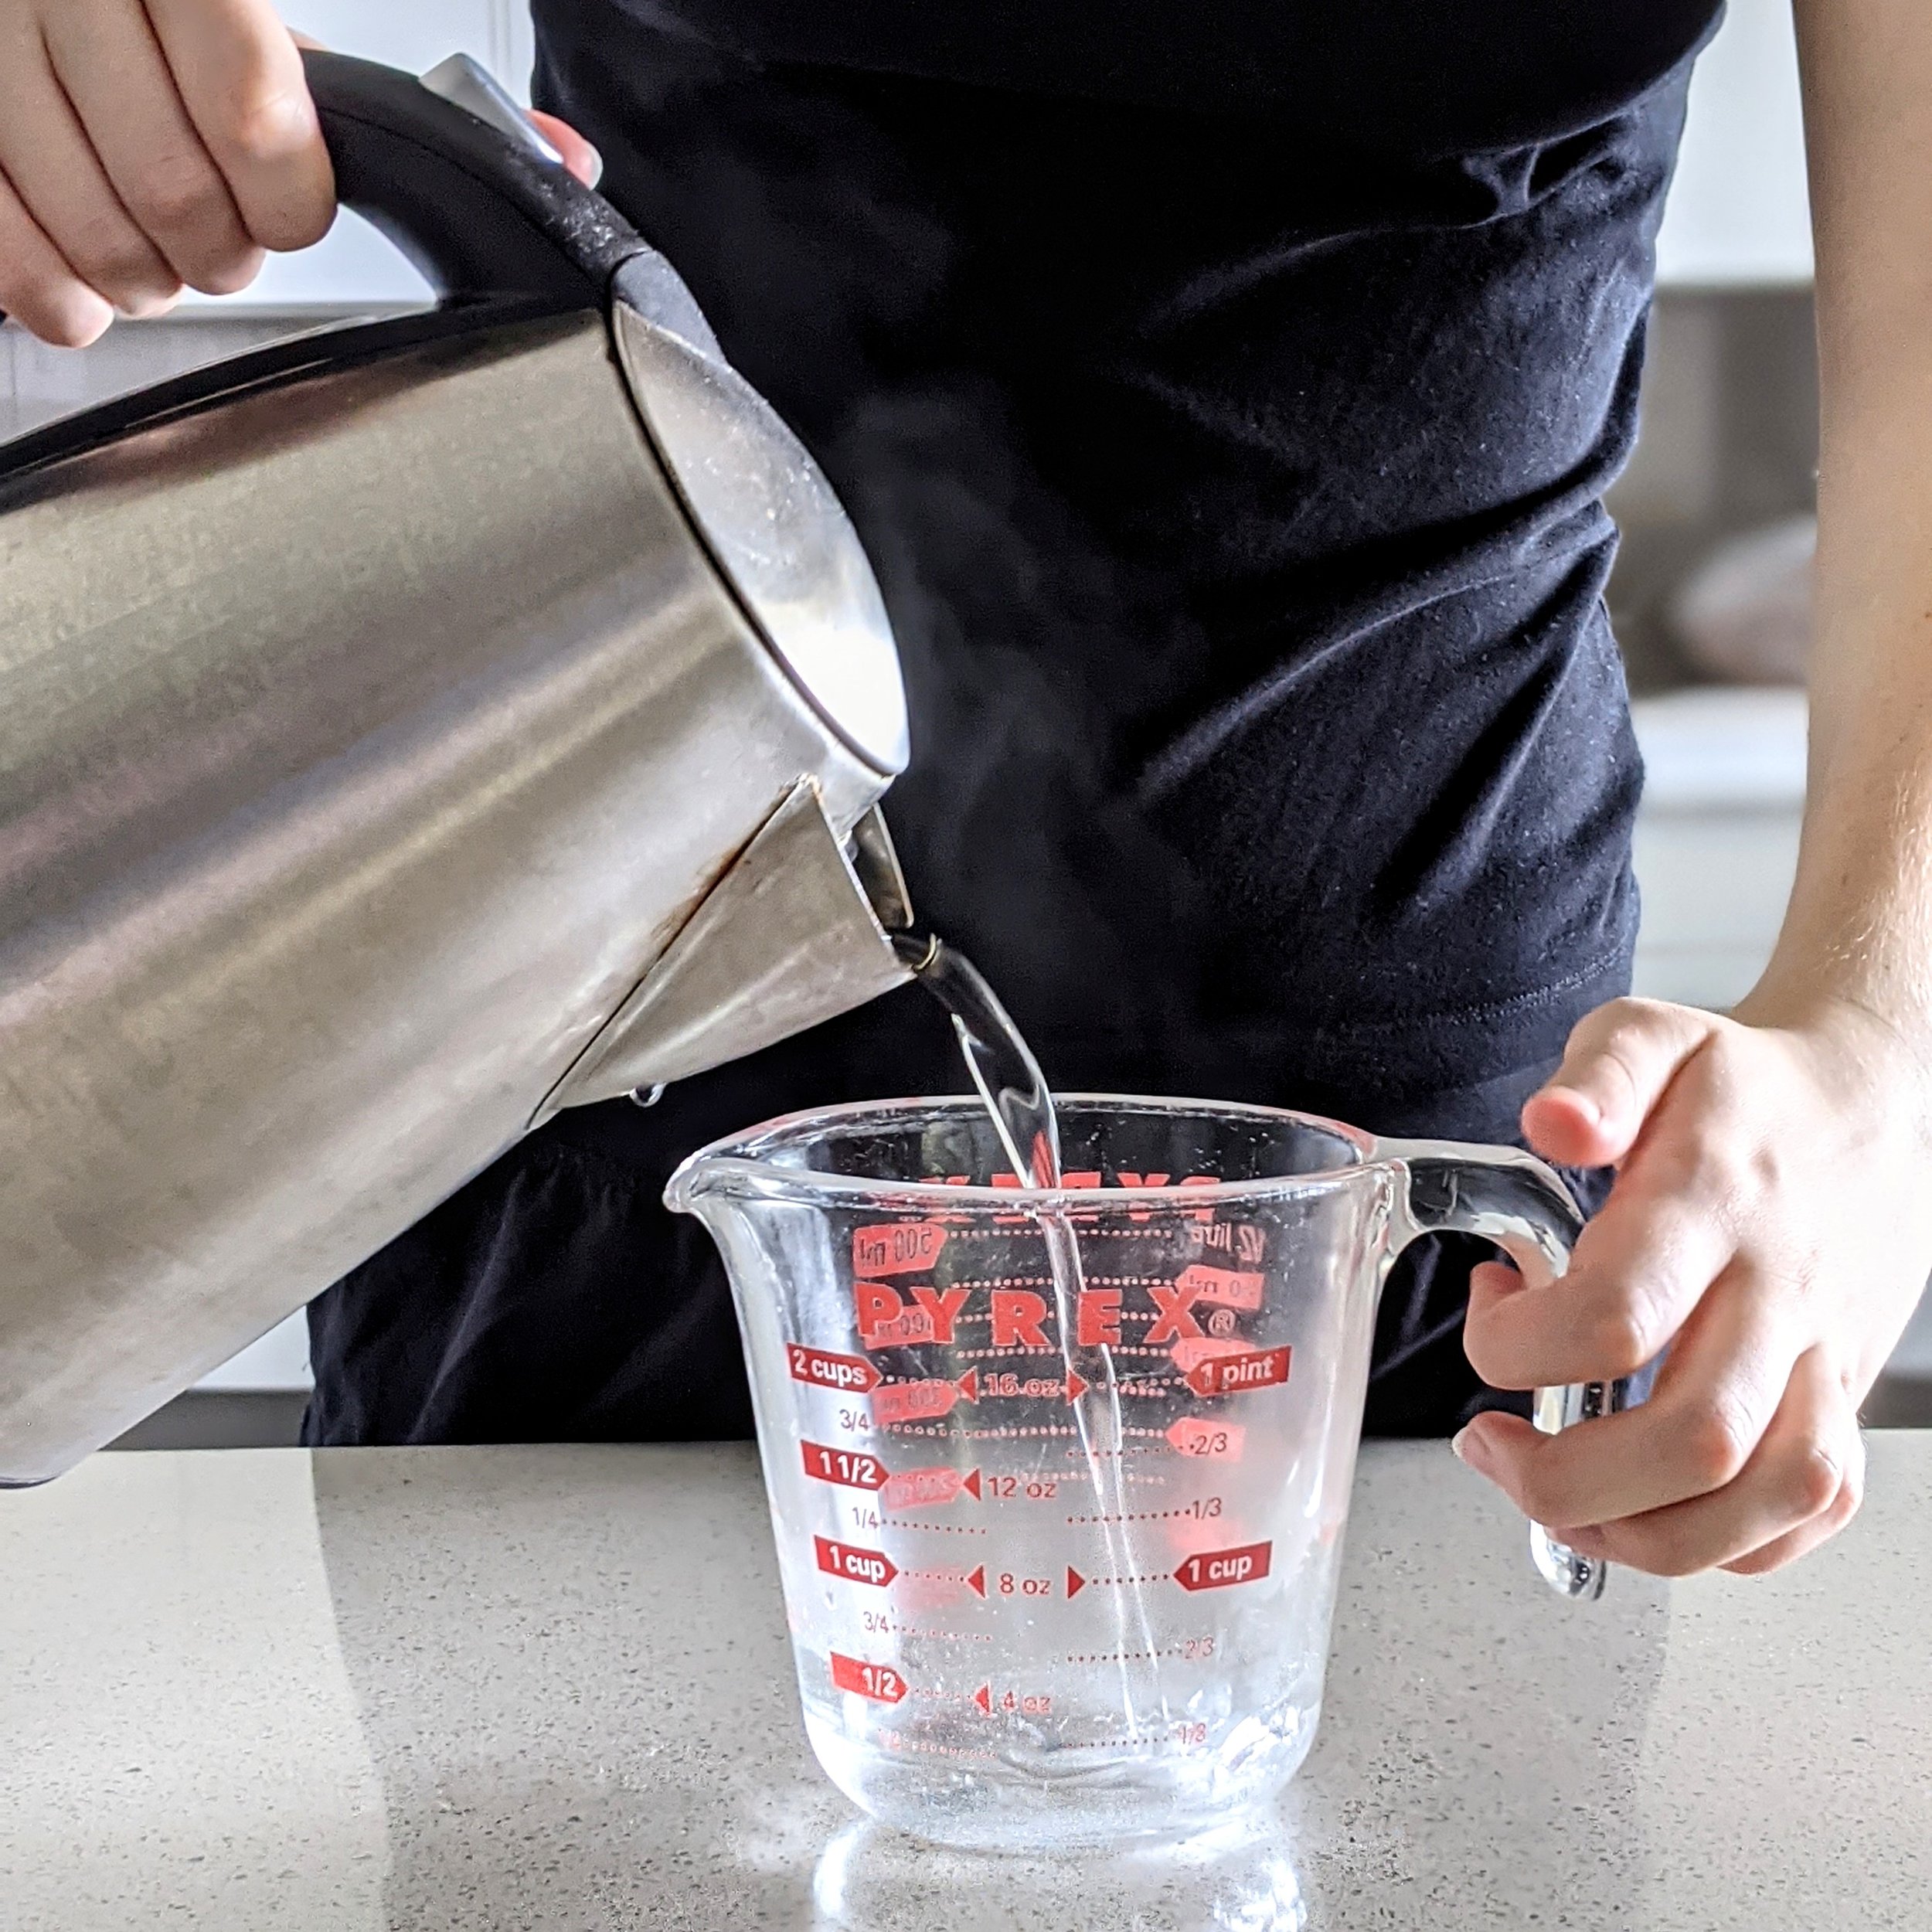
700ml Boiling water
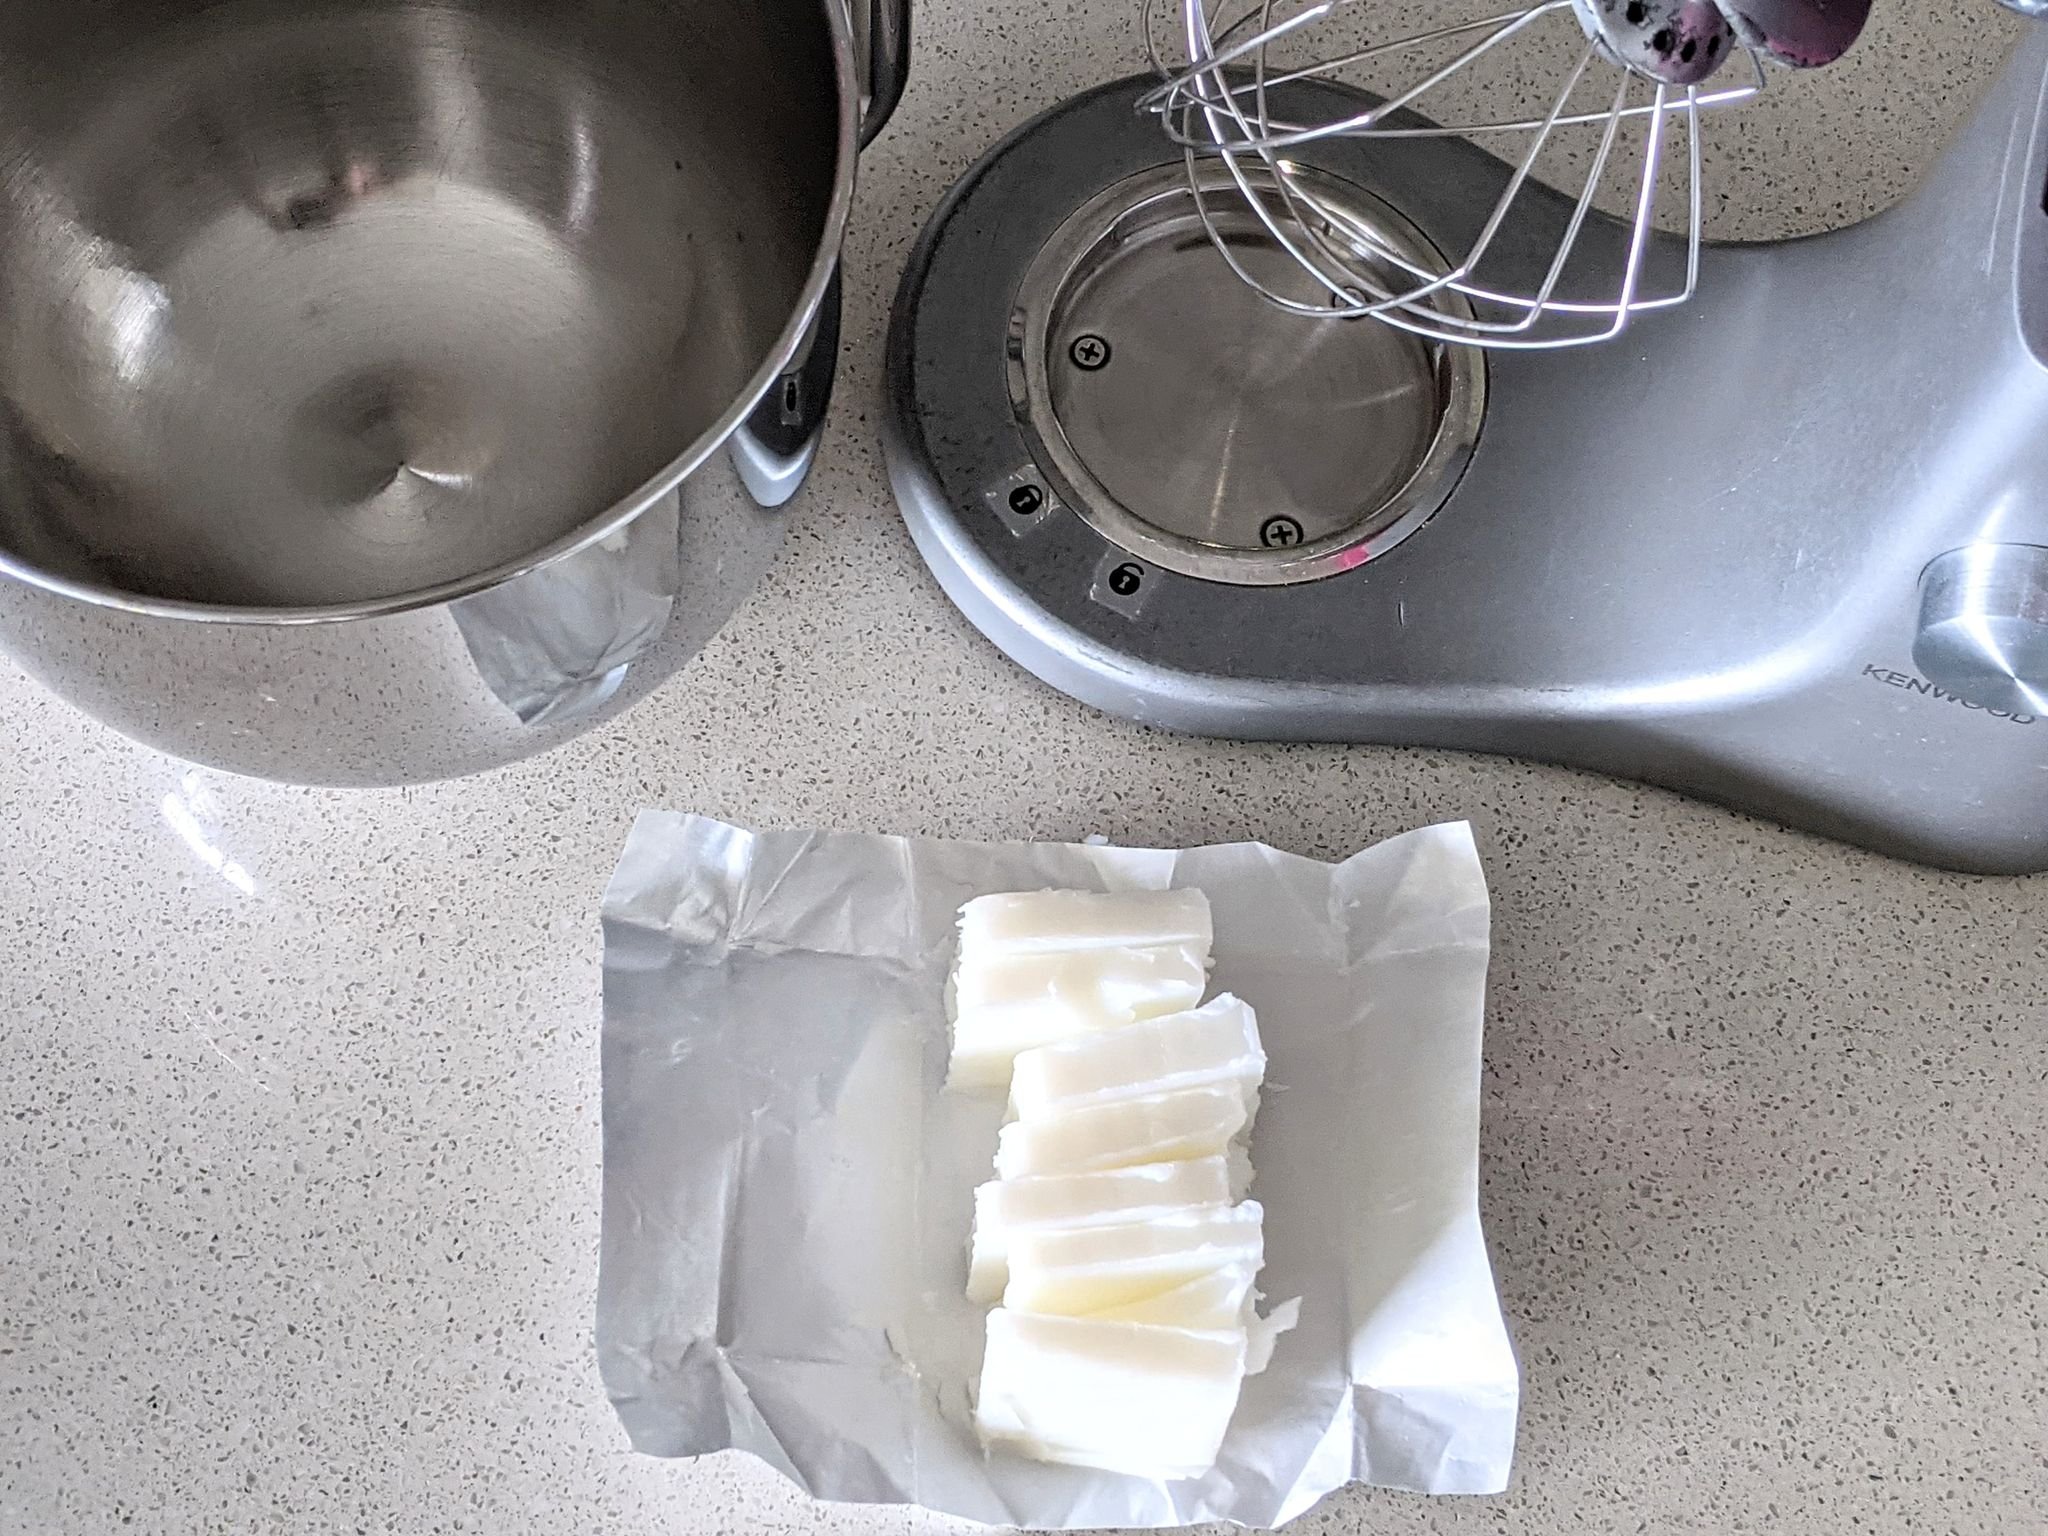
250g Butter
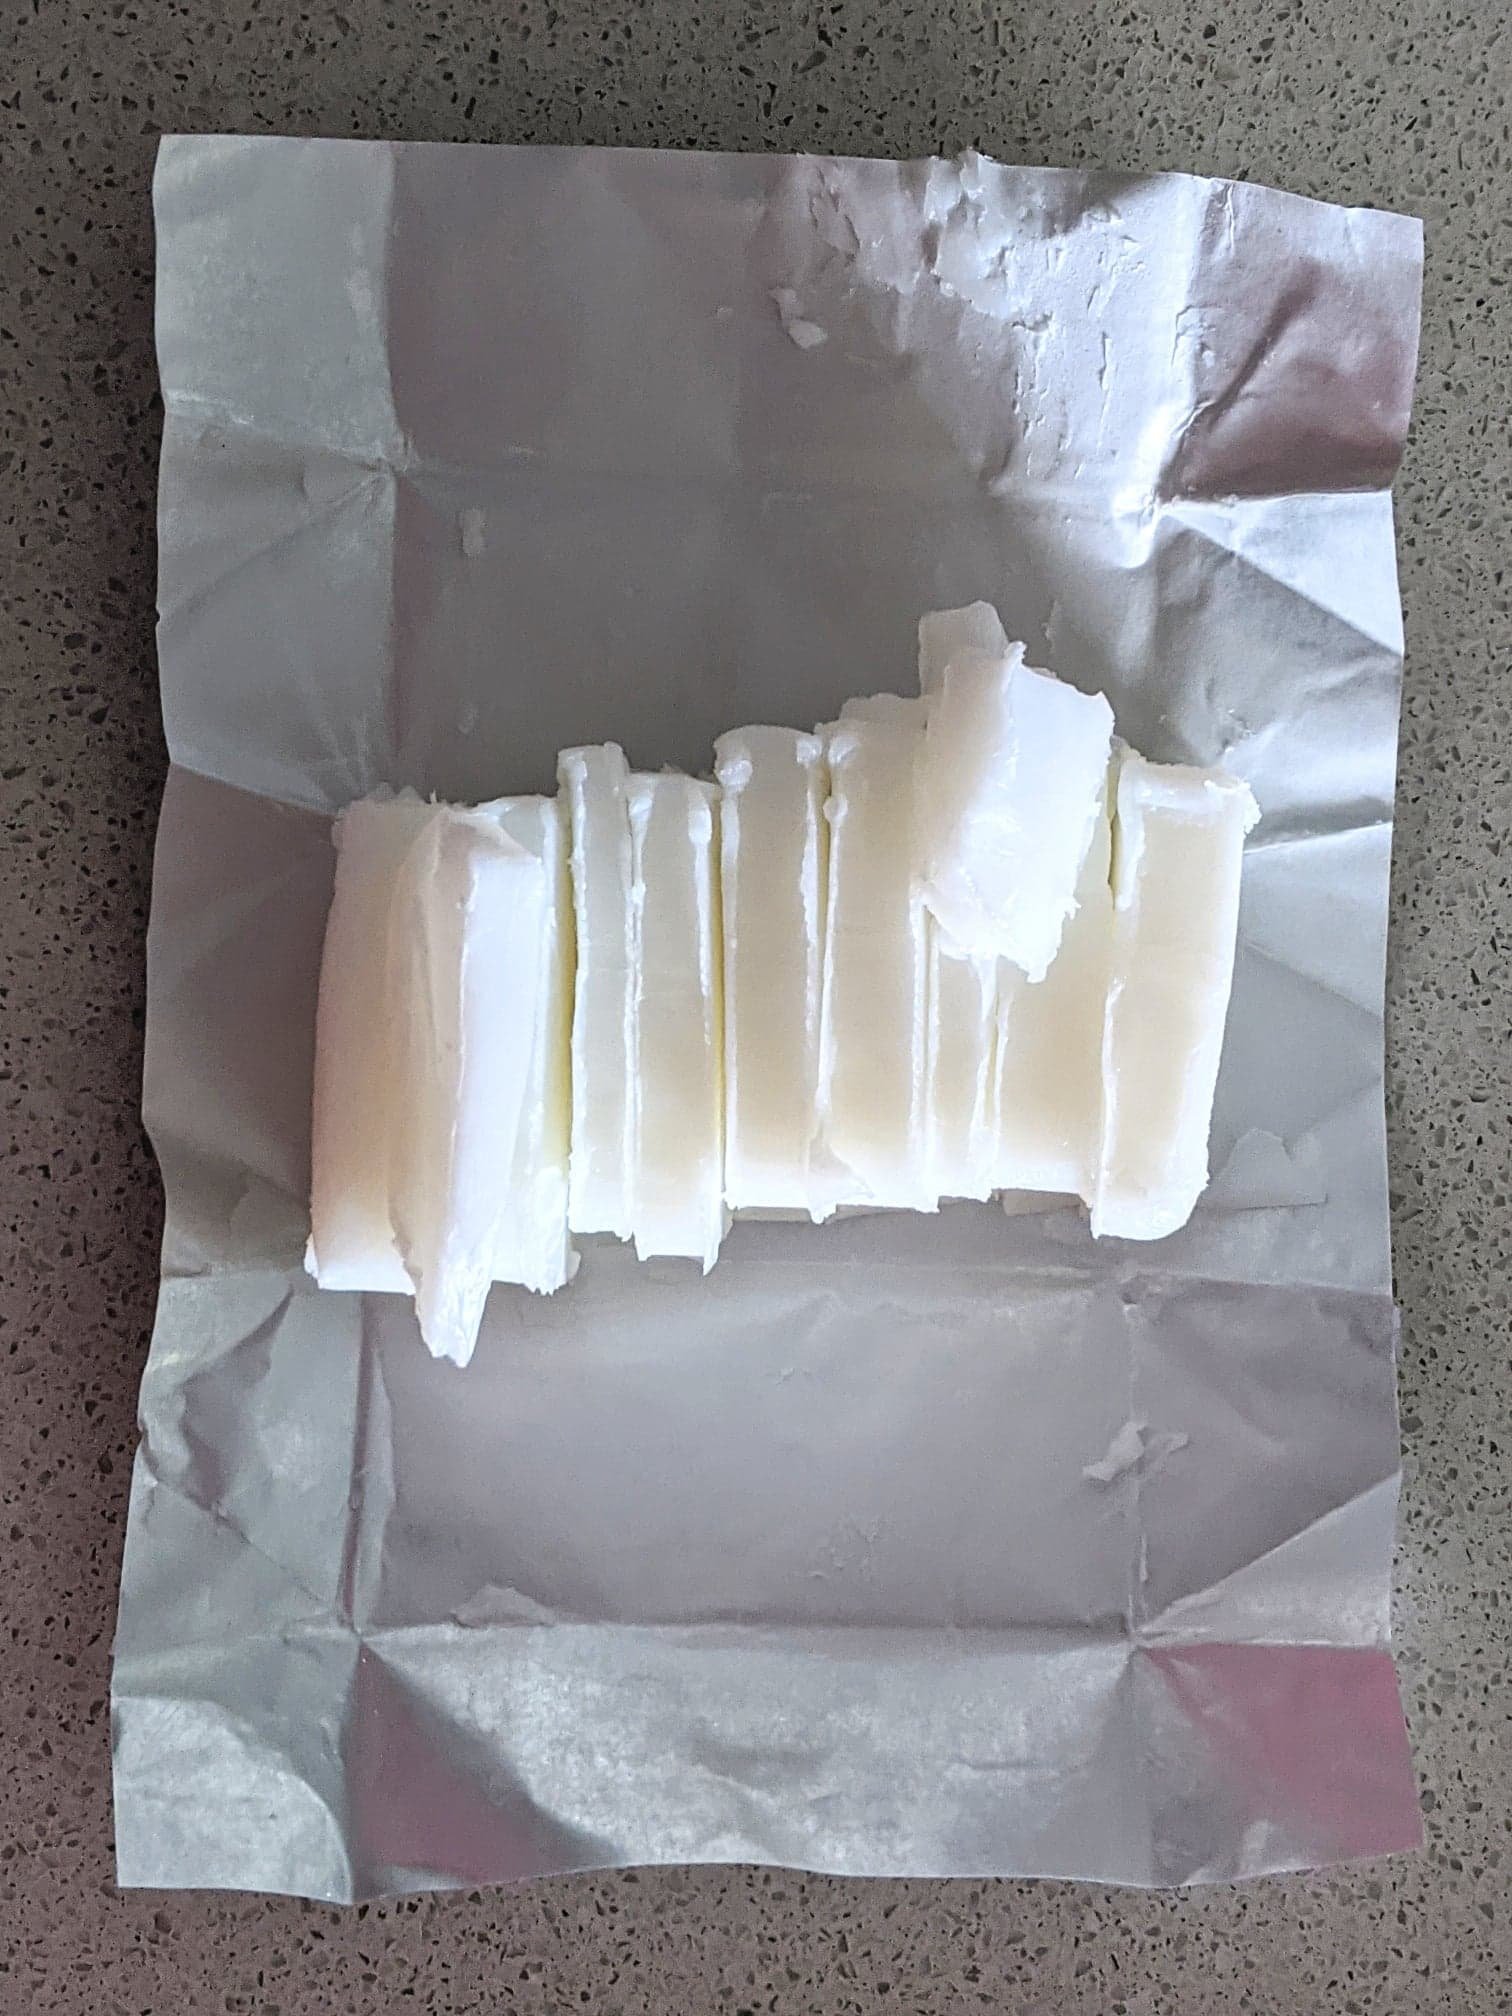
1 Block of copha
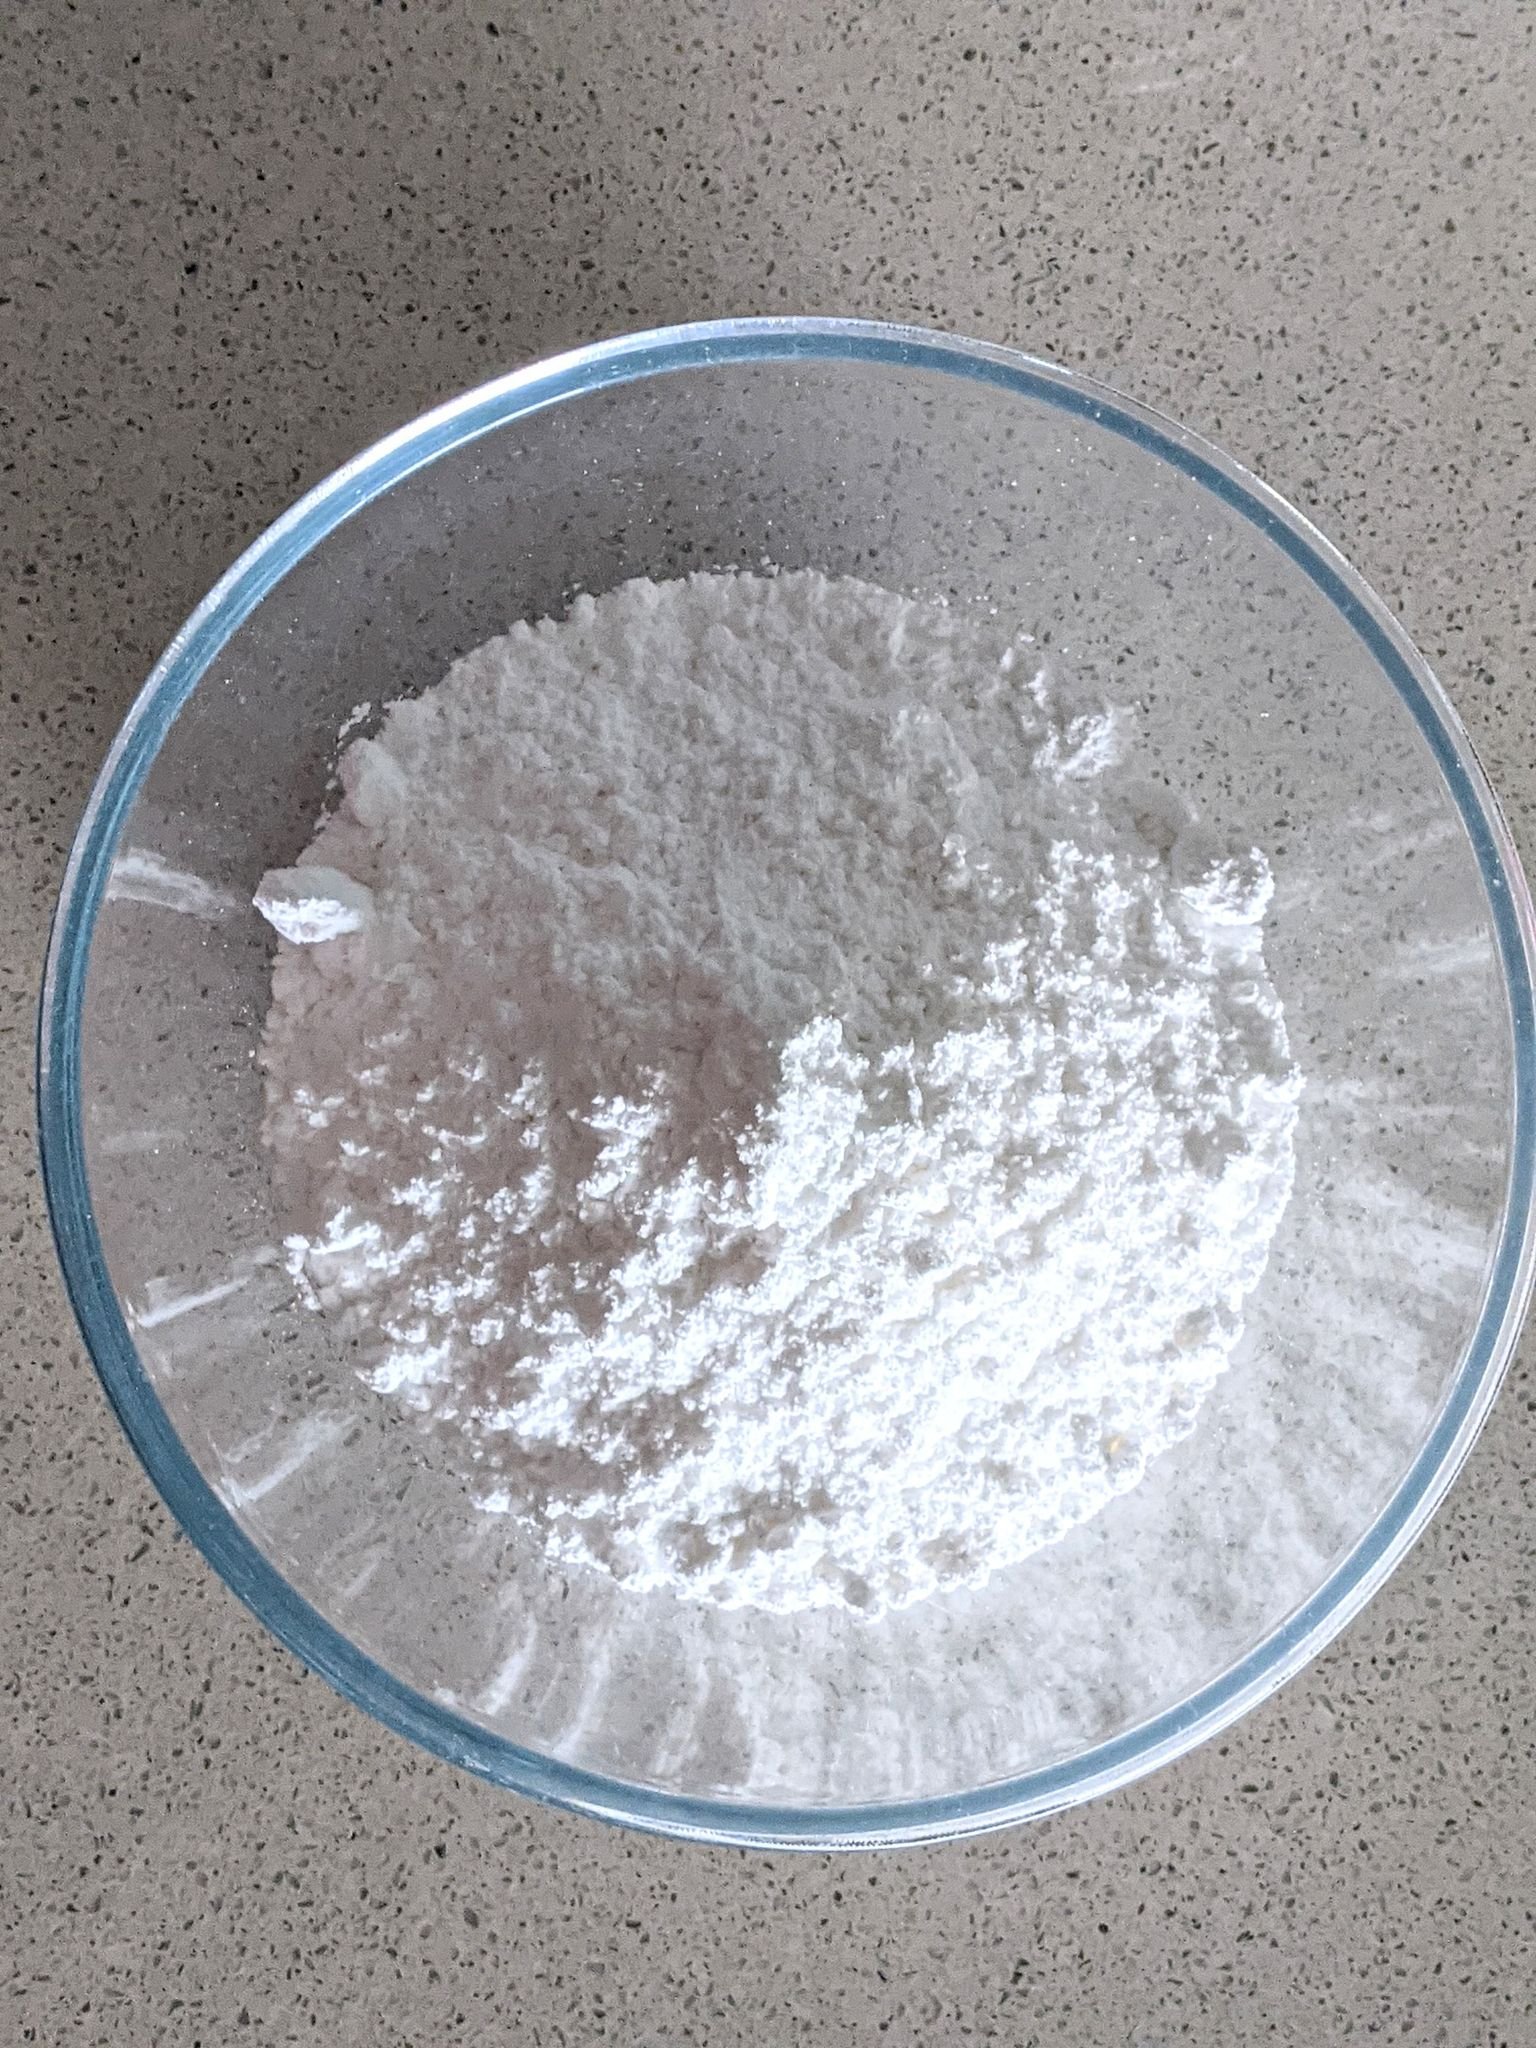
400g Icing mixture
1 set up cake board 6”
1 cake board 12”
Instructions
Pre heat oven to 160 degrees
Line 2 x 6” round tins
Follow the instructions on your mud cake mixes, then pour each mix into your lined tins. Bake for 60 mins.
This is the important part, you can not skip this step, let your cakes cool then refrigerate overnight. A cold firm cake is the trick to creating a flawless finish.
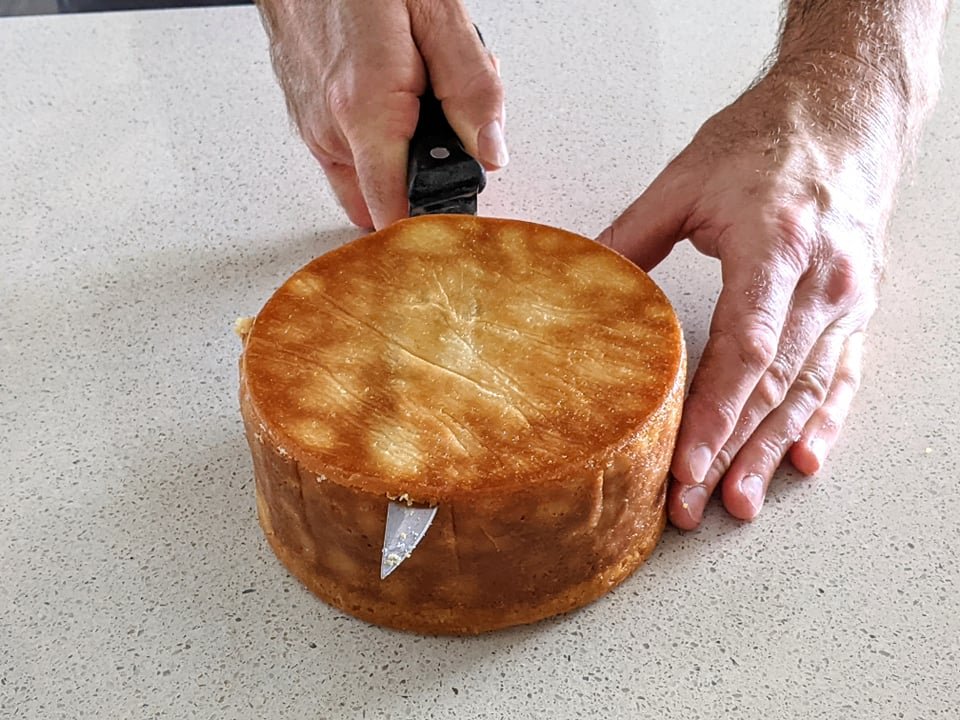
Remove your cakes from their tins, trim the tops flat, I also like to trim the bottom but that is your choice.
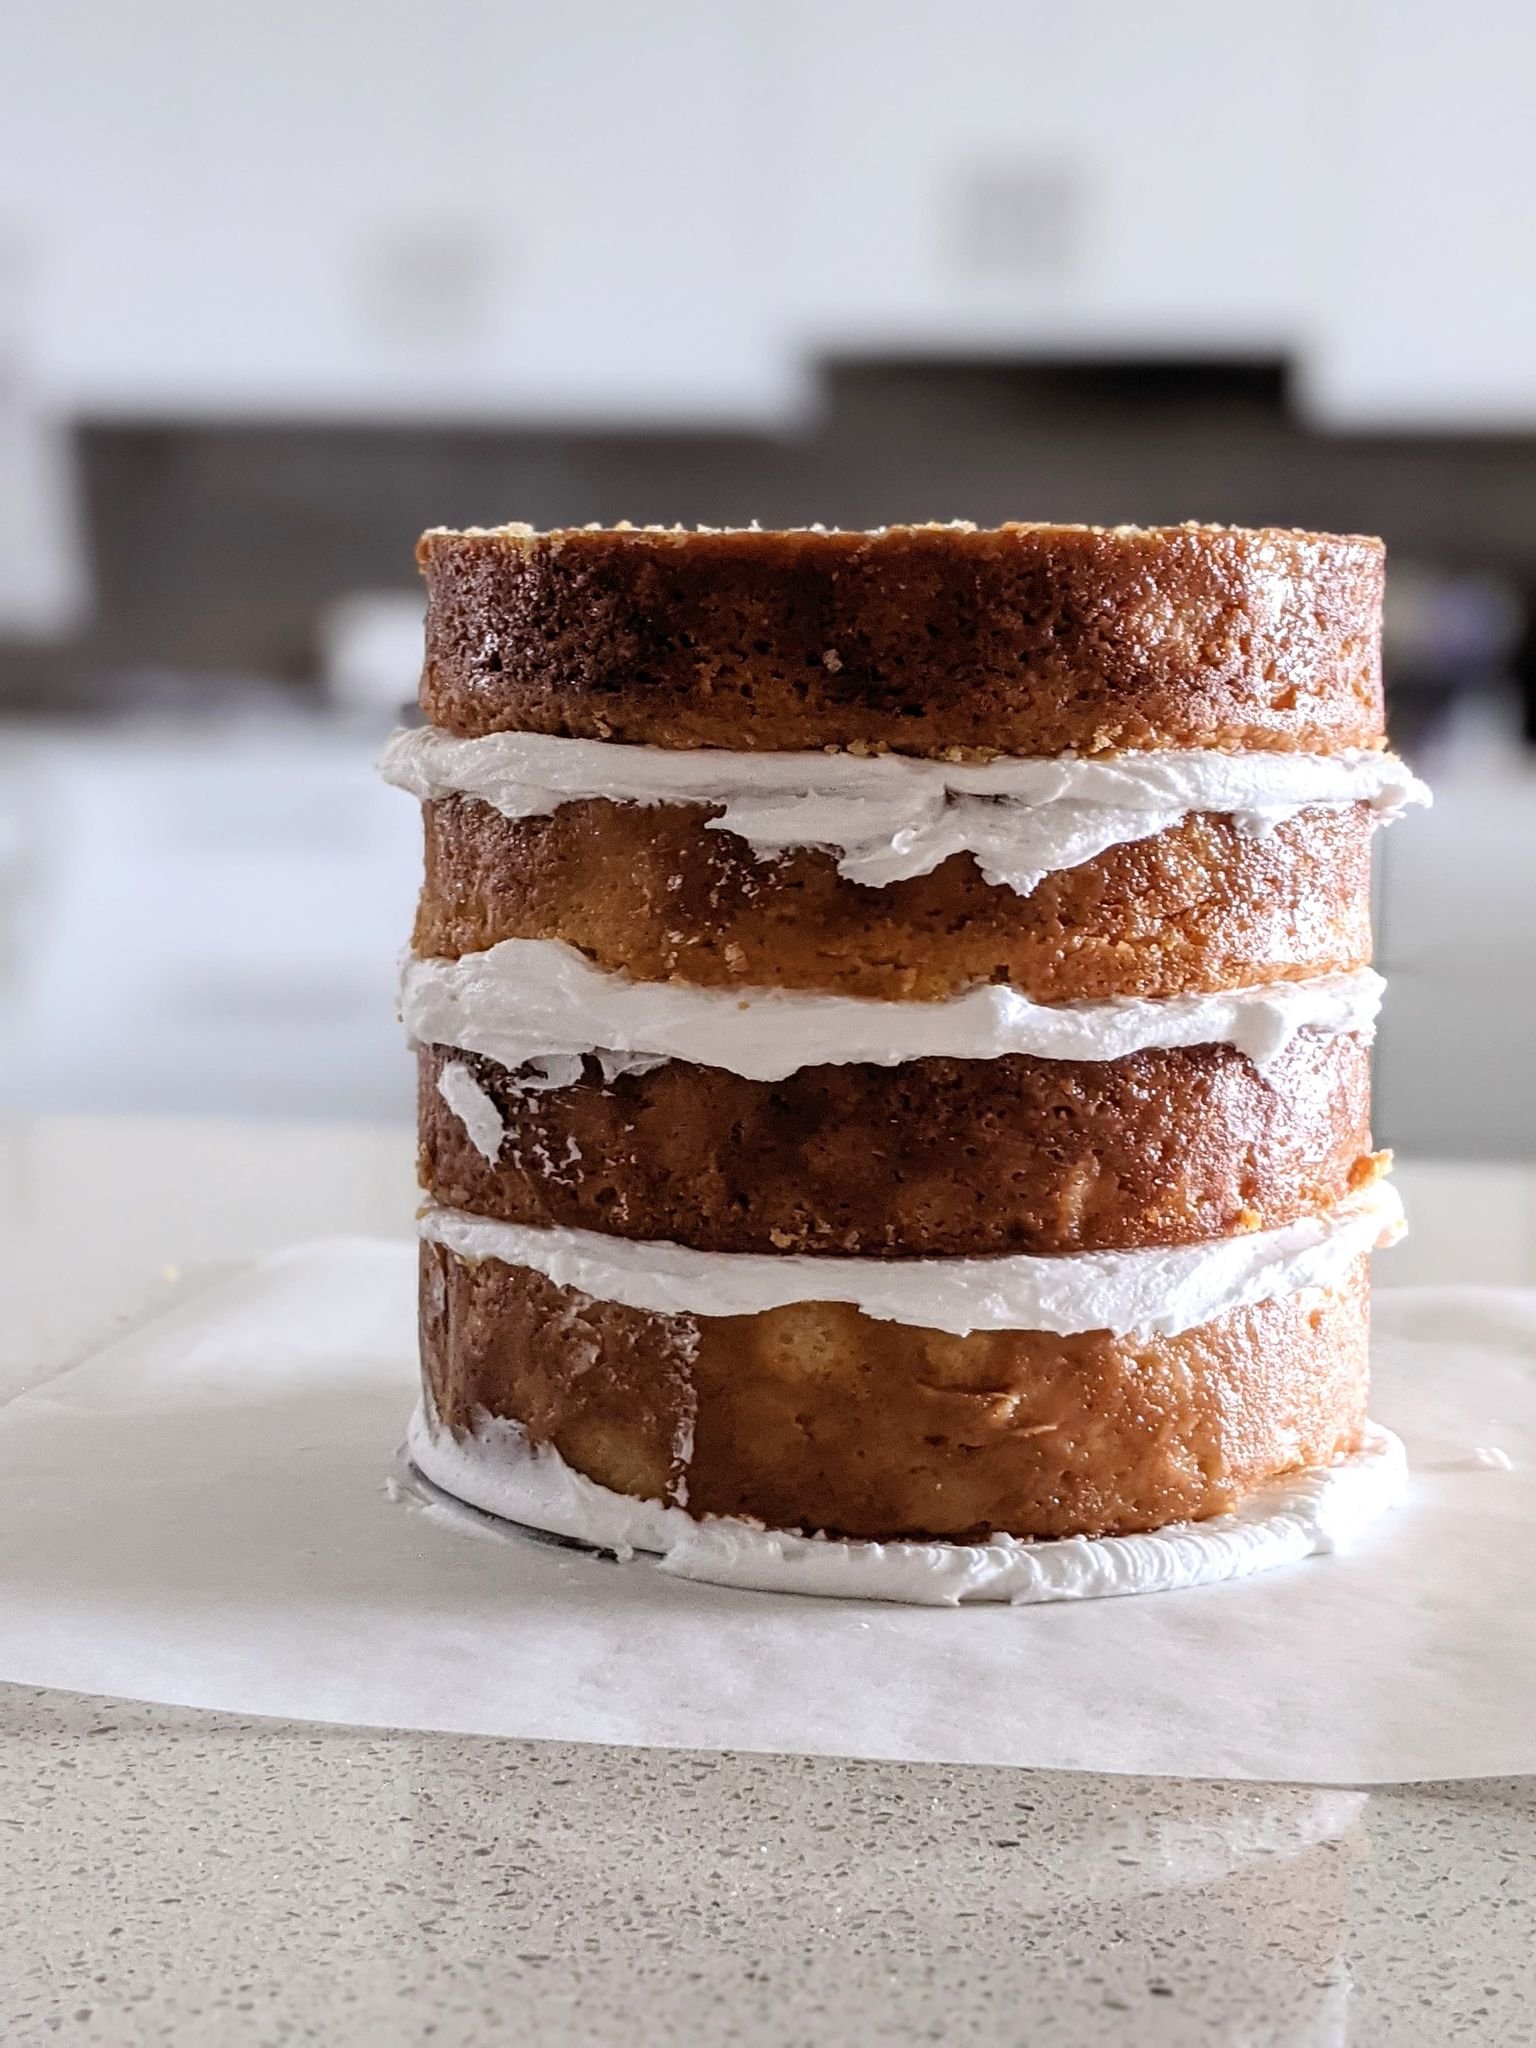
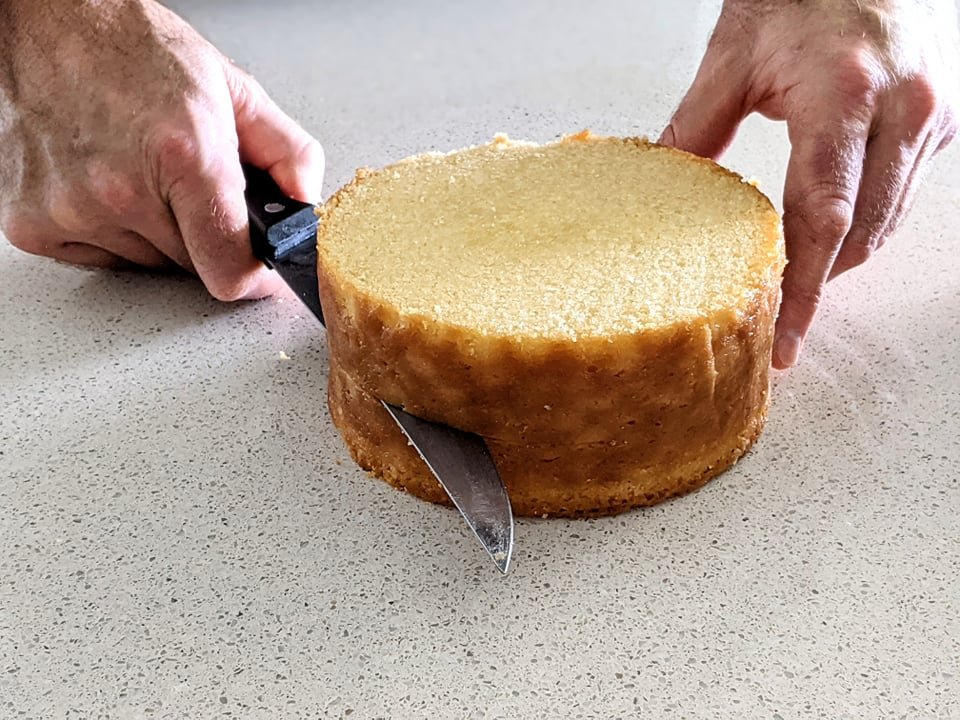
Cut both of your cakes in half, giving you 4 layers.
Professional white icing recipe

Ingredients
1 x block of copha
400g icing mixture
Directions
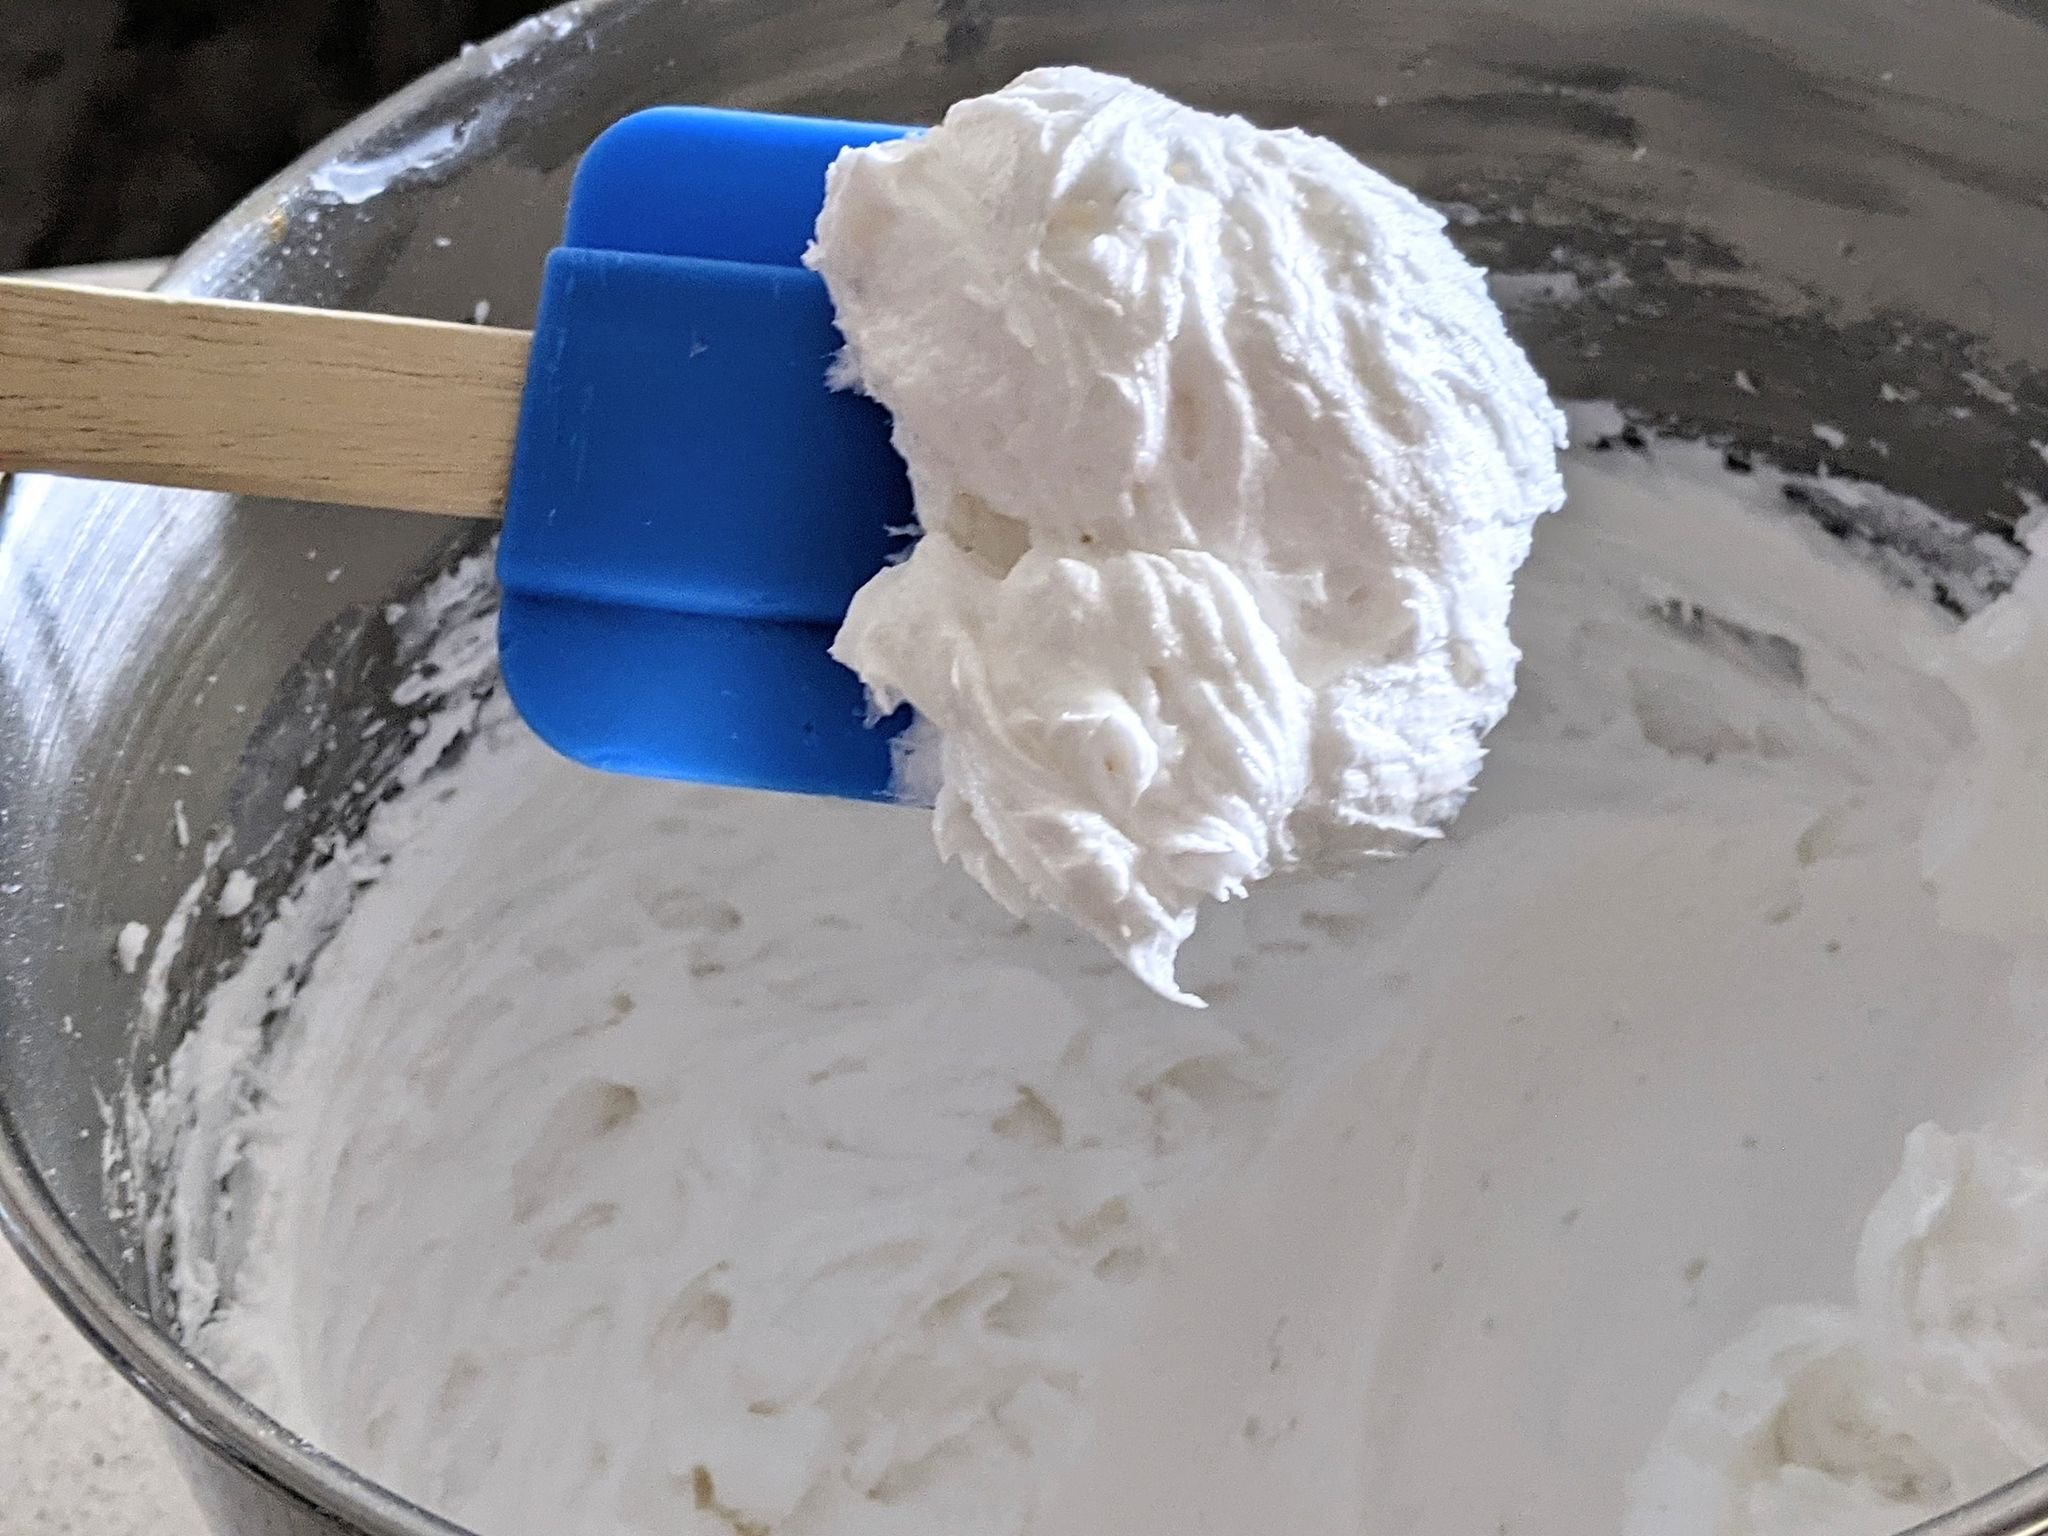
Melt or soften the copha & combine with your icing mixture.
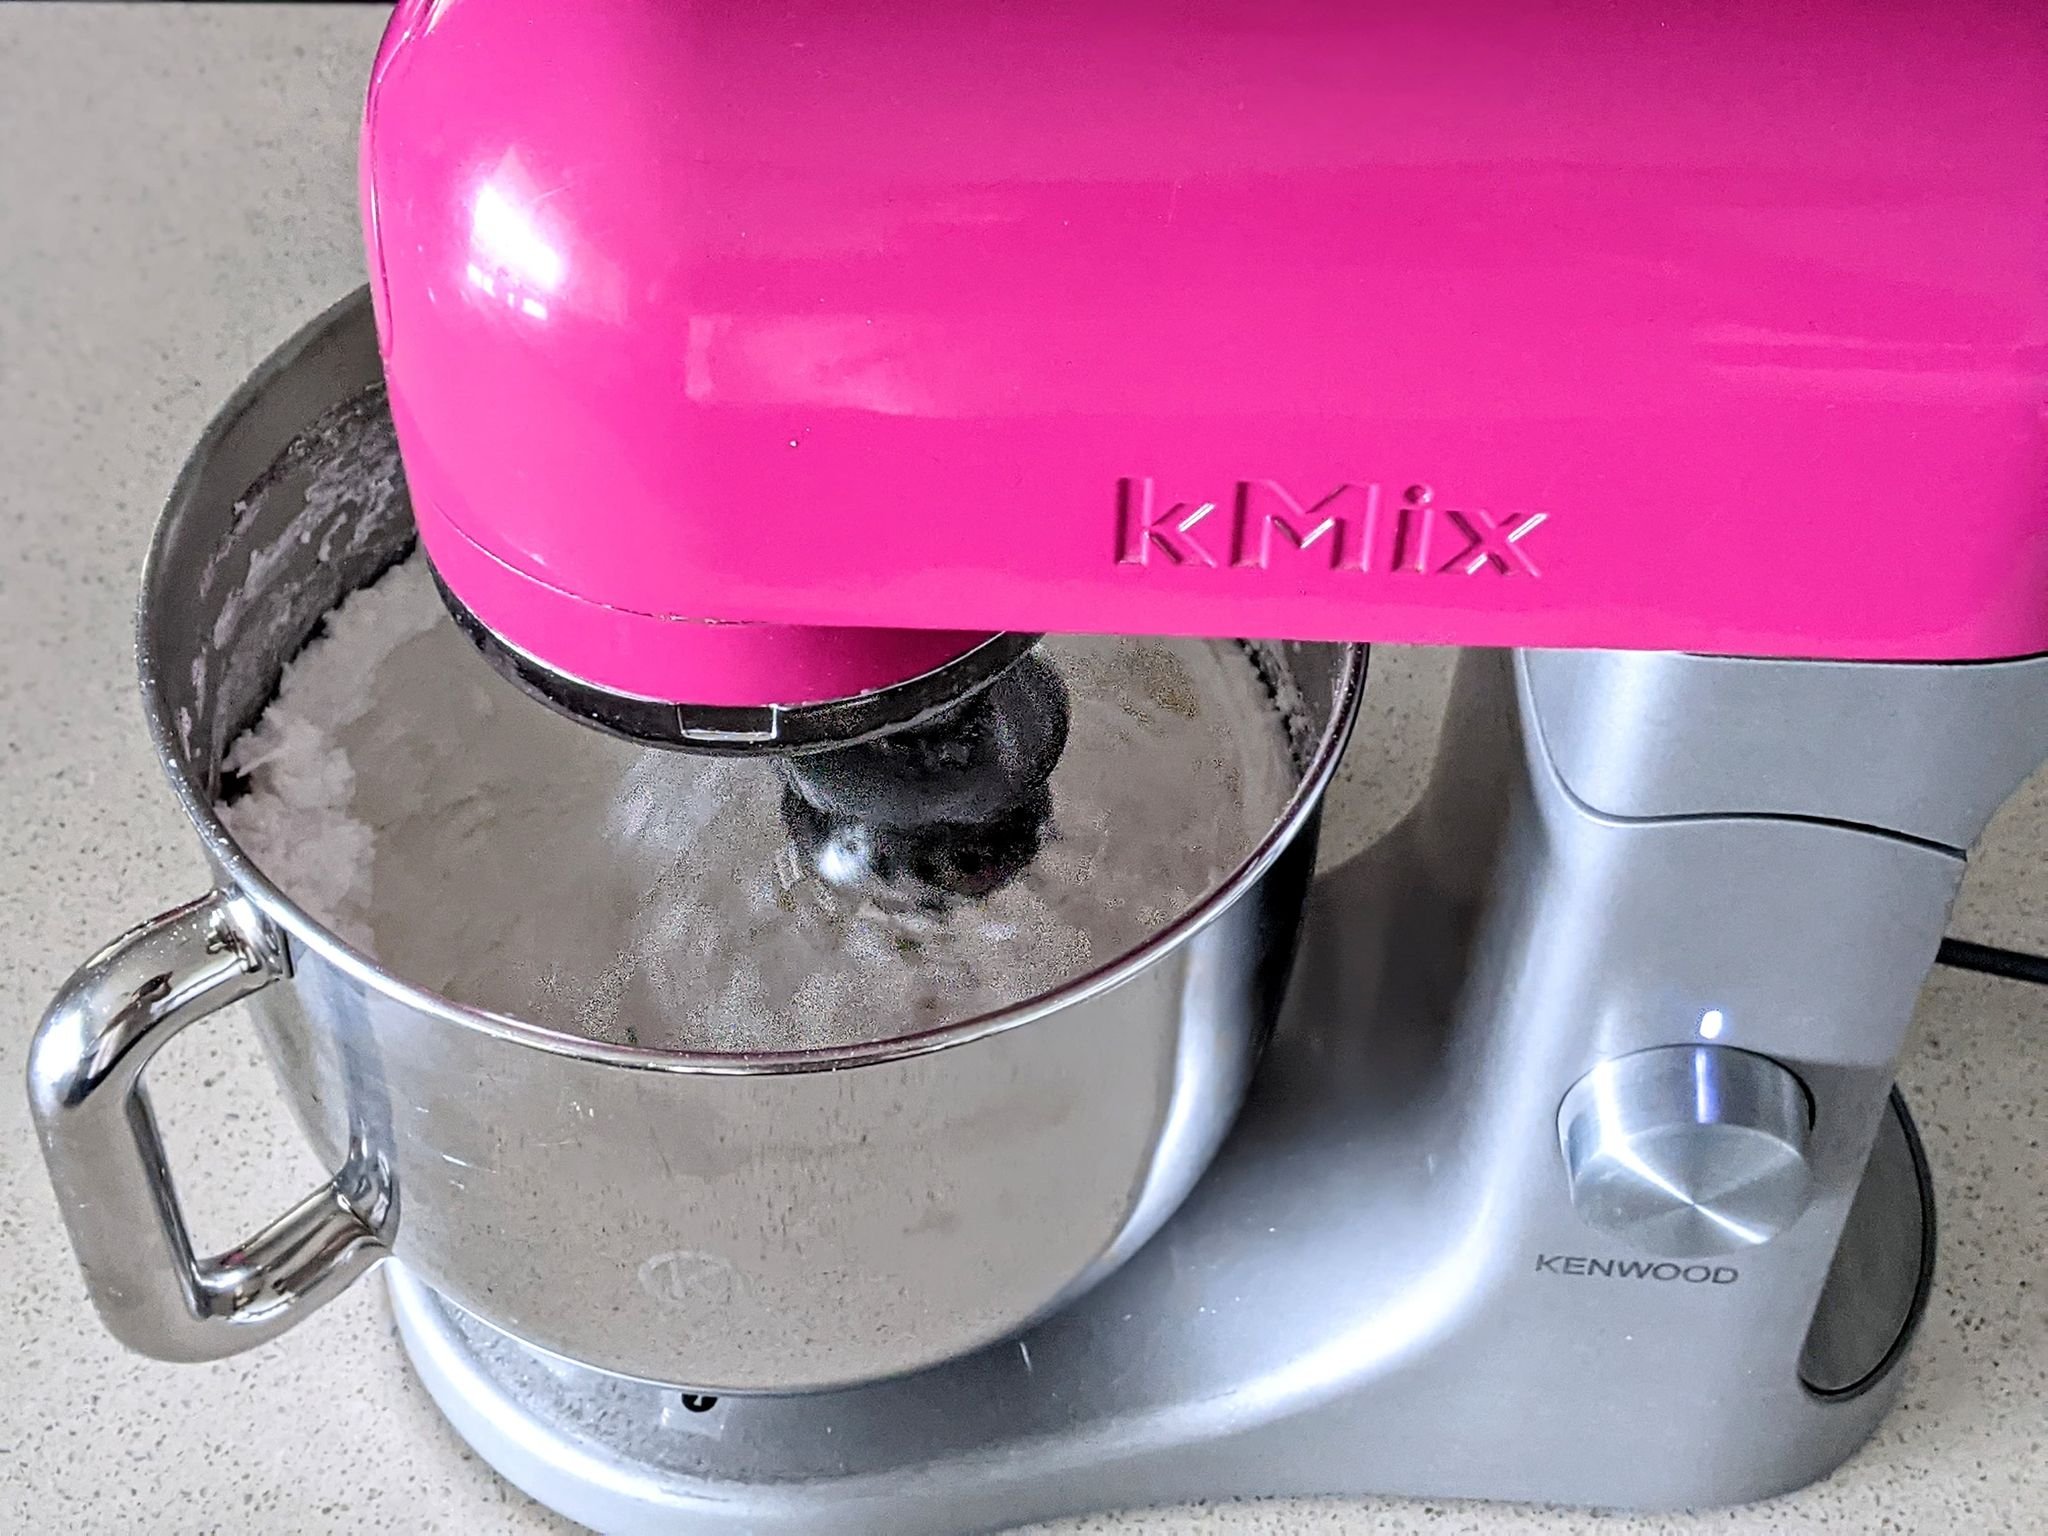
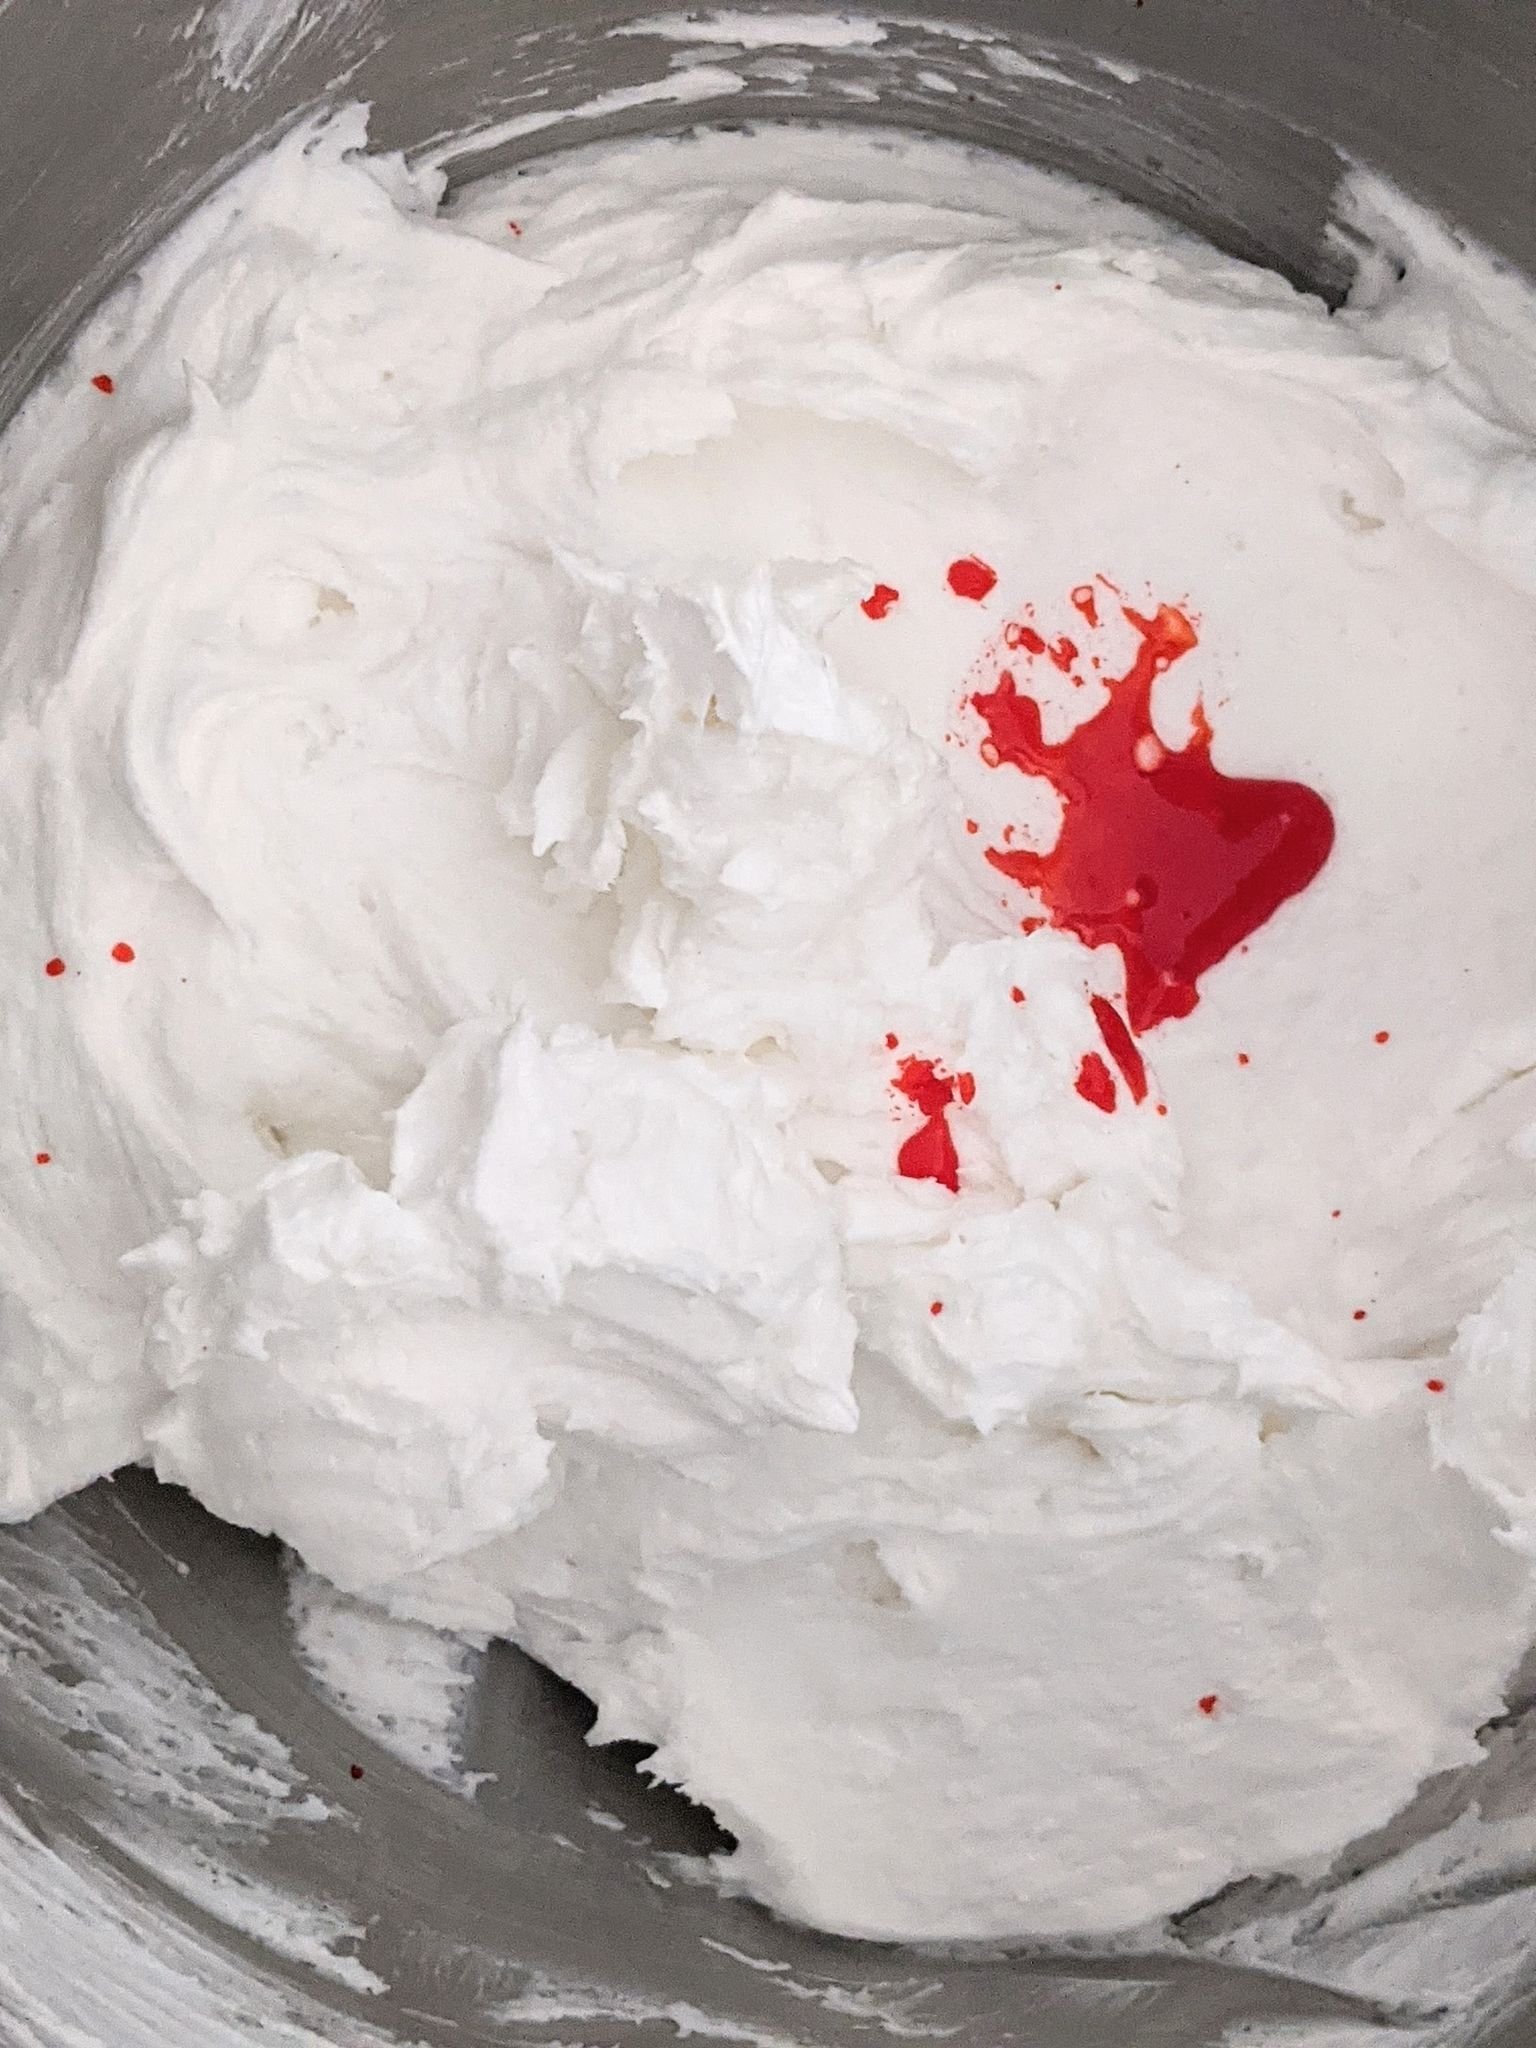
Using your mix master, beat on medium for 15 minutes. It will come together to create a bright white fluffy icing that is easy to colour, and yes it tastes great.
You can add flavouring of your choice if you wish.
Leftovers can be frozen in a ziplock bag.
This simple icing recipe is a winner when creating special occasion cakes. Especially during the warmer months because copha has a higher melting temperature than butter. In the cool months it can tend to set so warming is recommended for easy application.
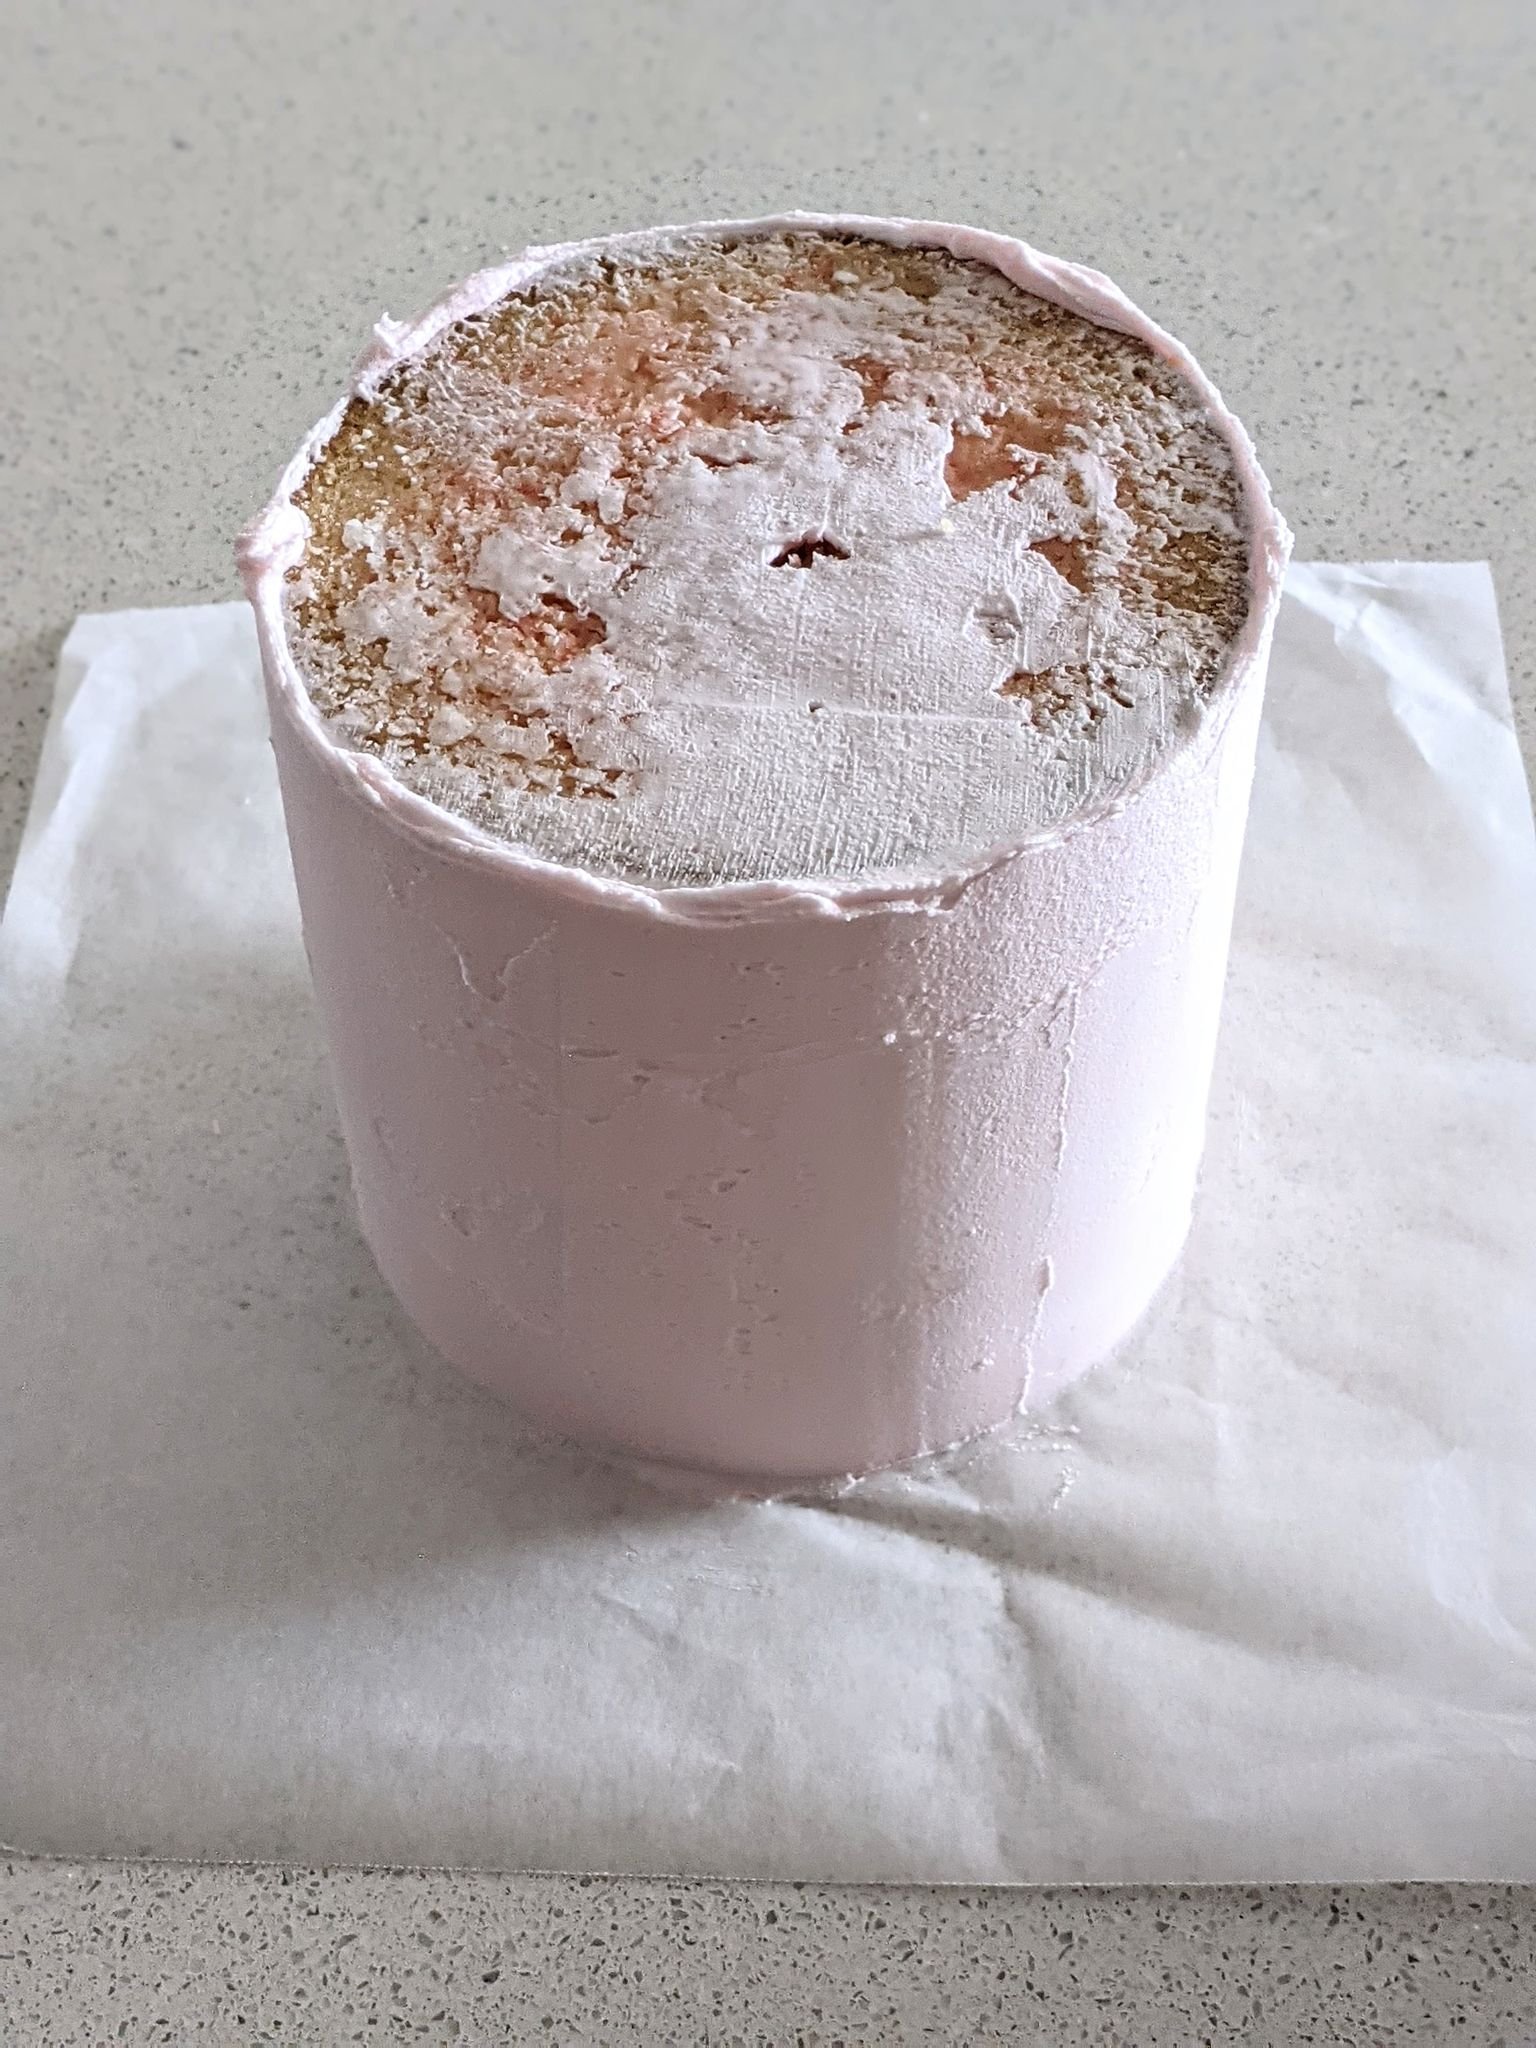
Let's assemble our cake
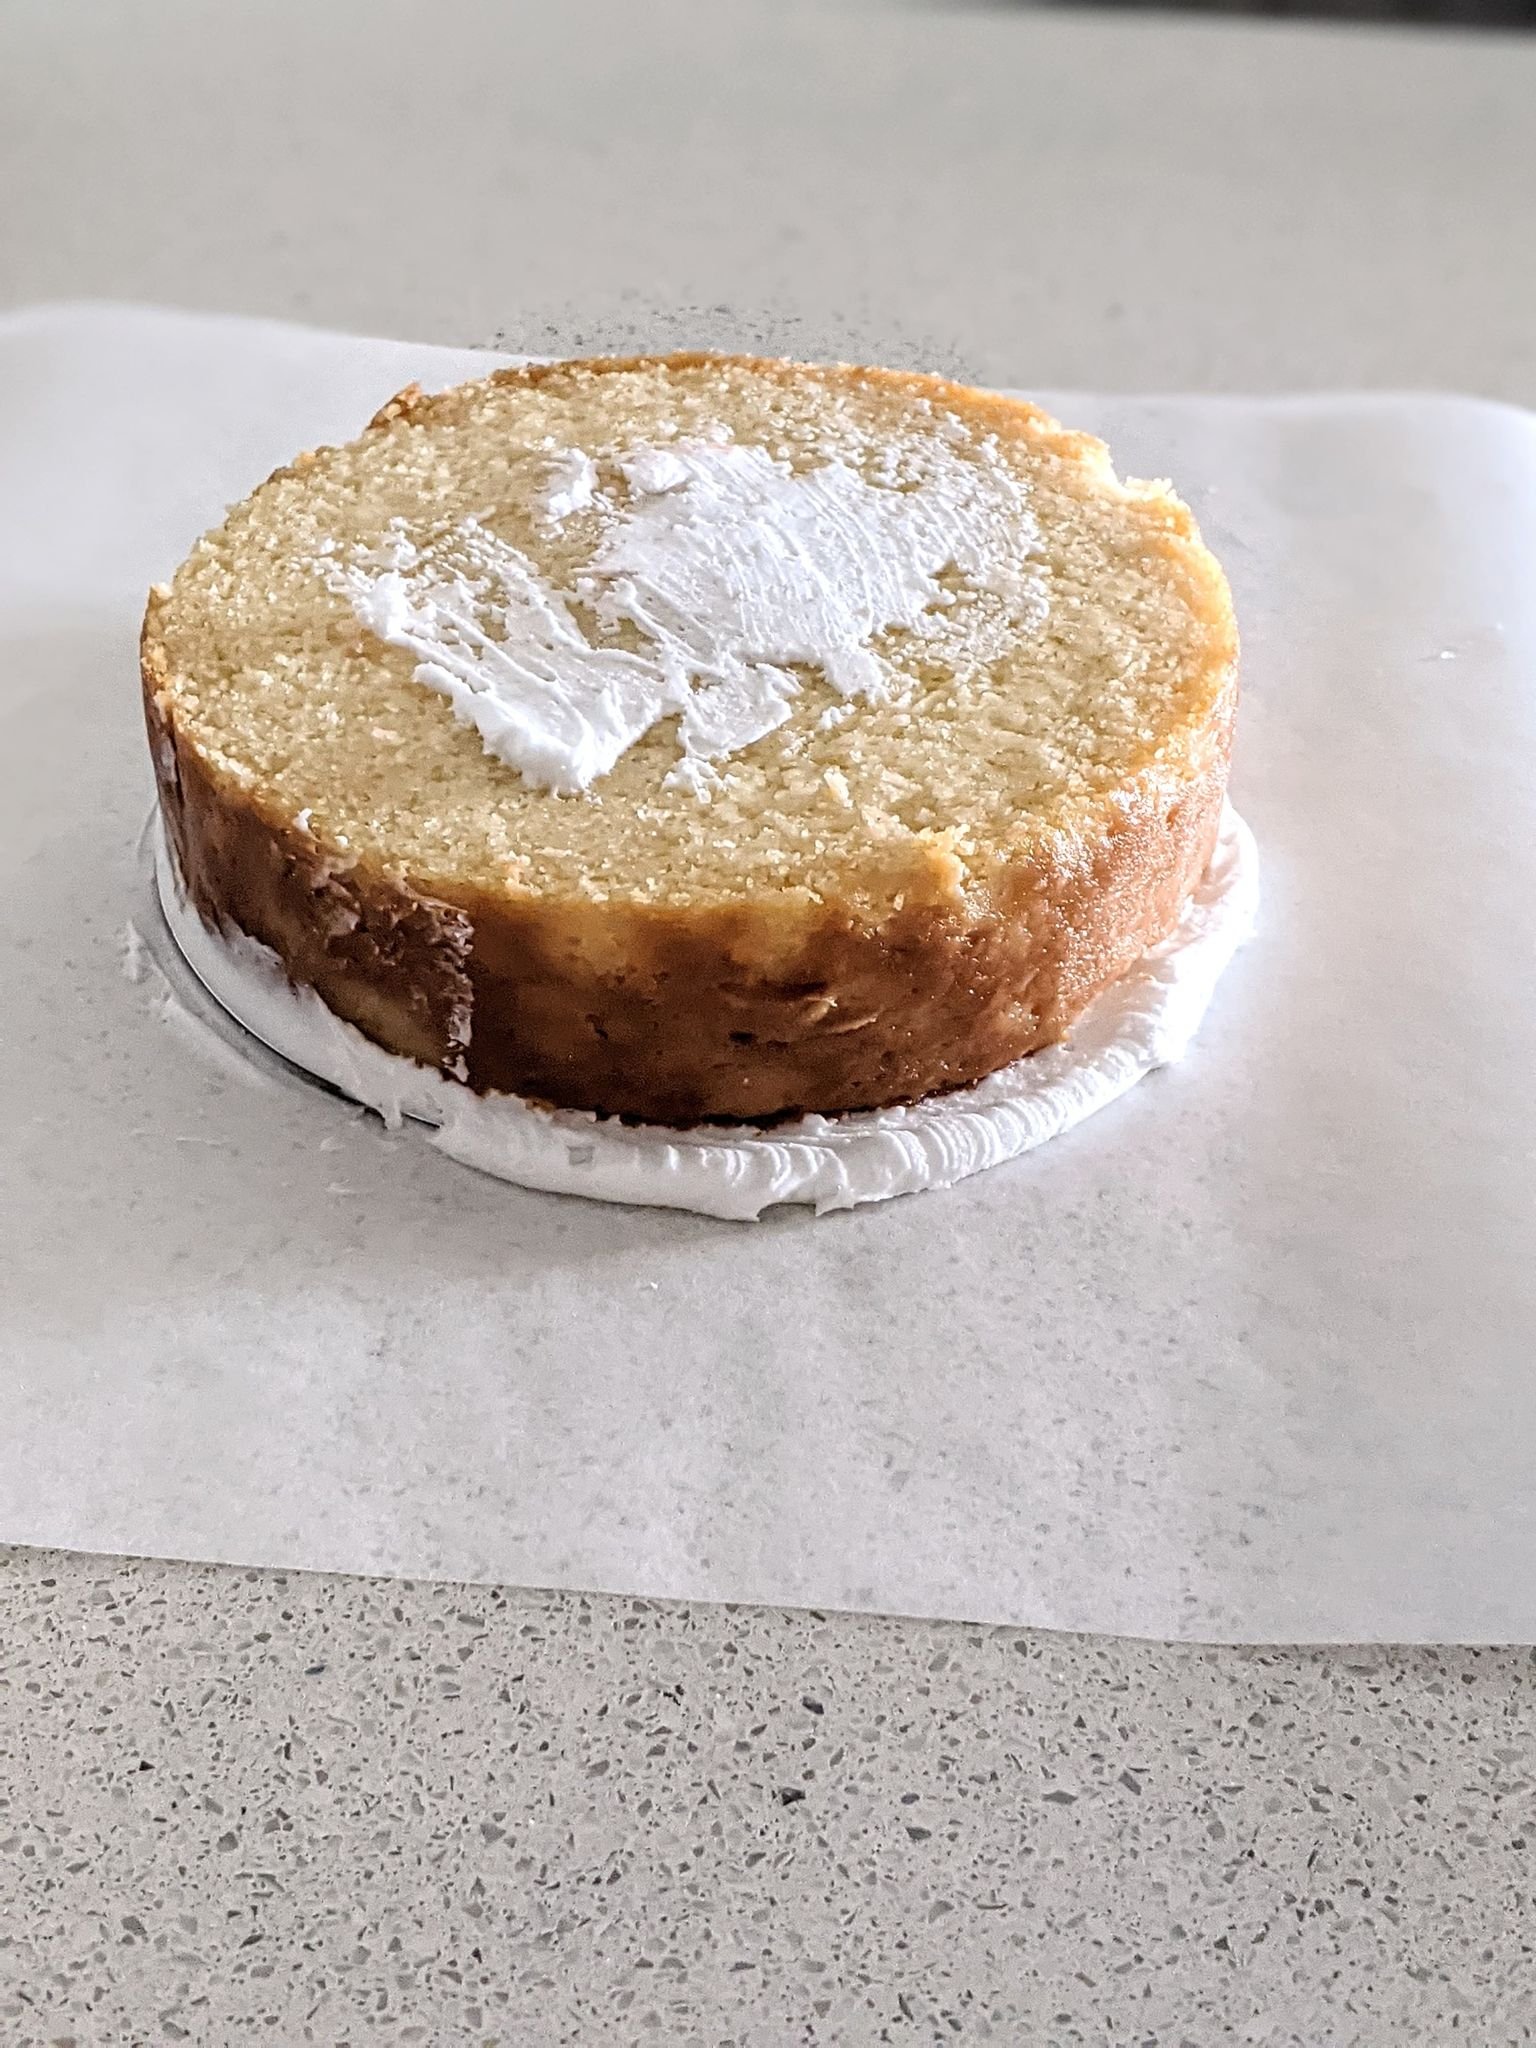
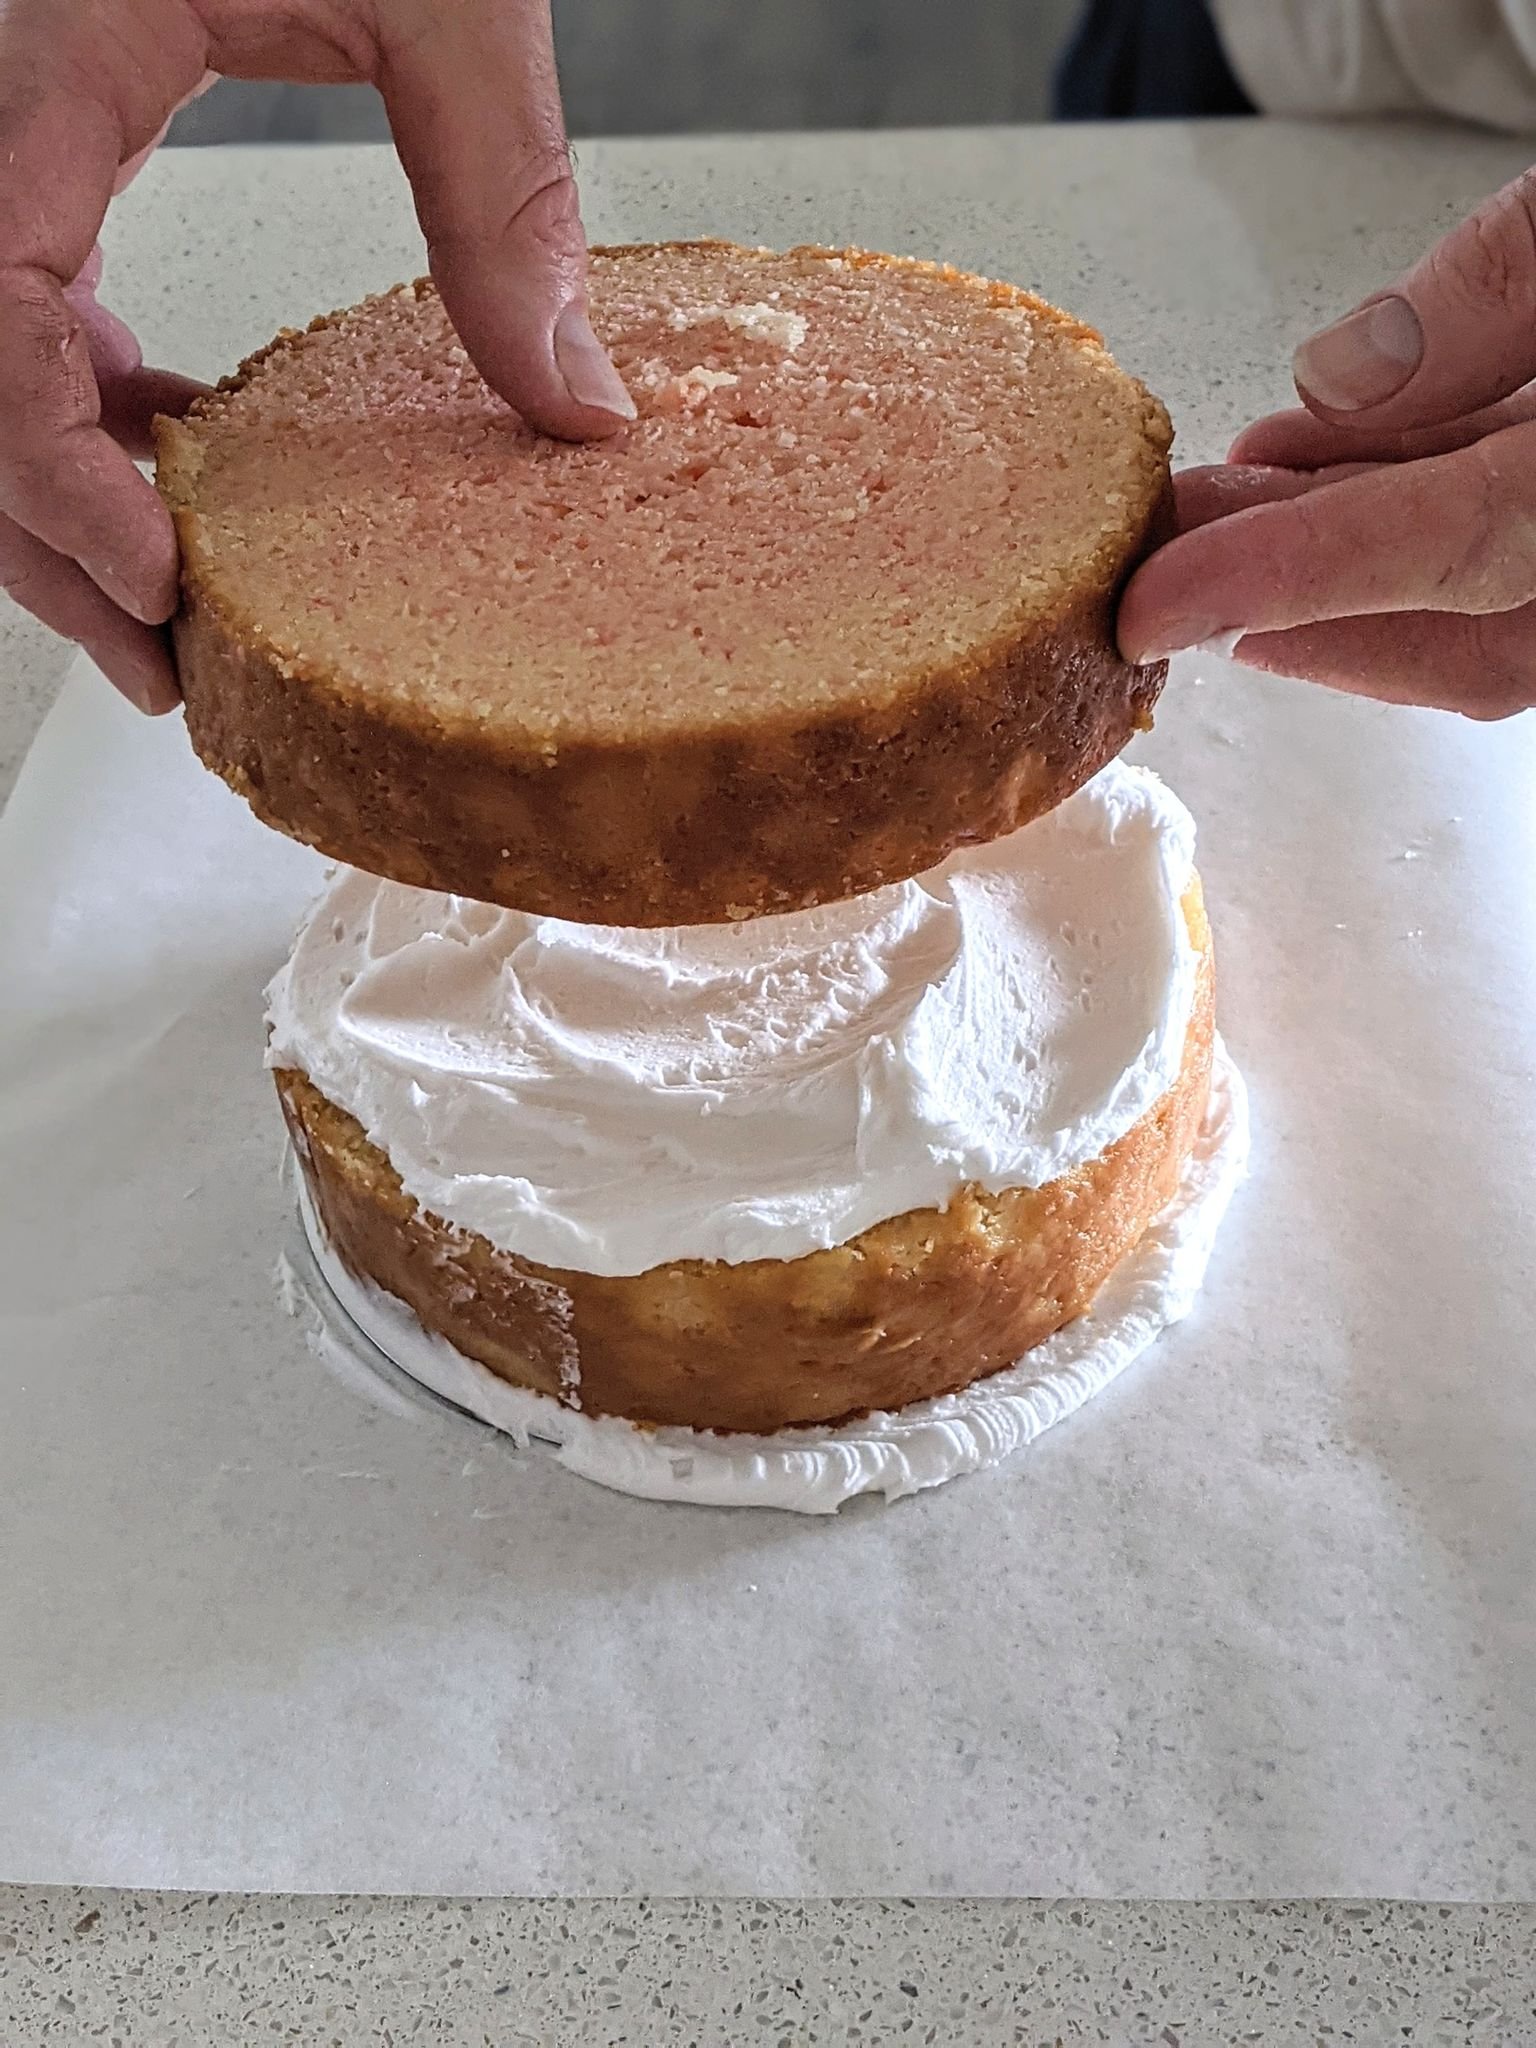
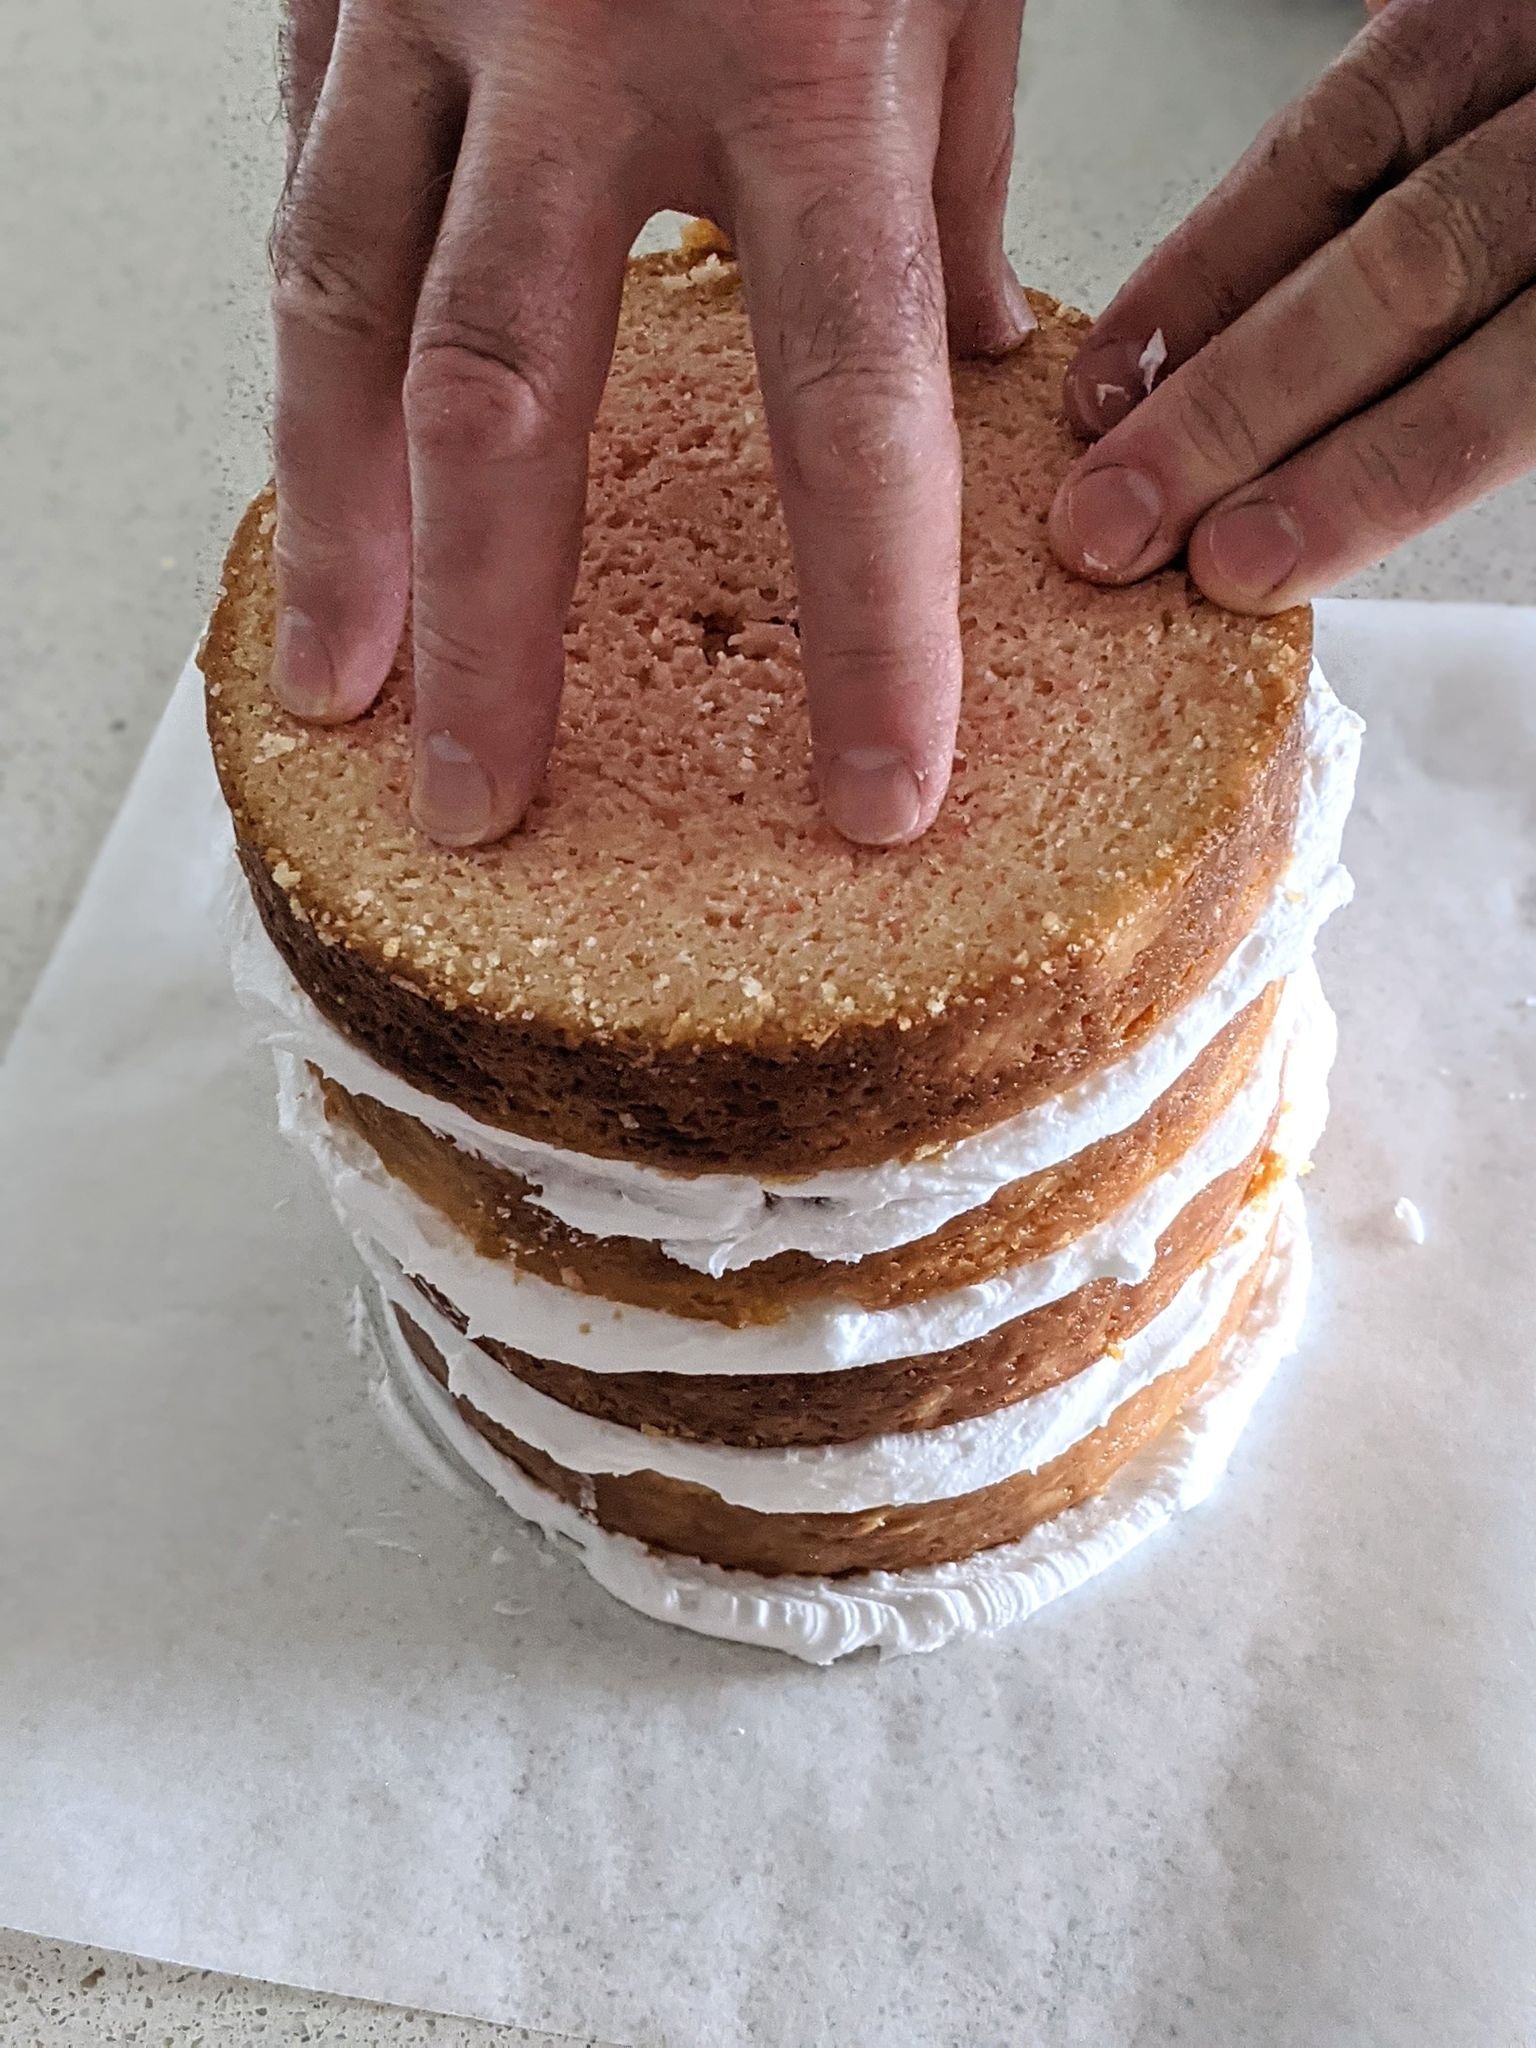
Slather 6” cake board with icing & attach your first layer.
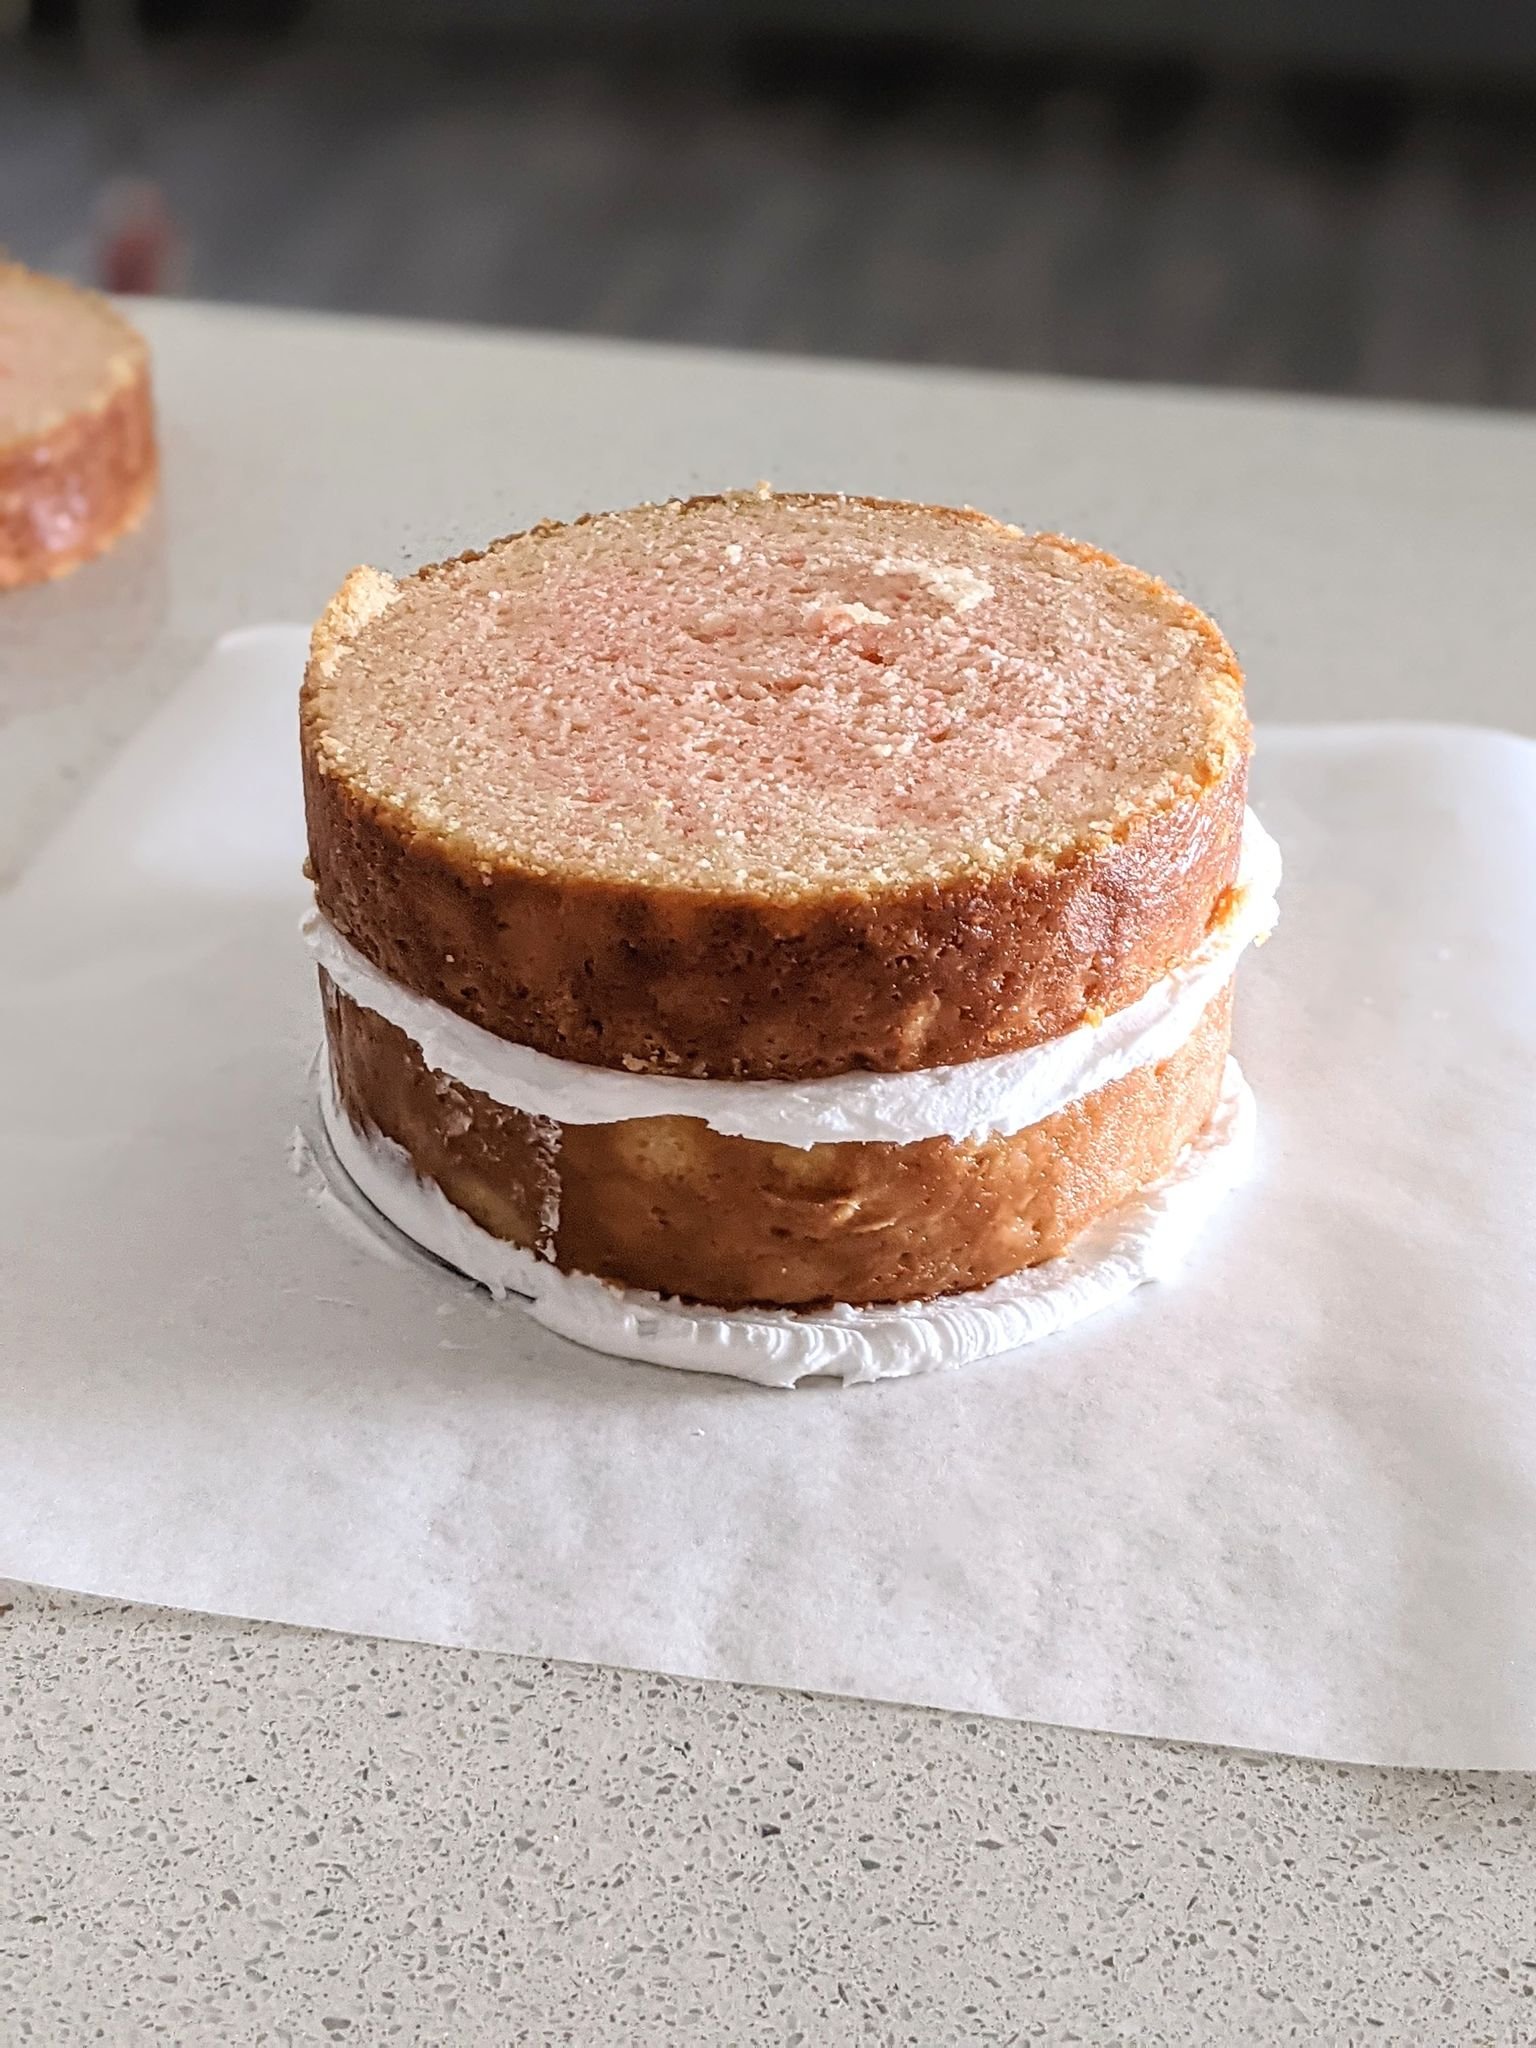
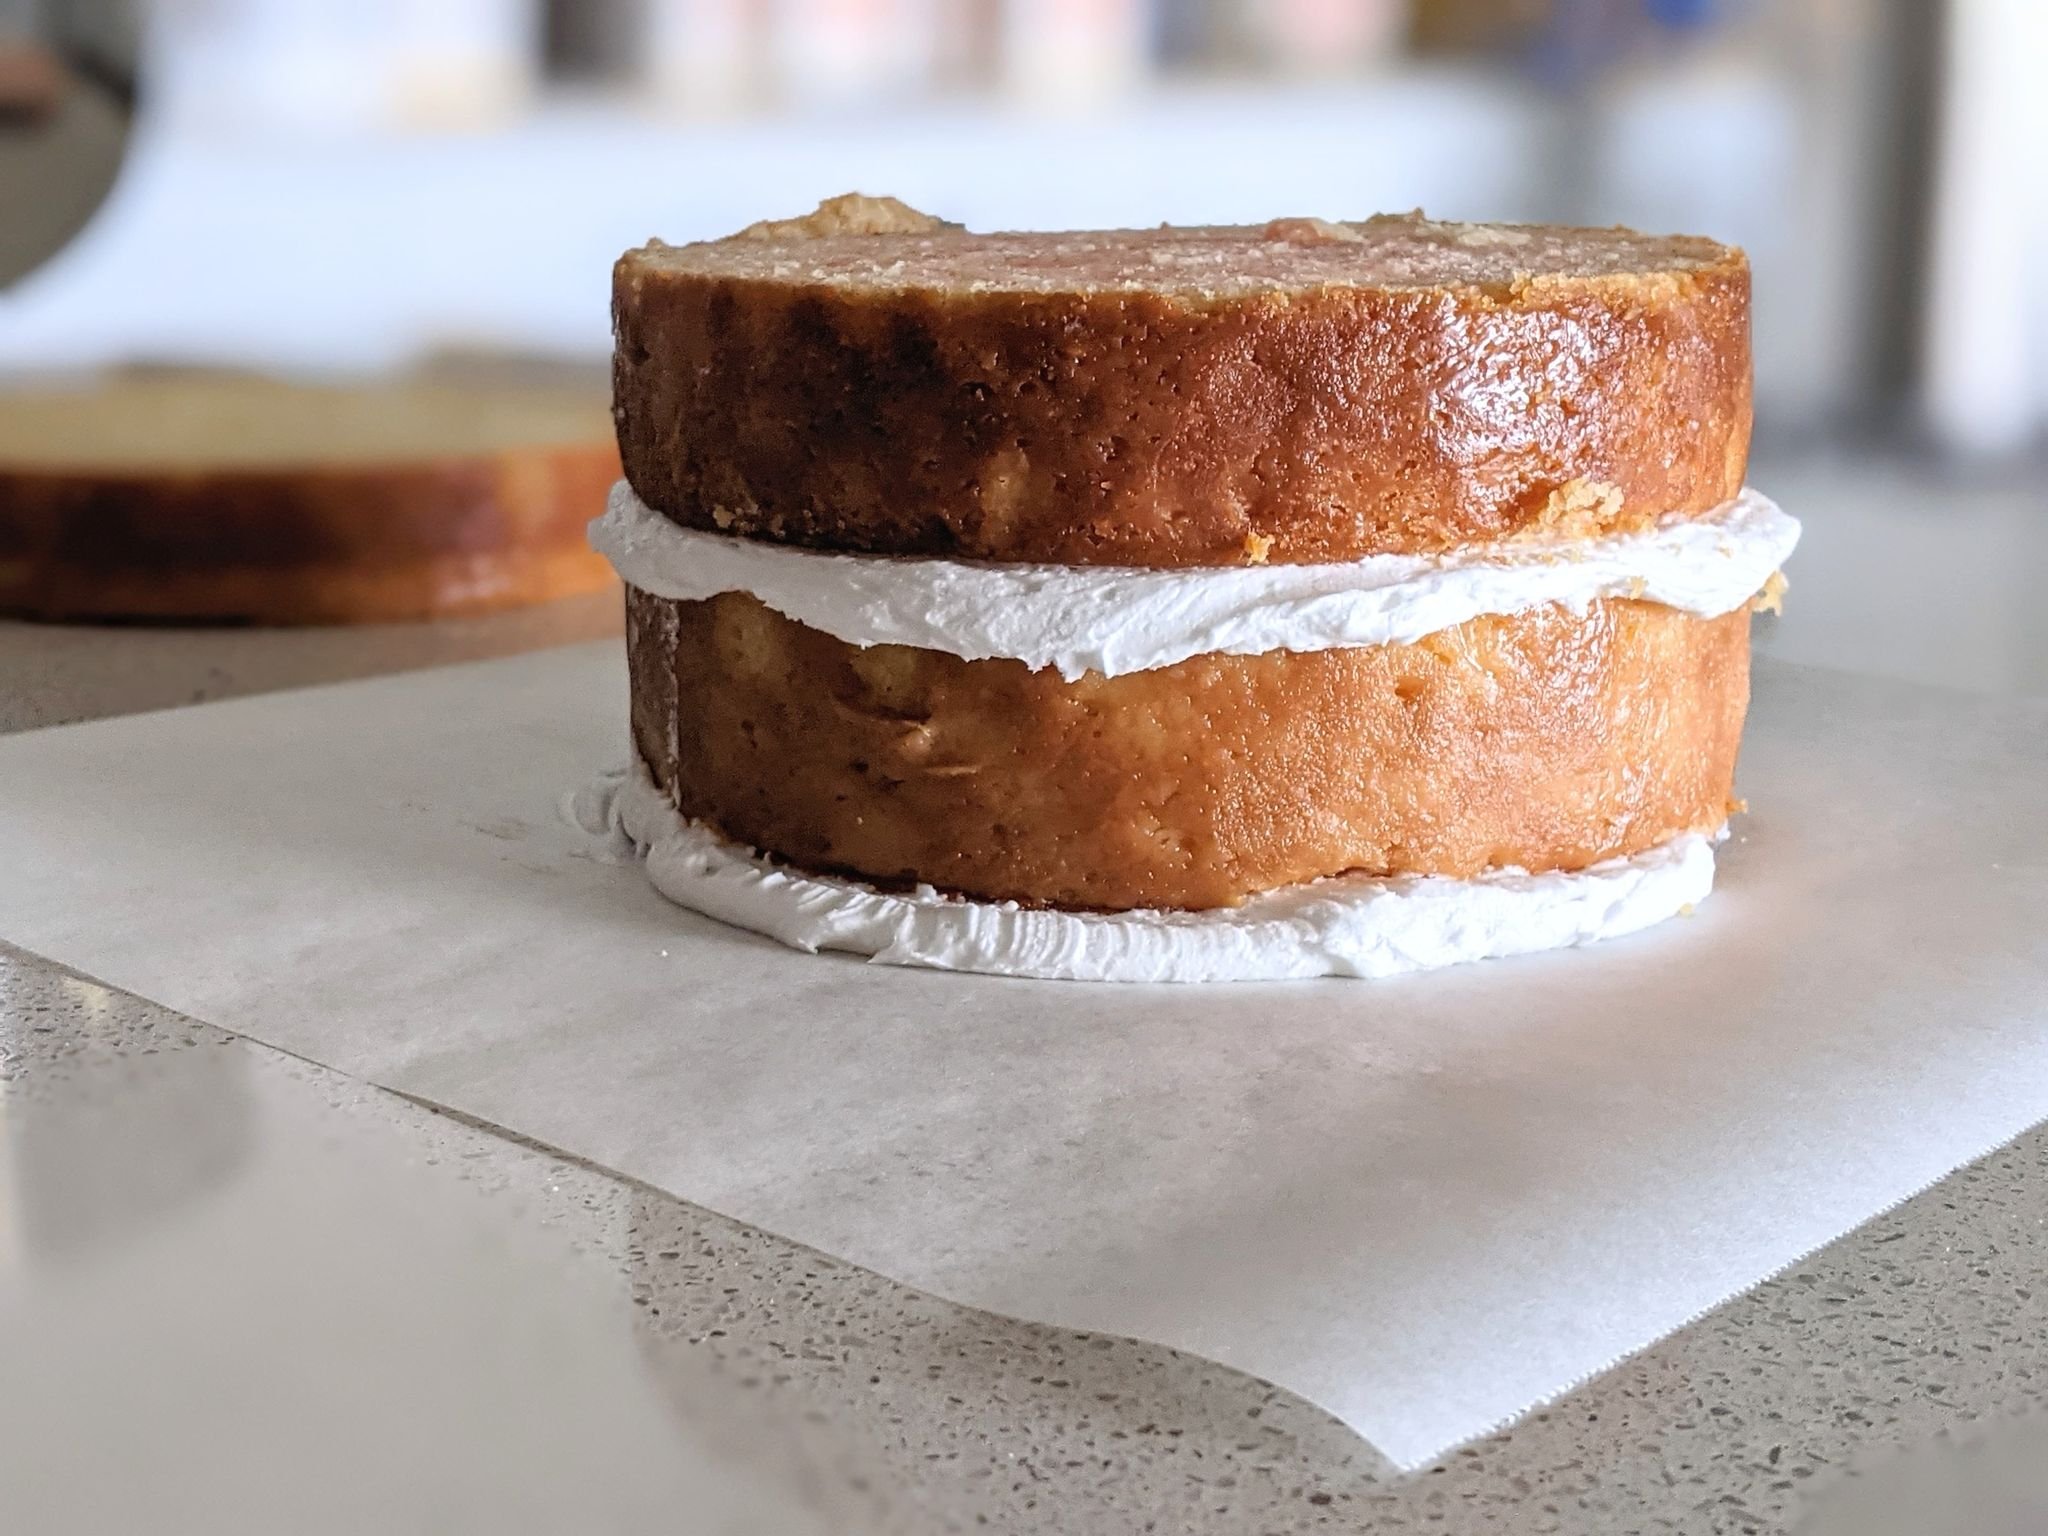
Continue to layer your icing and cake layers till all 4 are used.
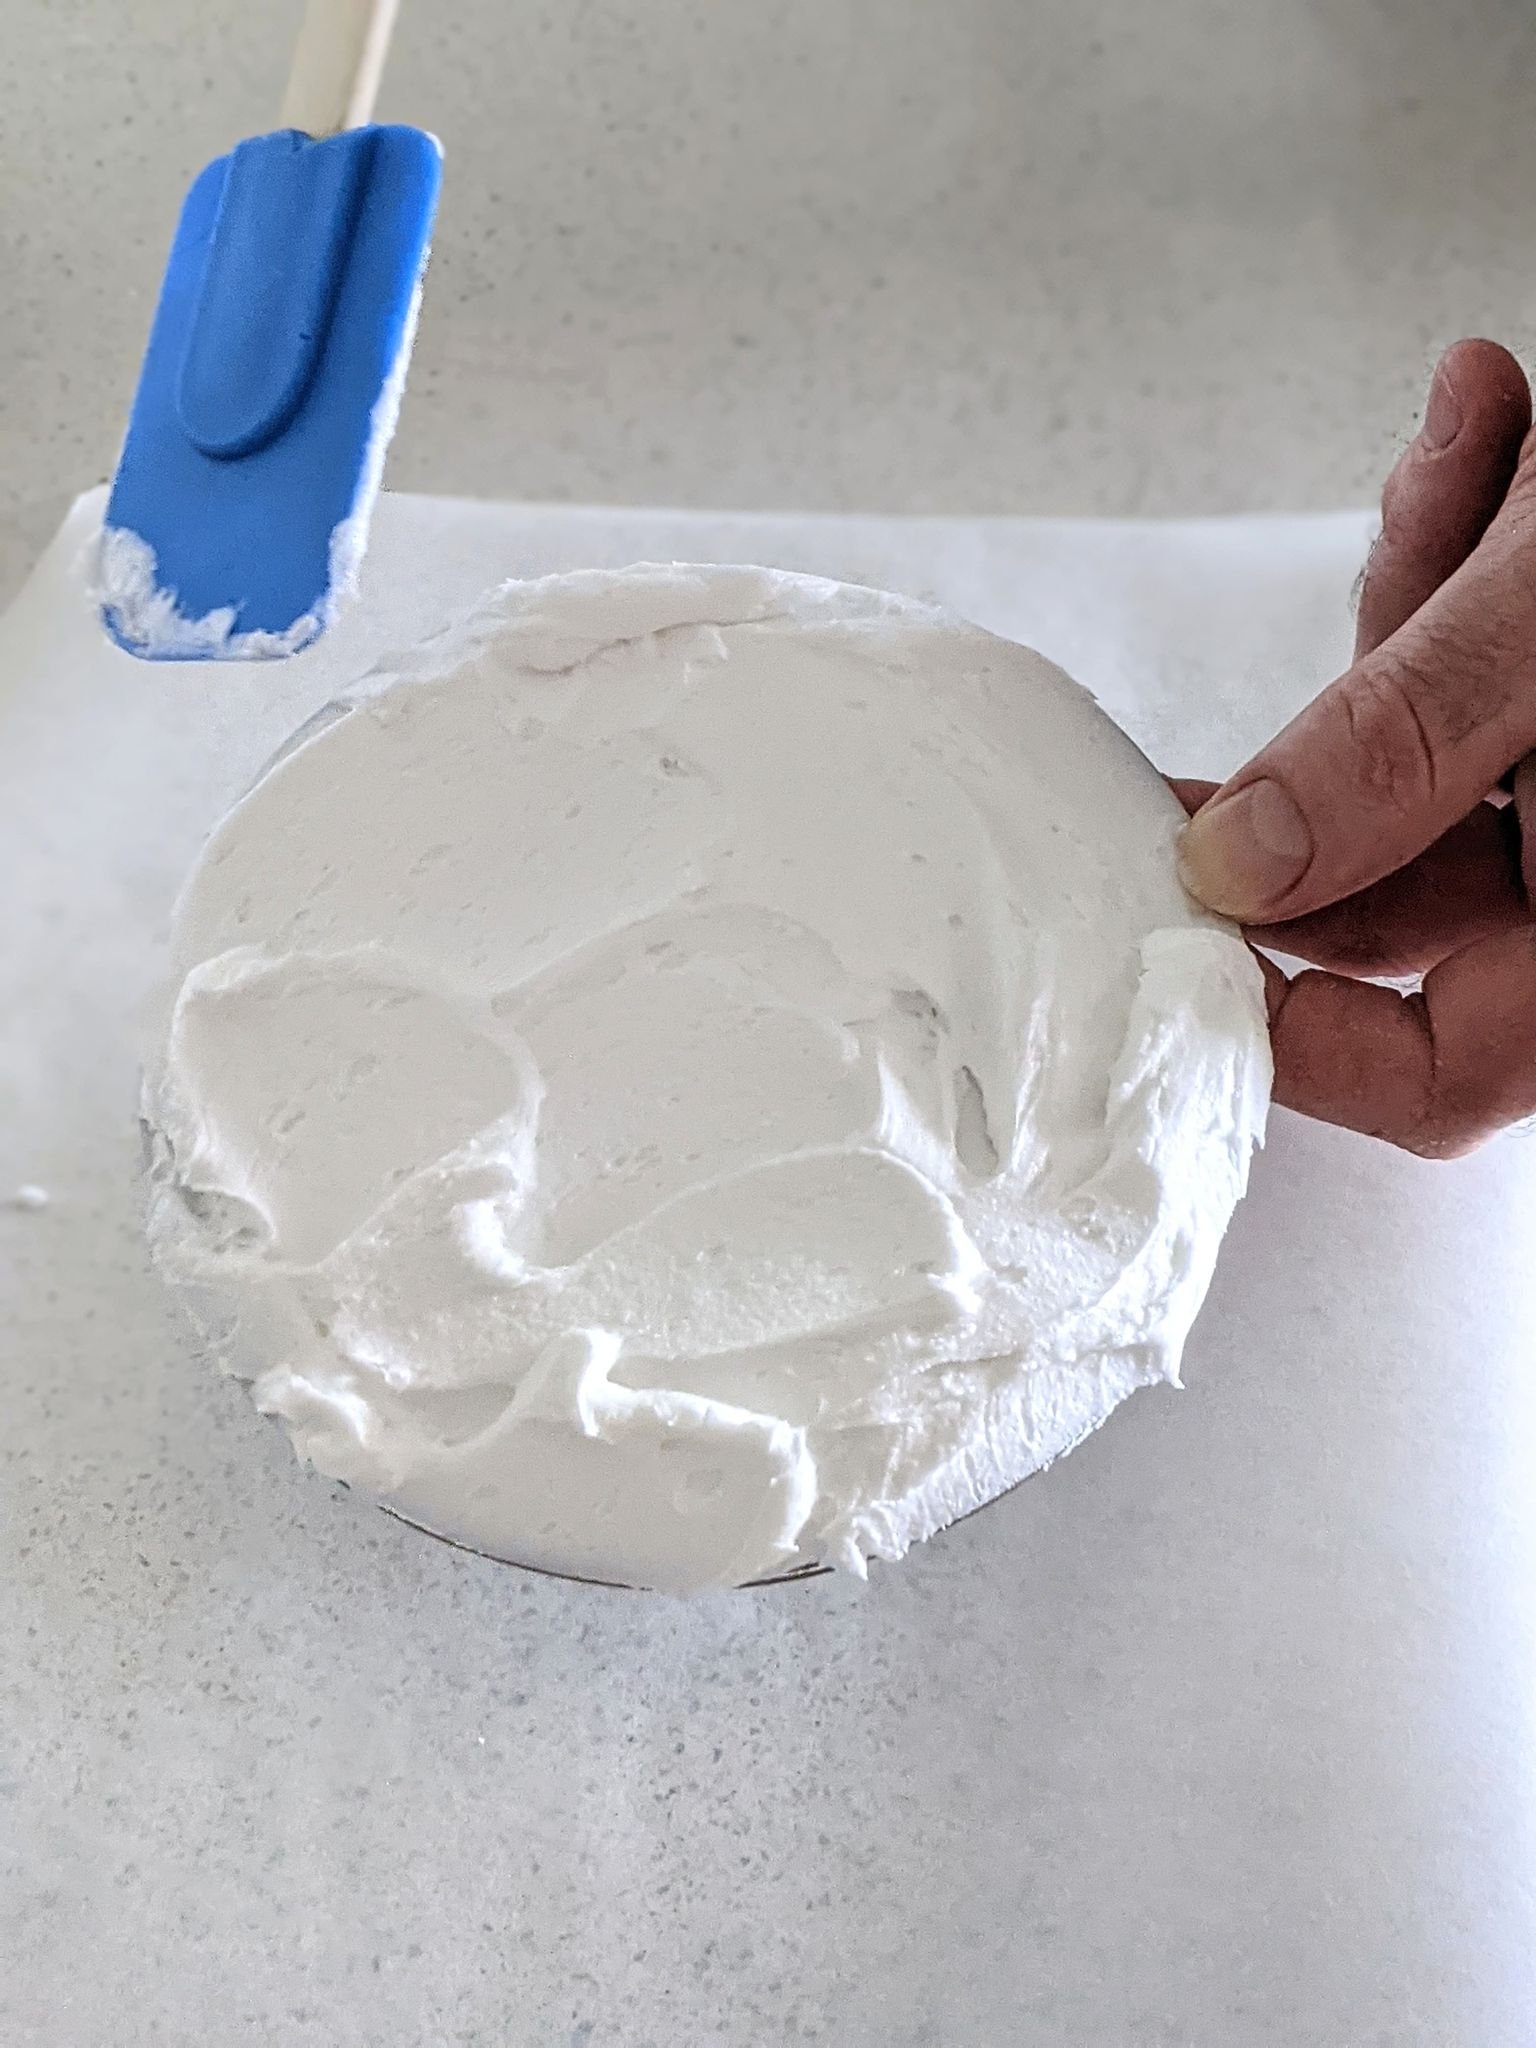
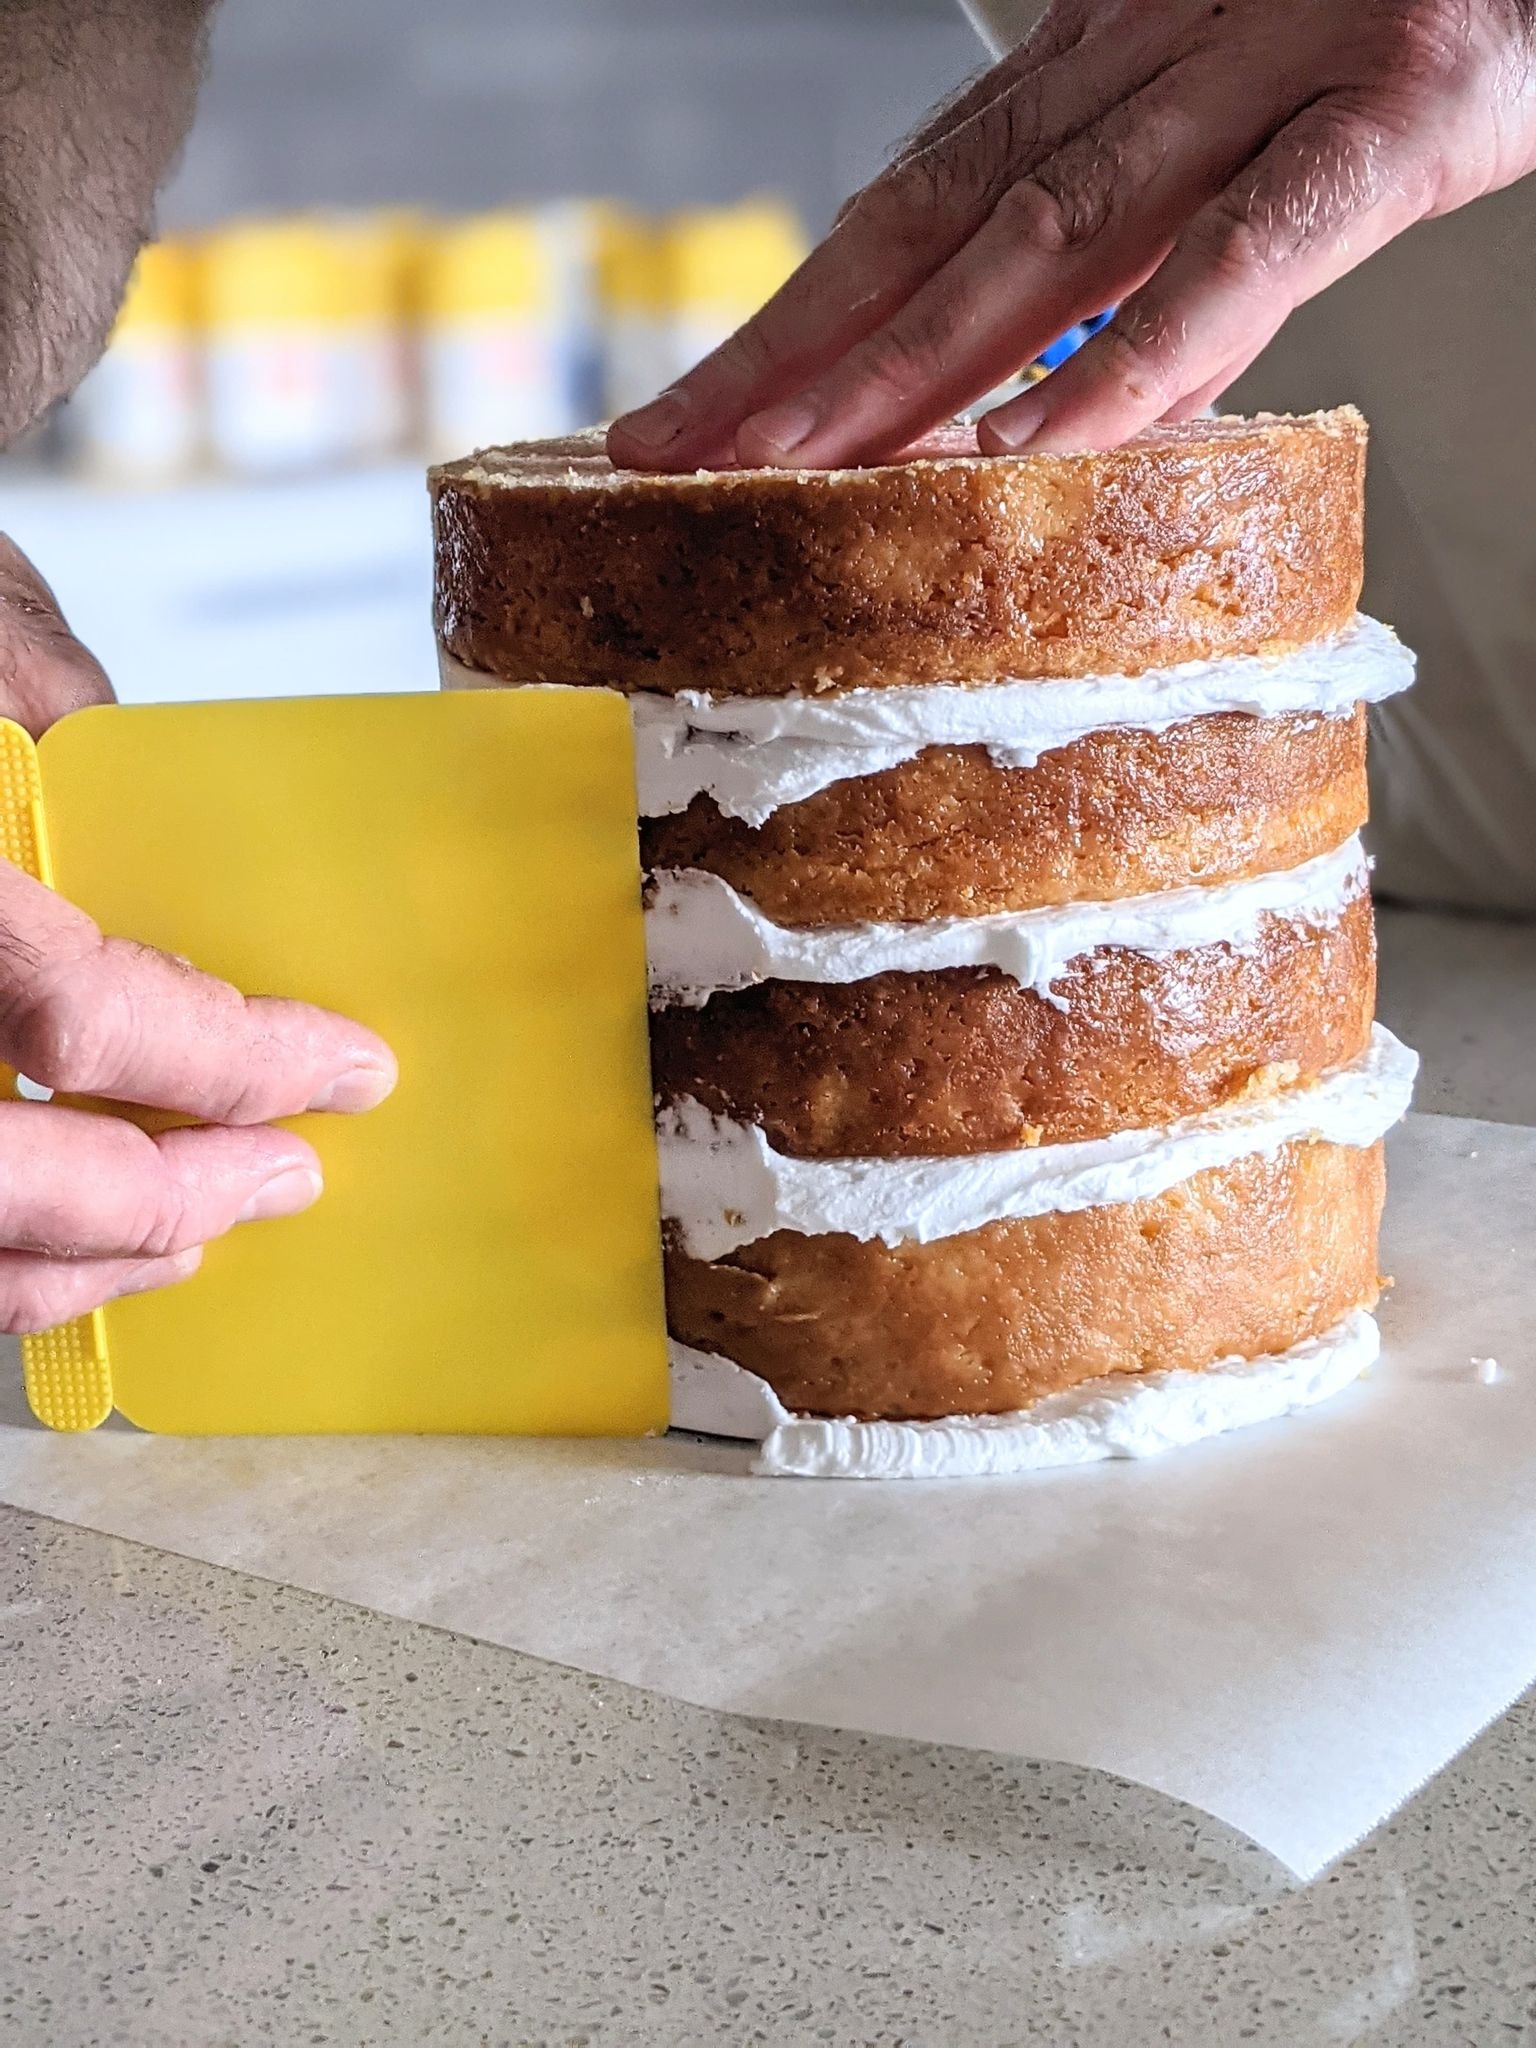
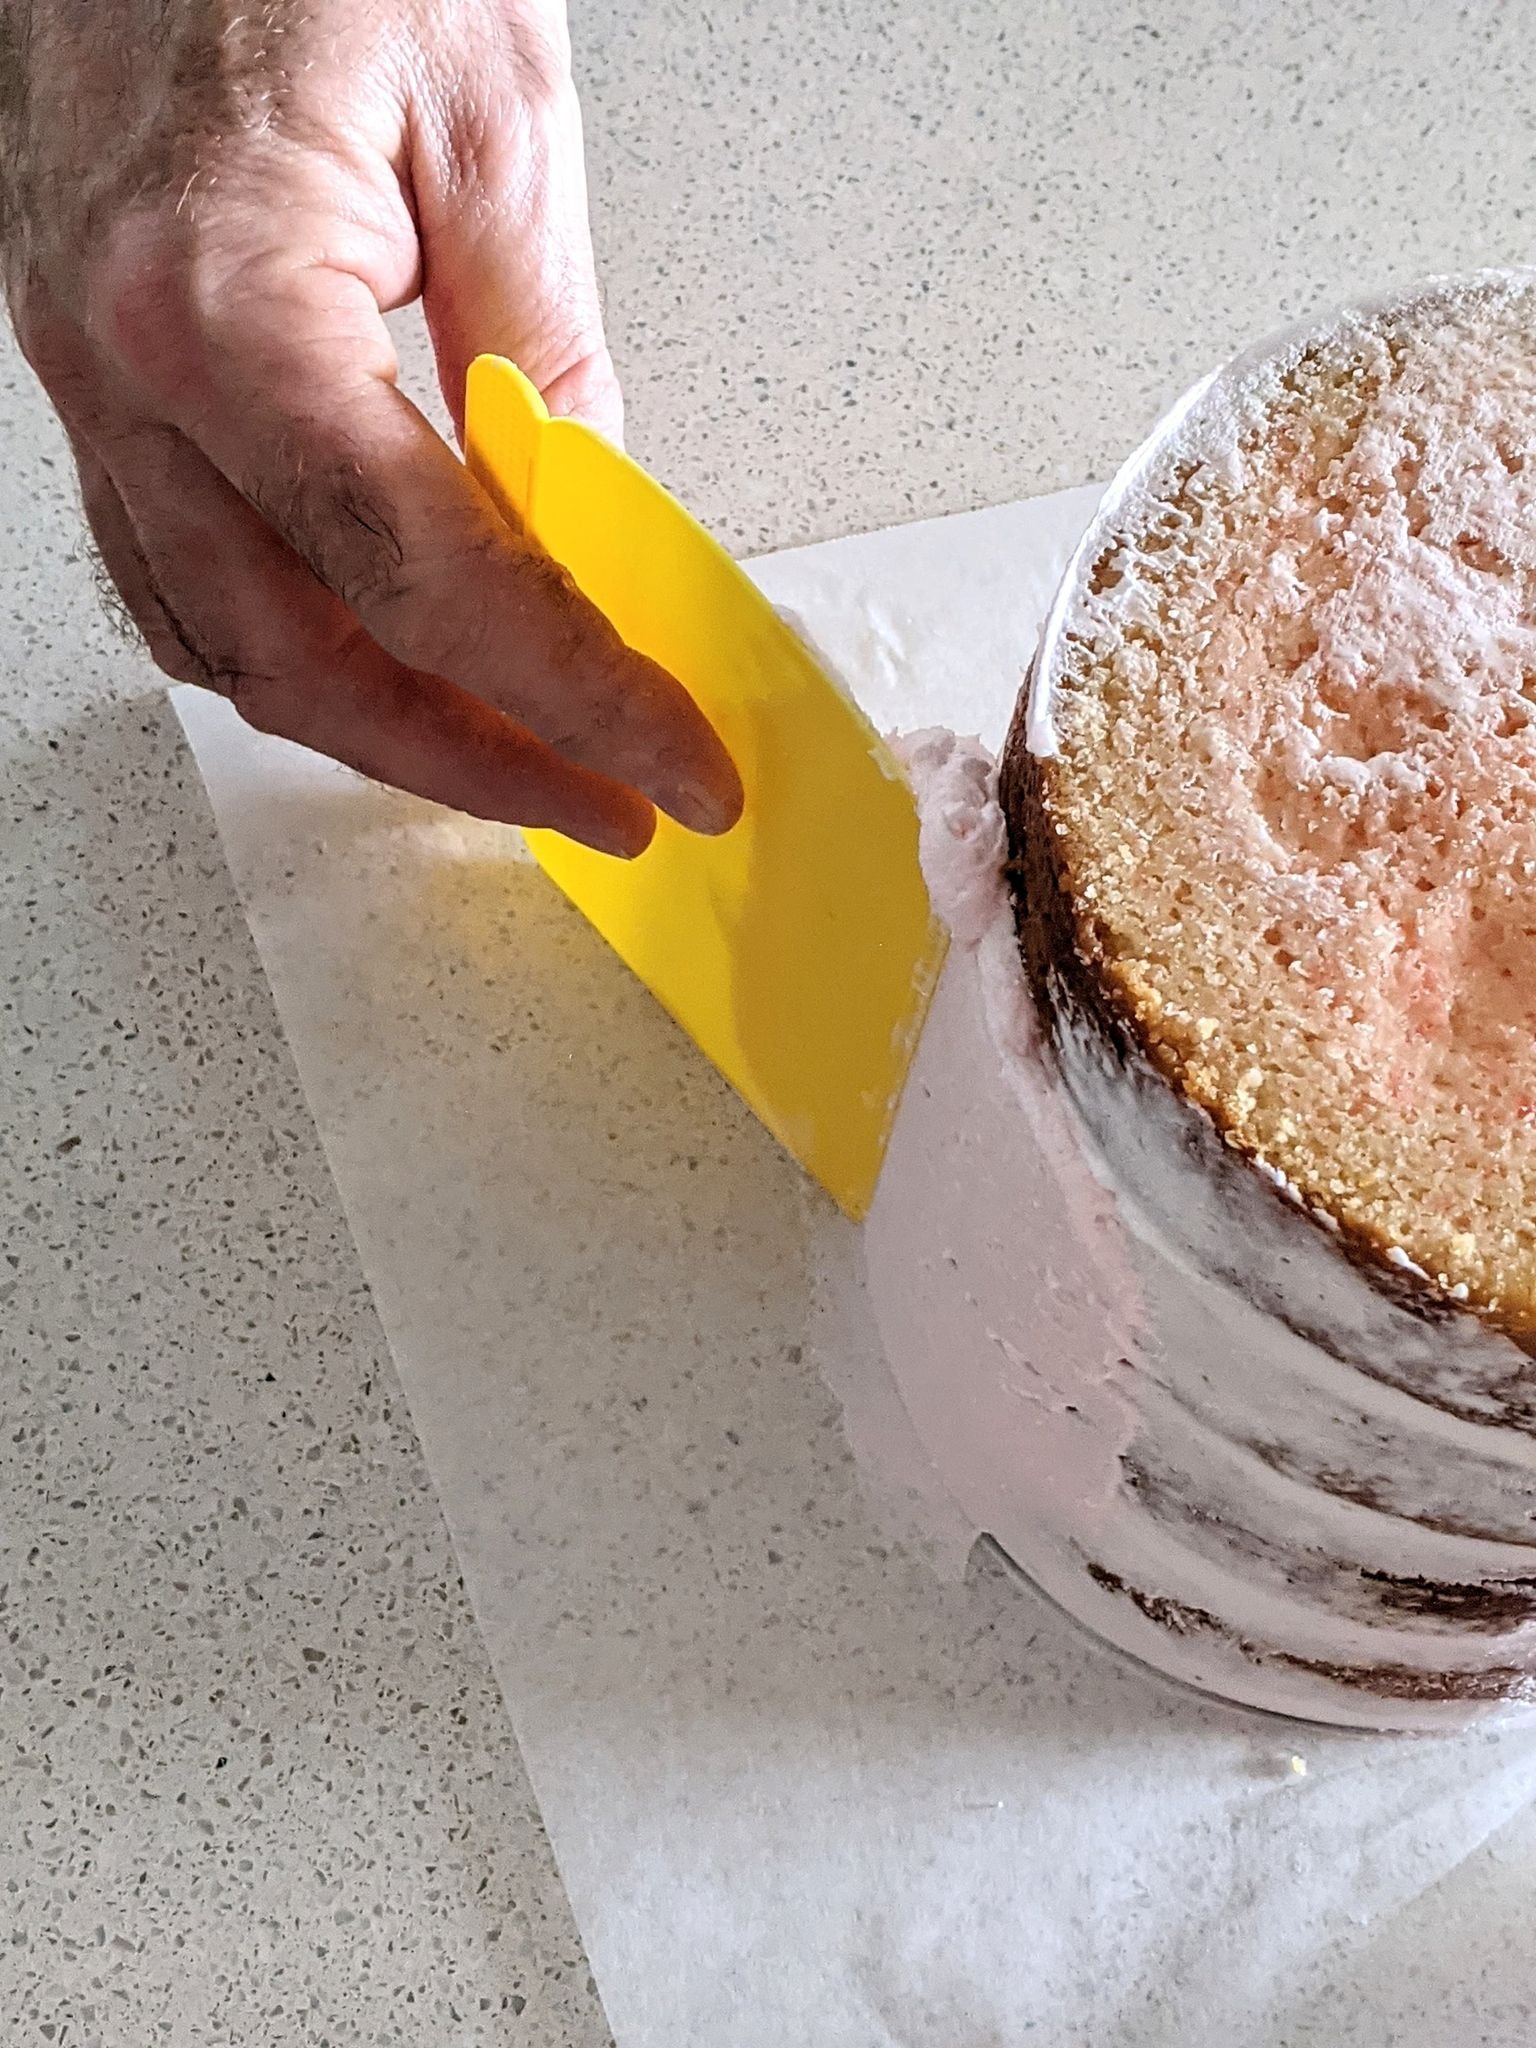
Scrape excess icing with a straight edge, then refrigerate whilst you colour your icing. Add a few drops of your favourite colour, I prefer gel colours rather than liquid, to the icing.
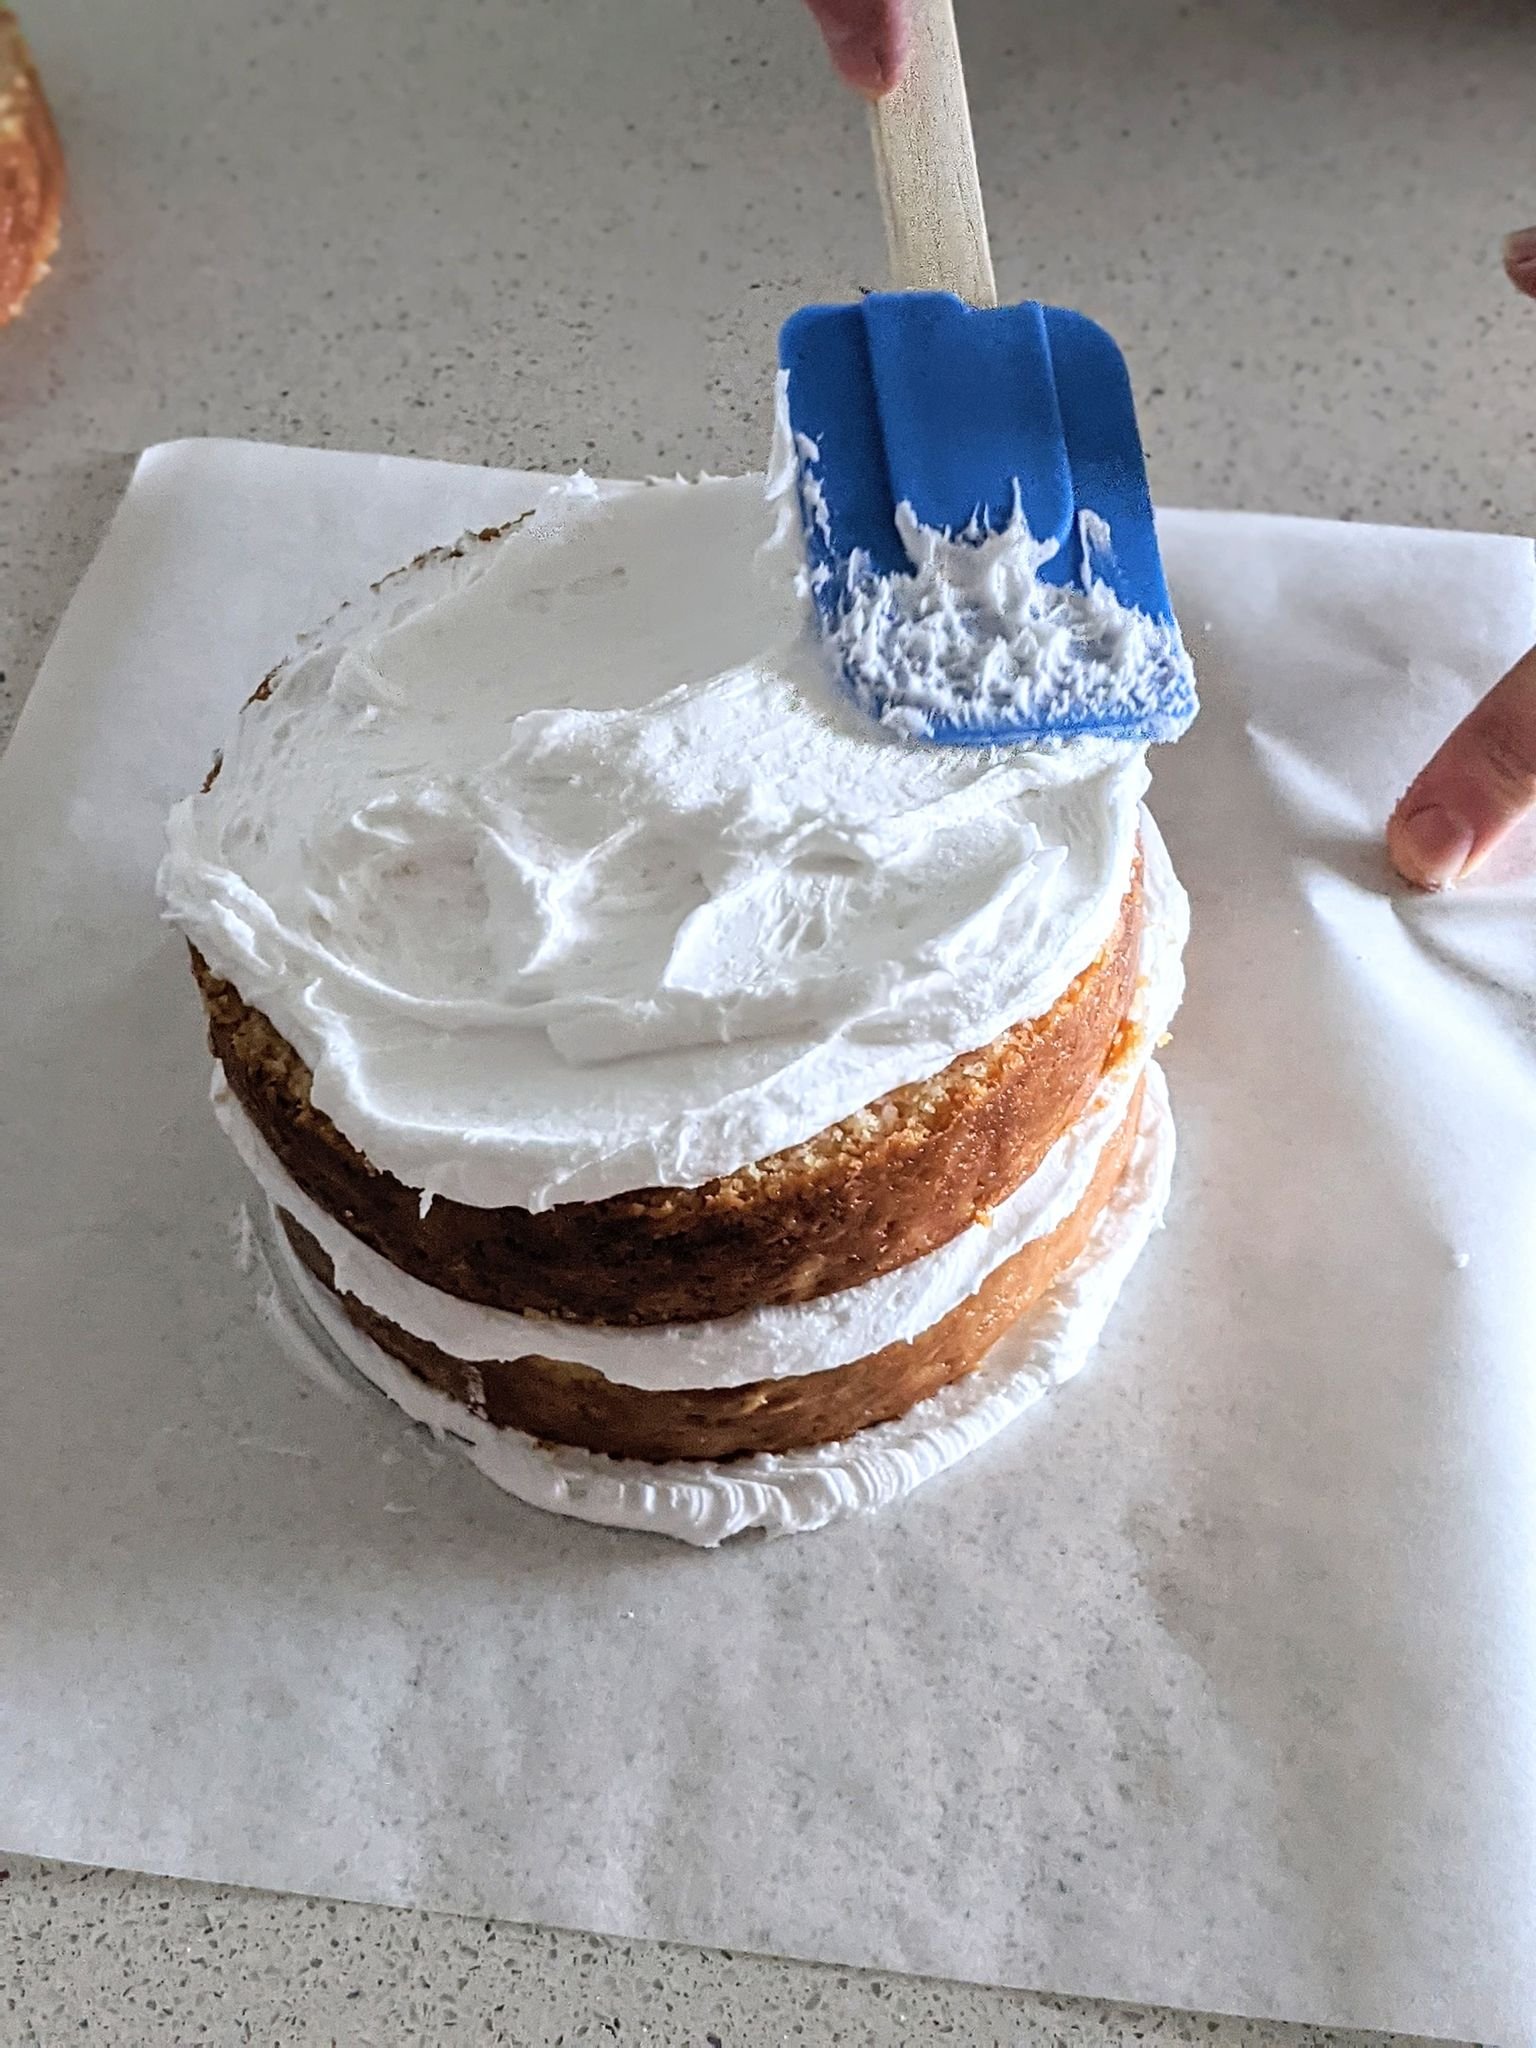
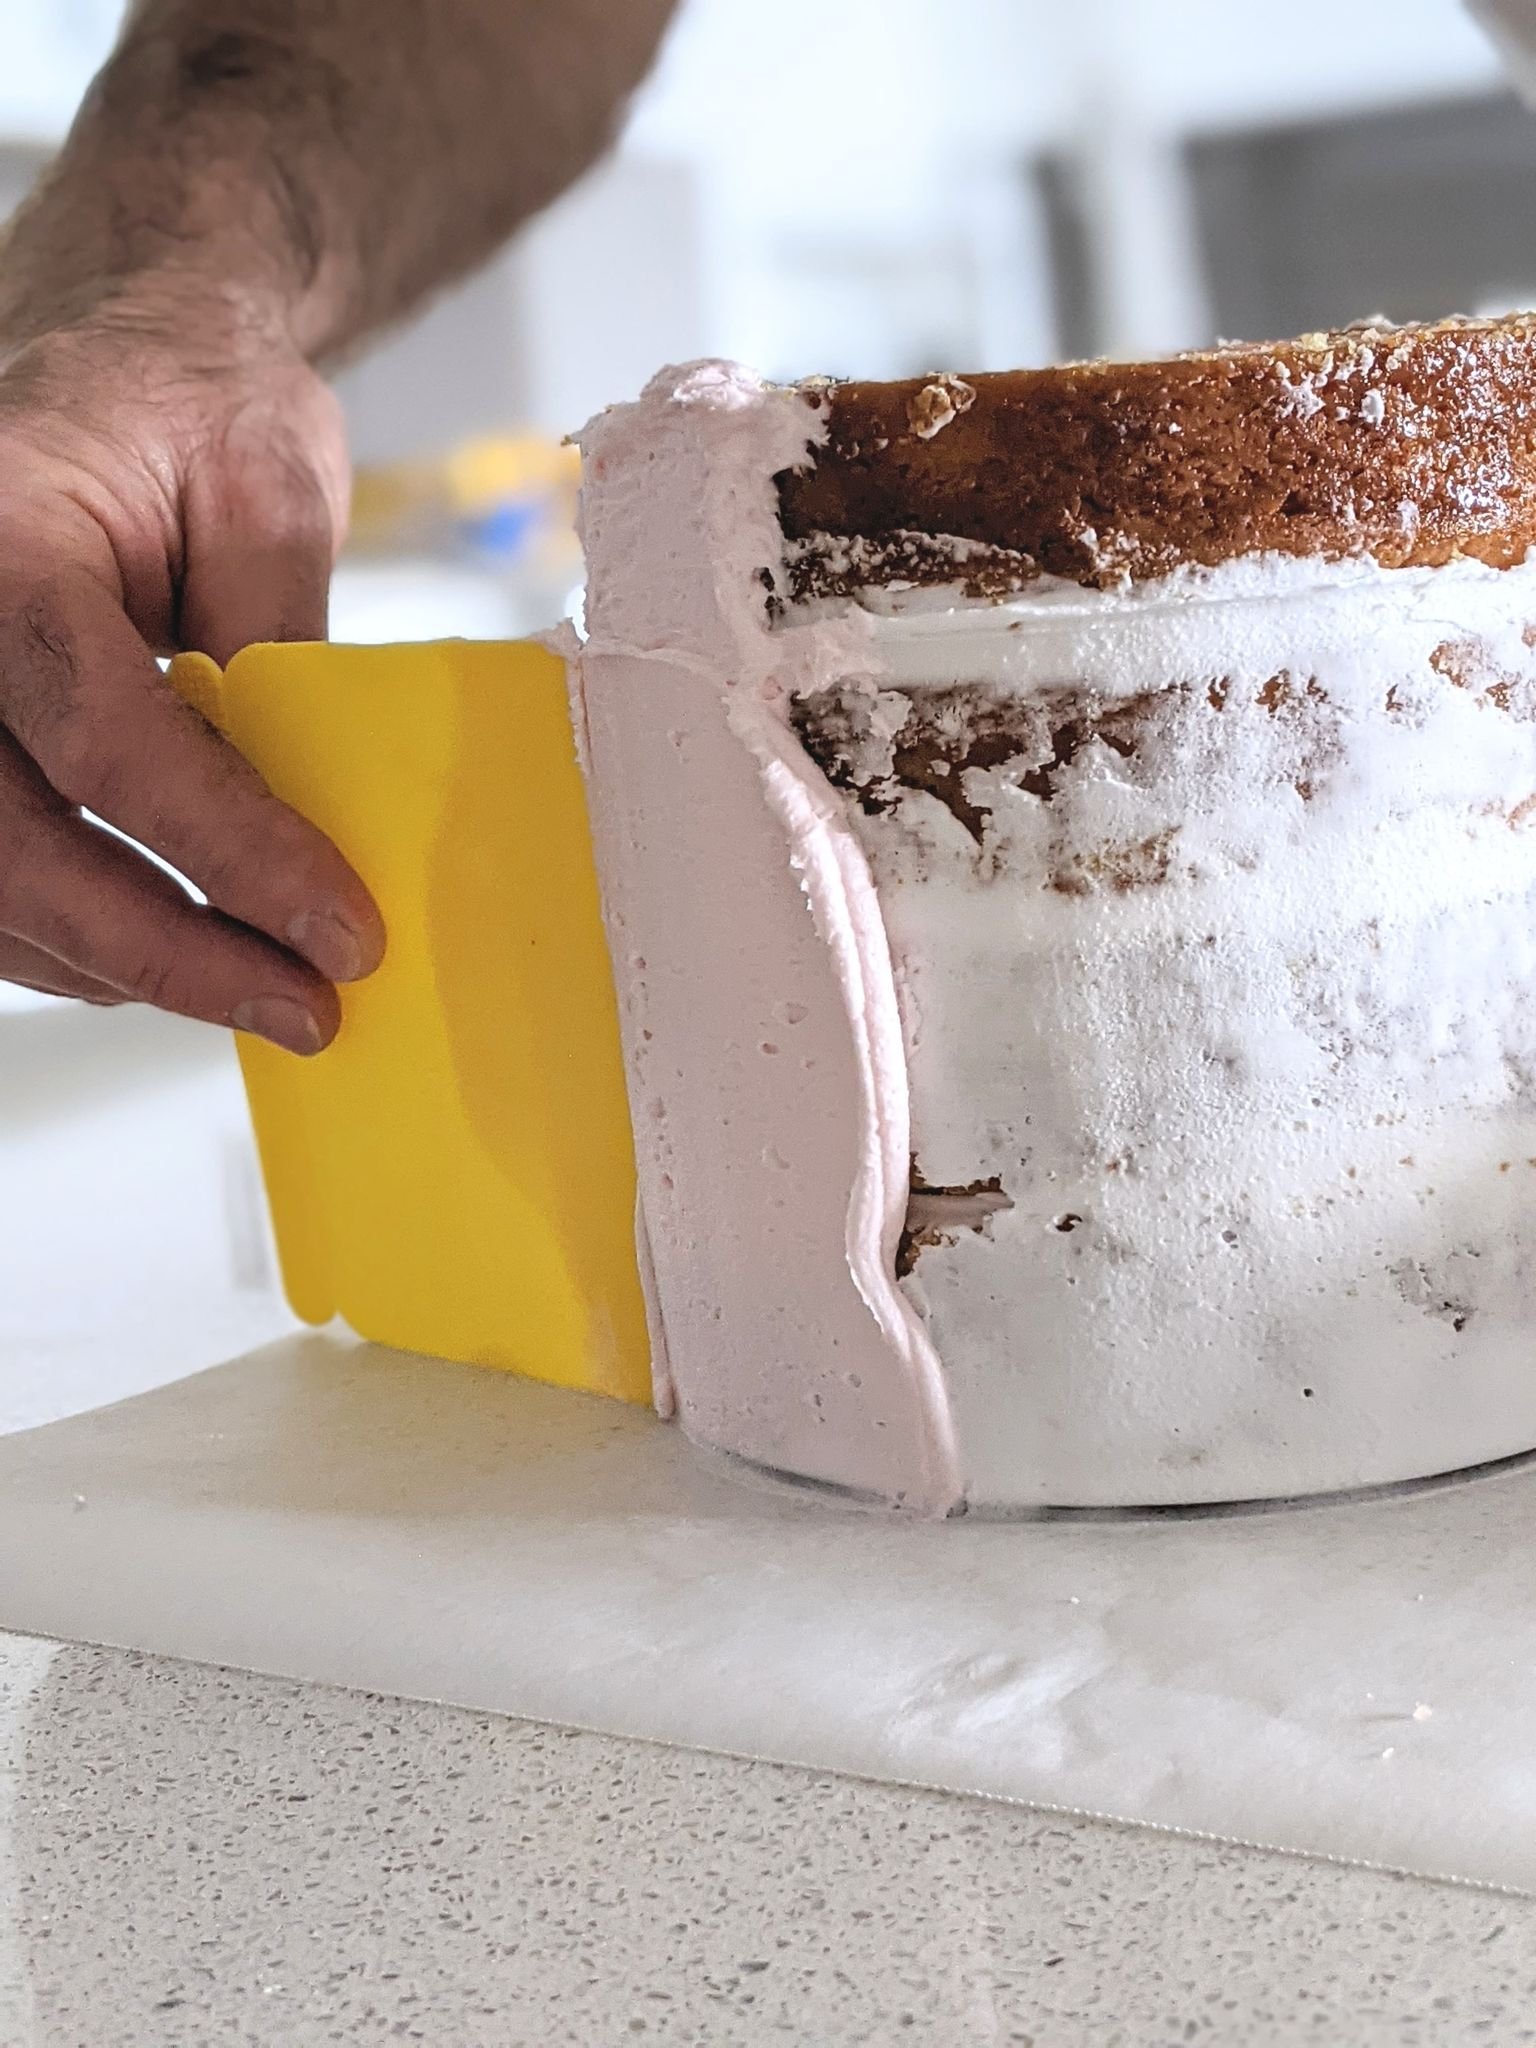
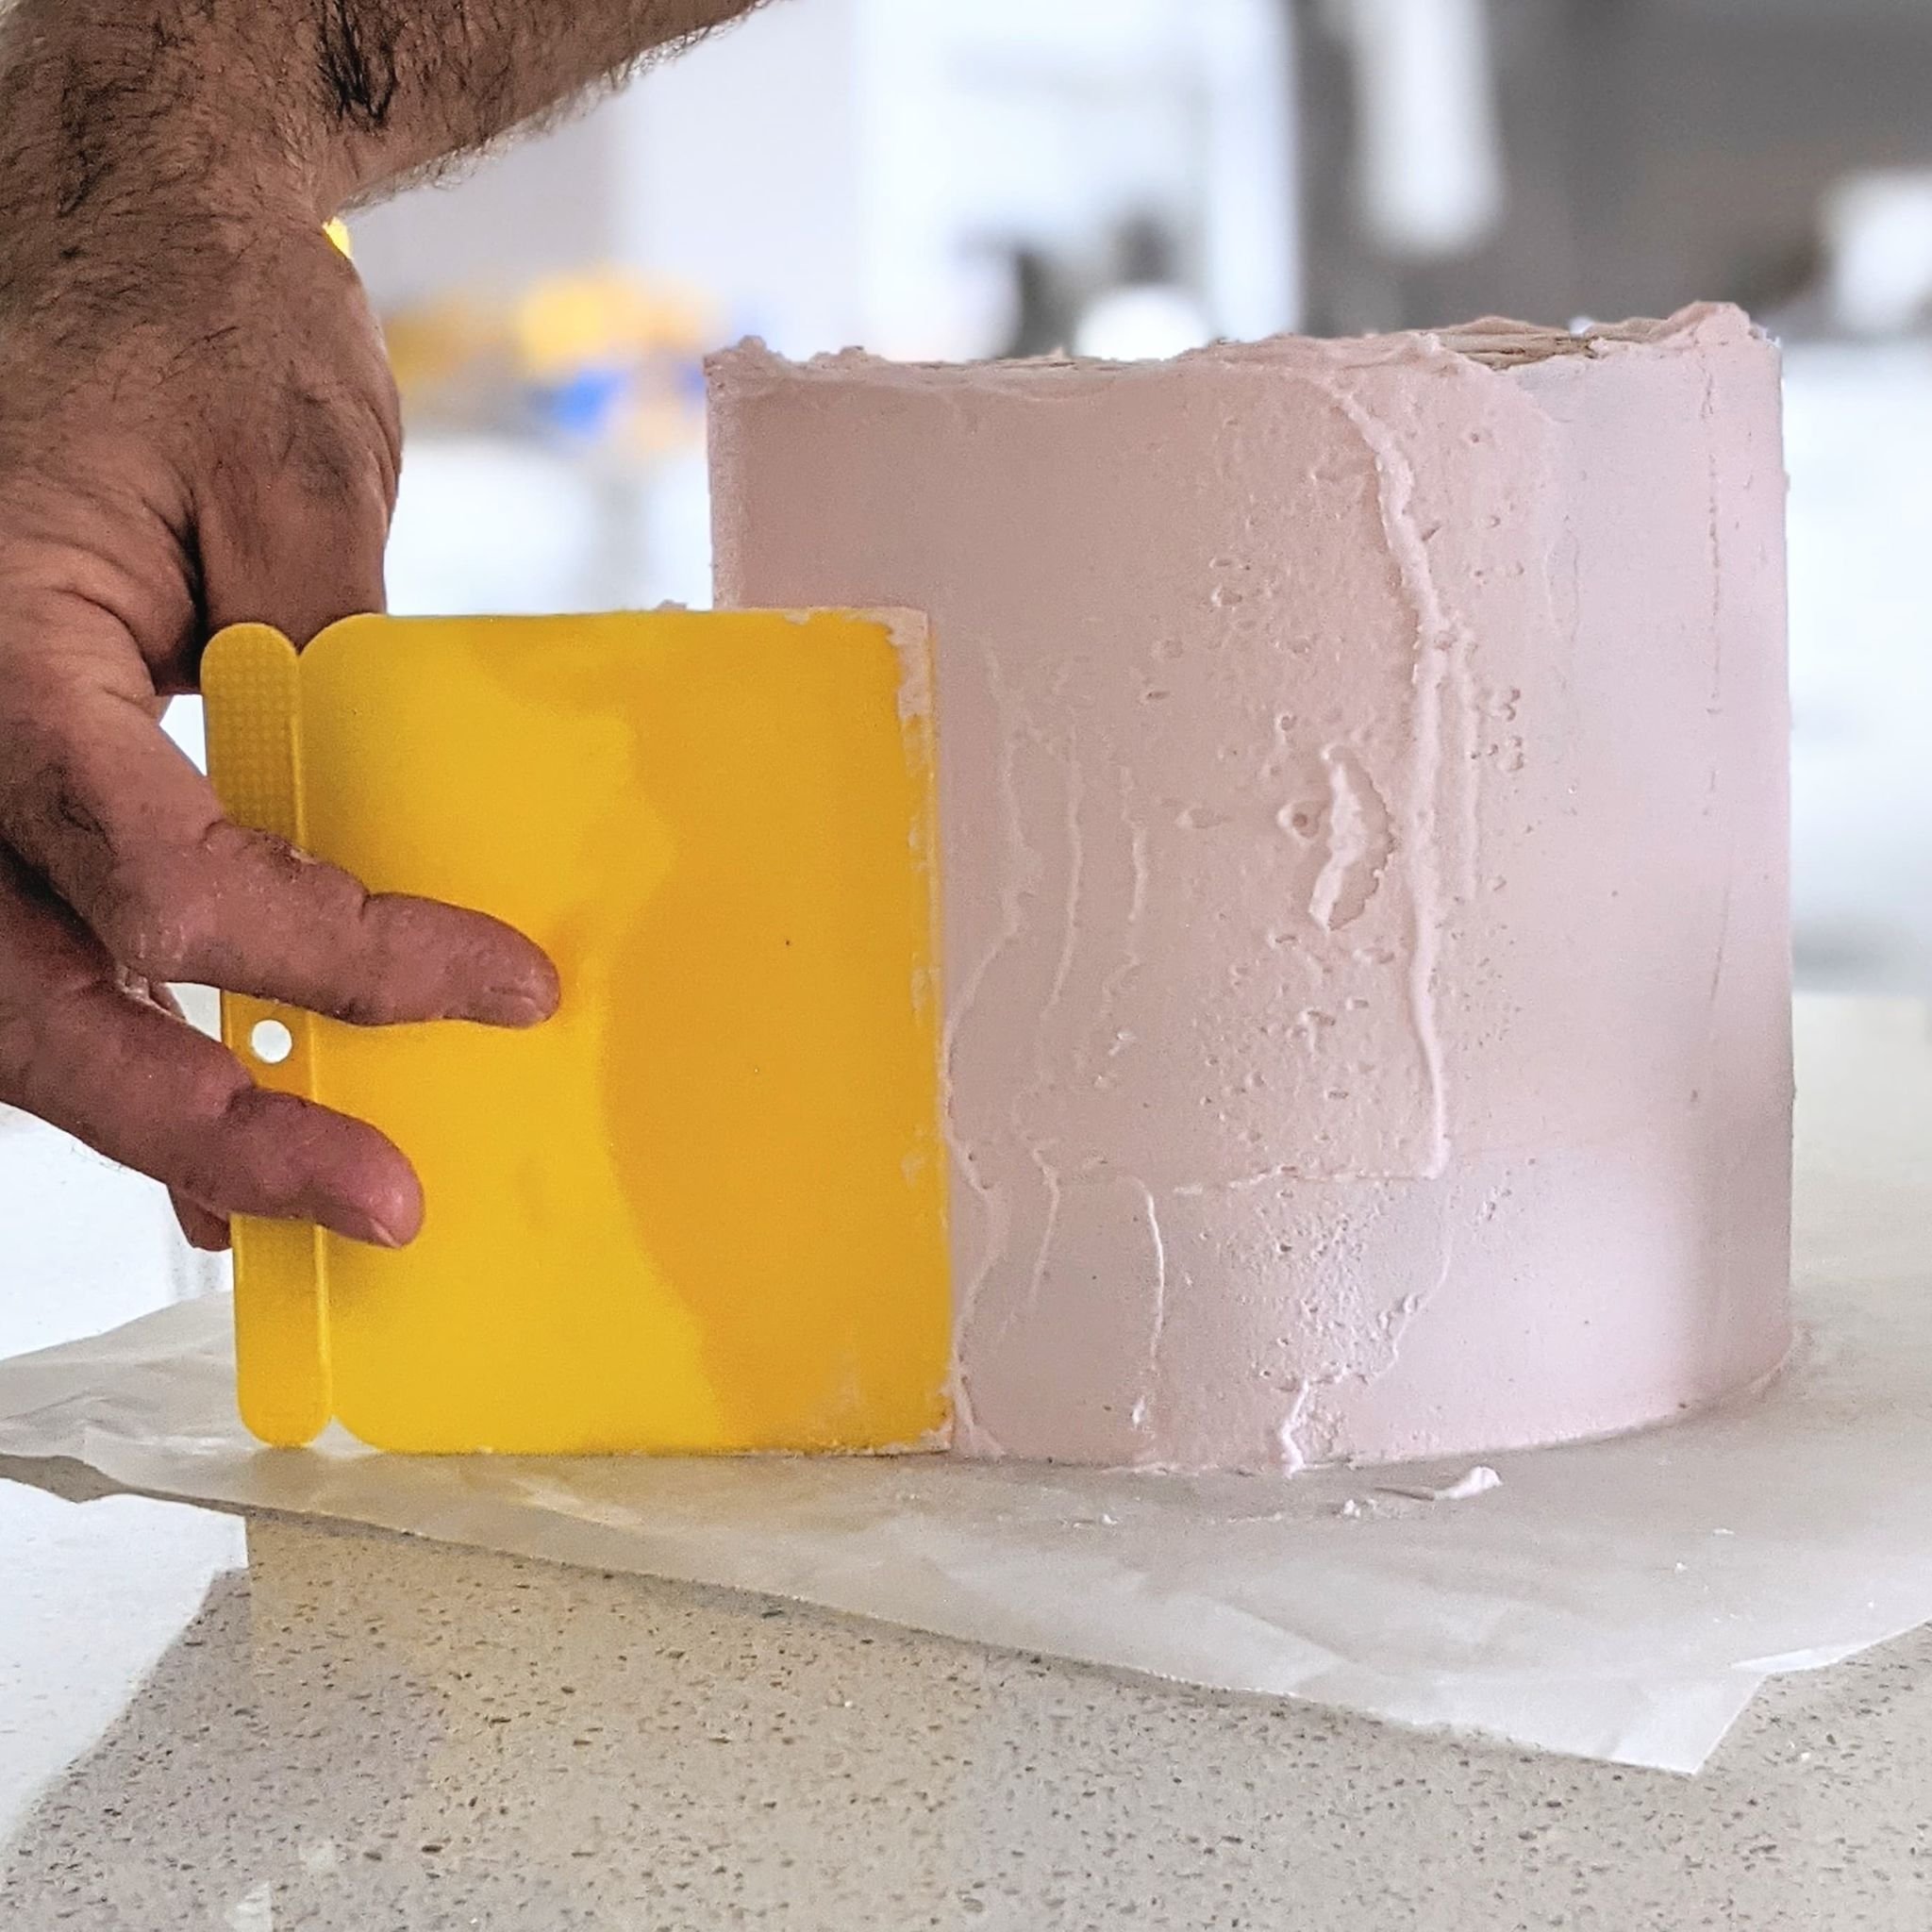
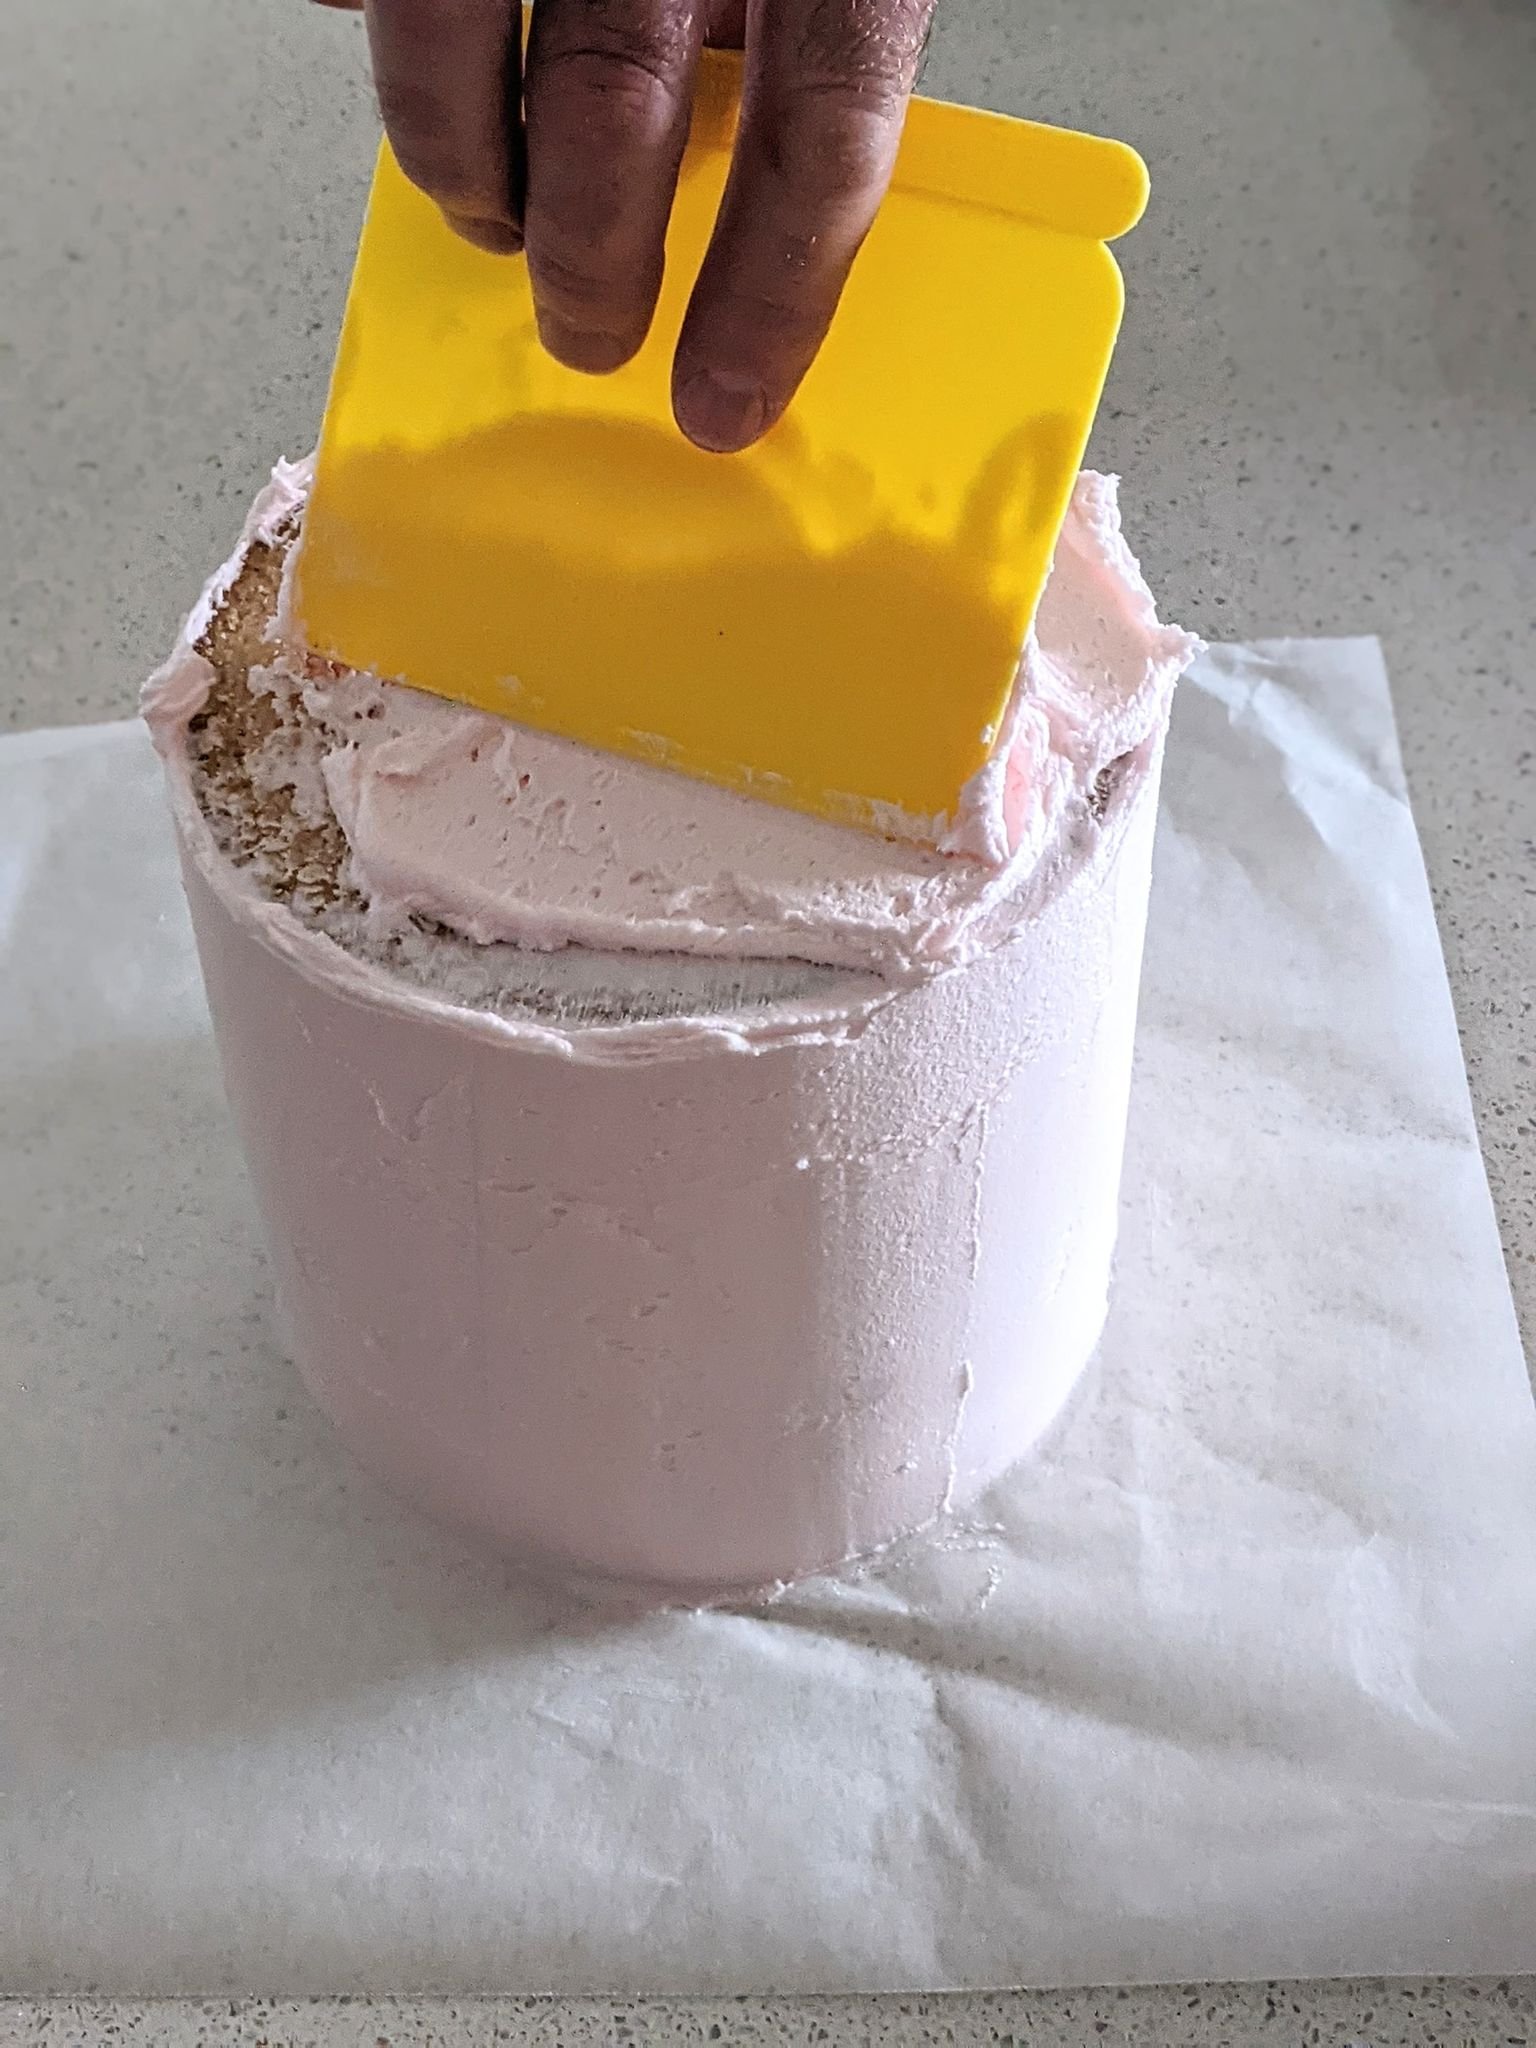
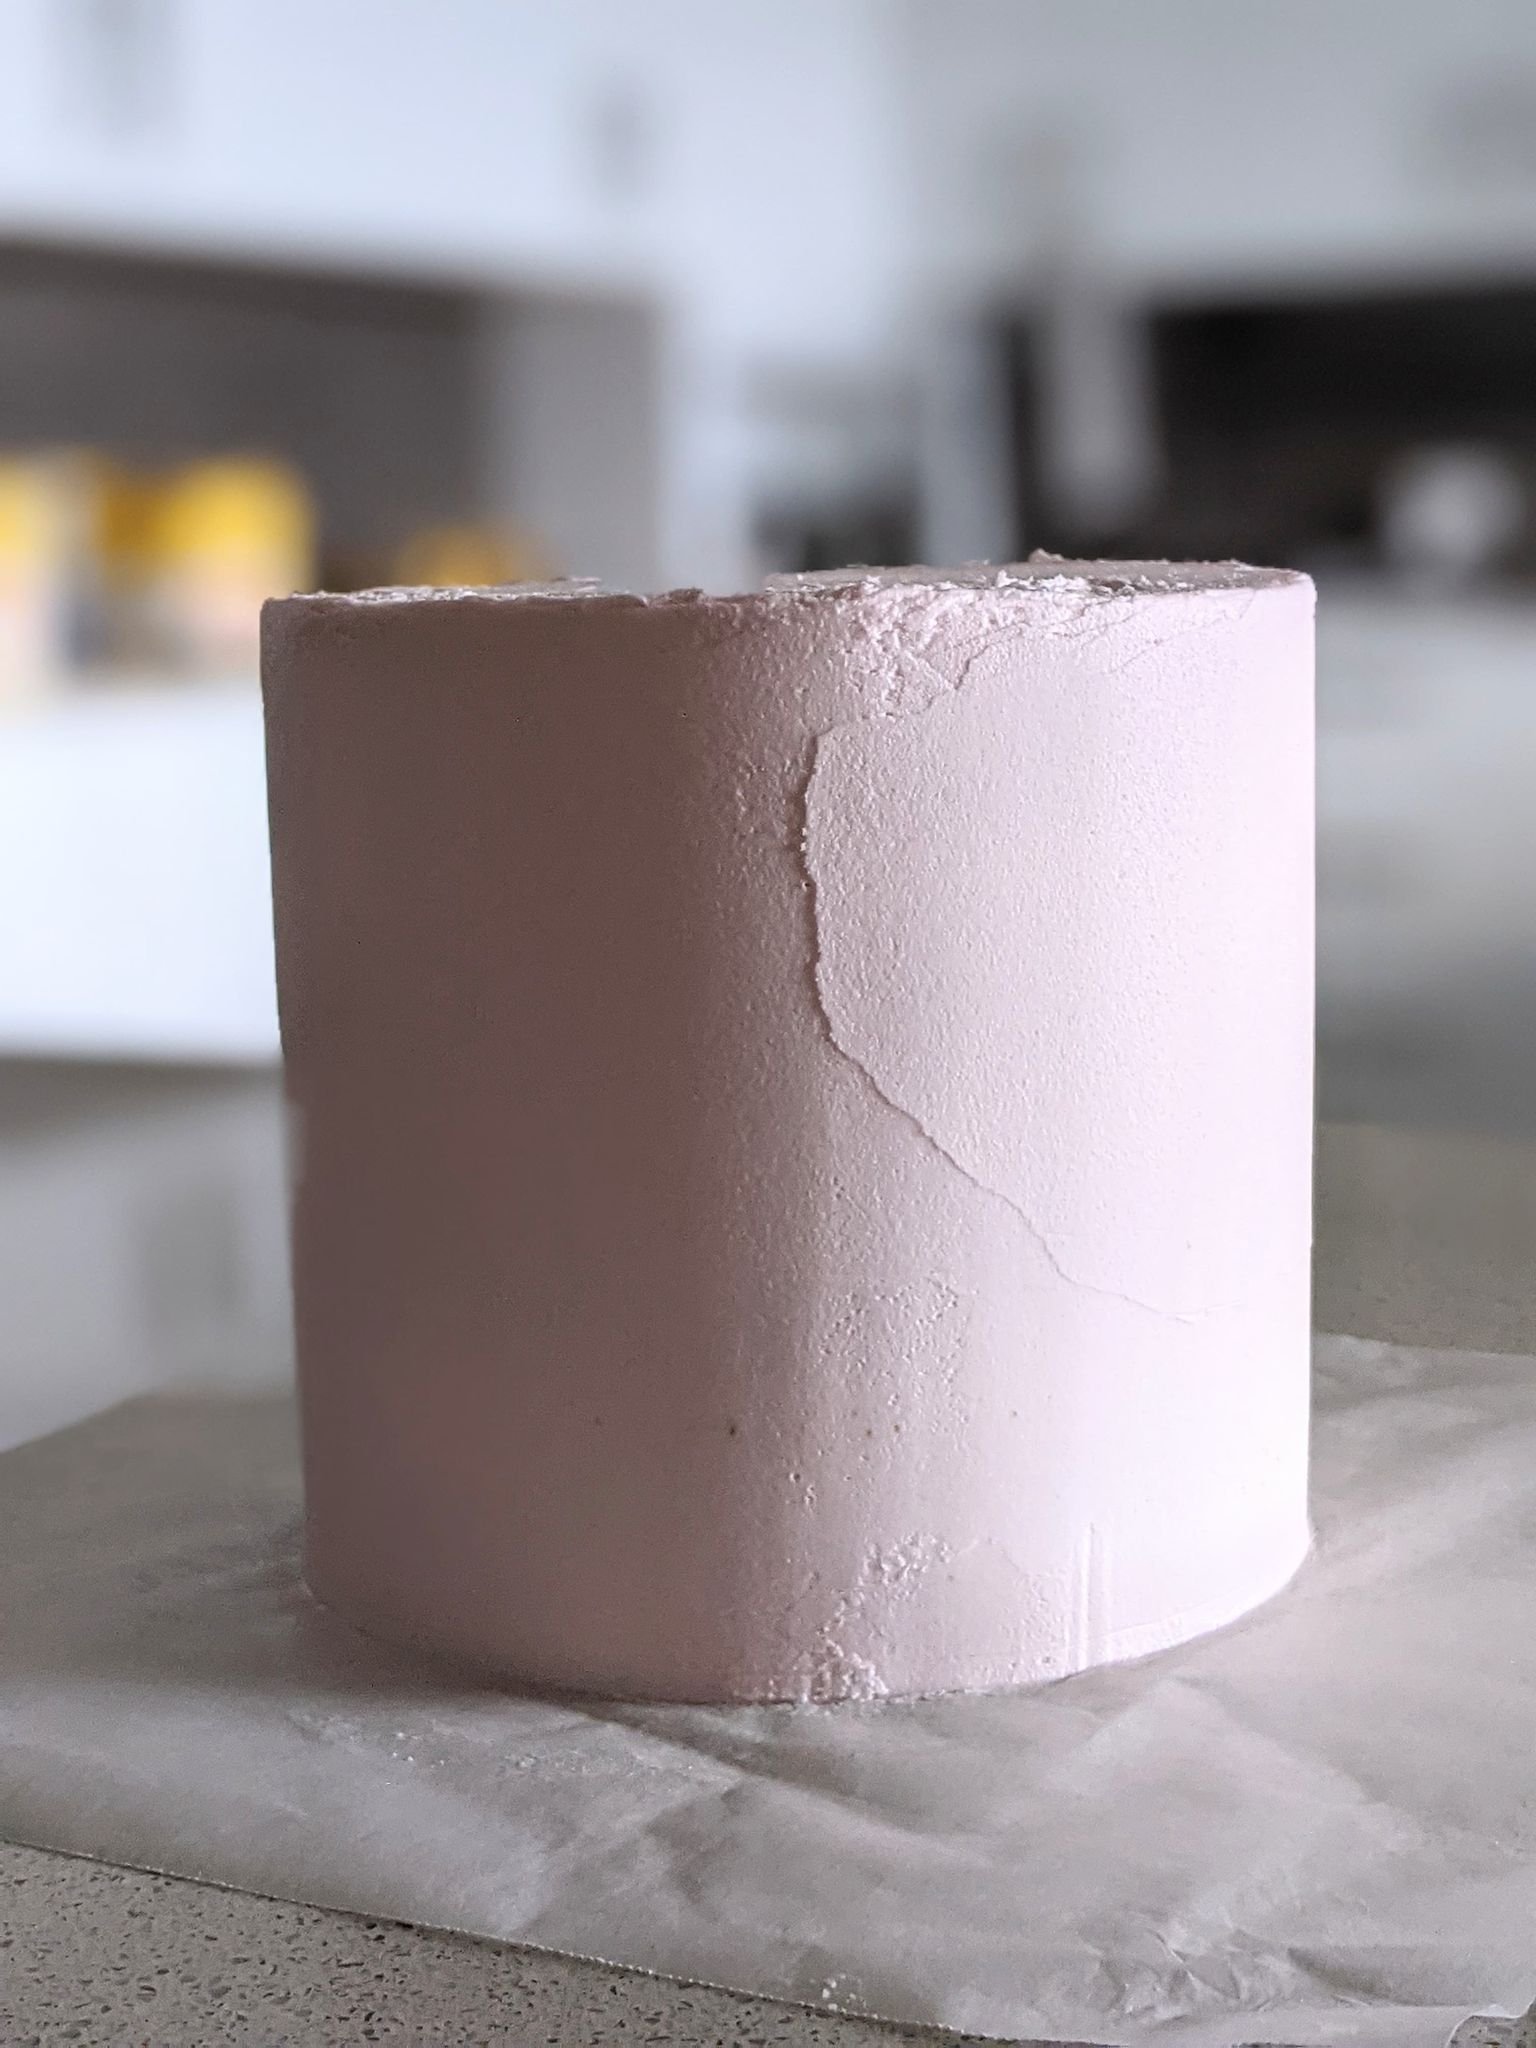
Let's apply our first coat of icing called dirty icing. This gives the rough foundation for our smooth and perfect finish. Apply with a straight edge filling any bumps. Now pop in the fridge for 15 minutes to firm up.
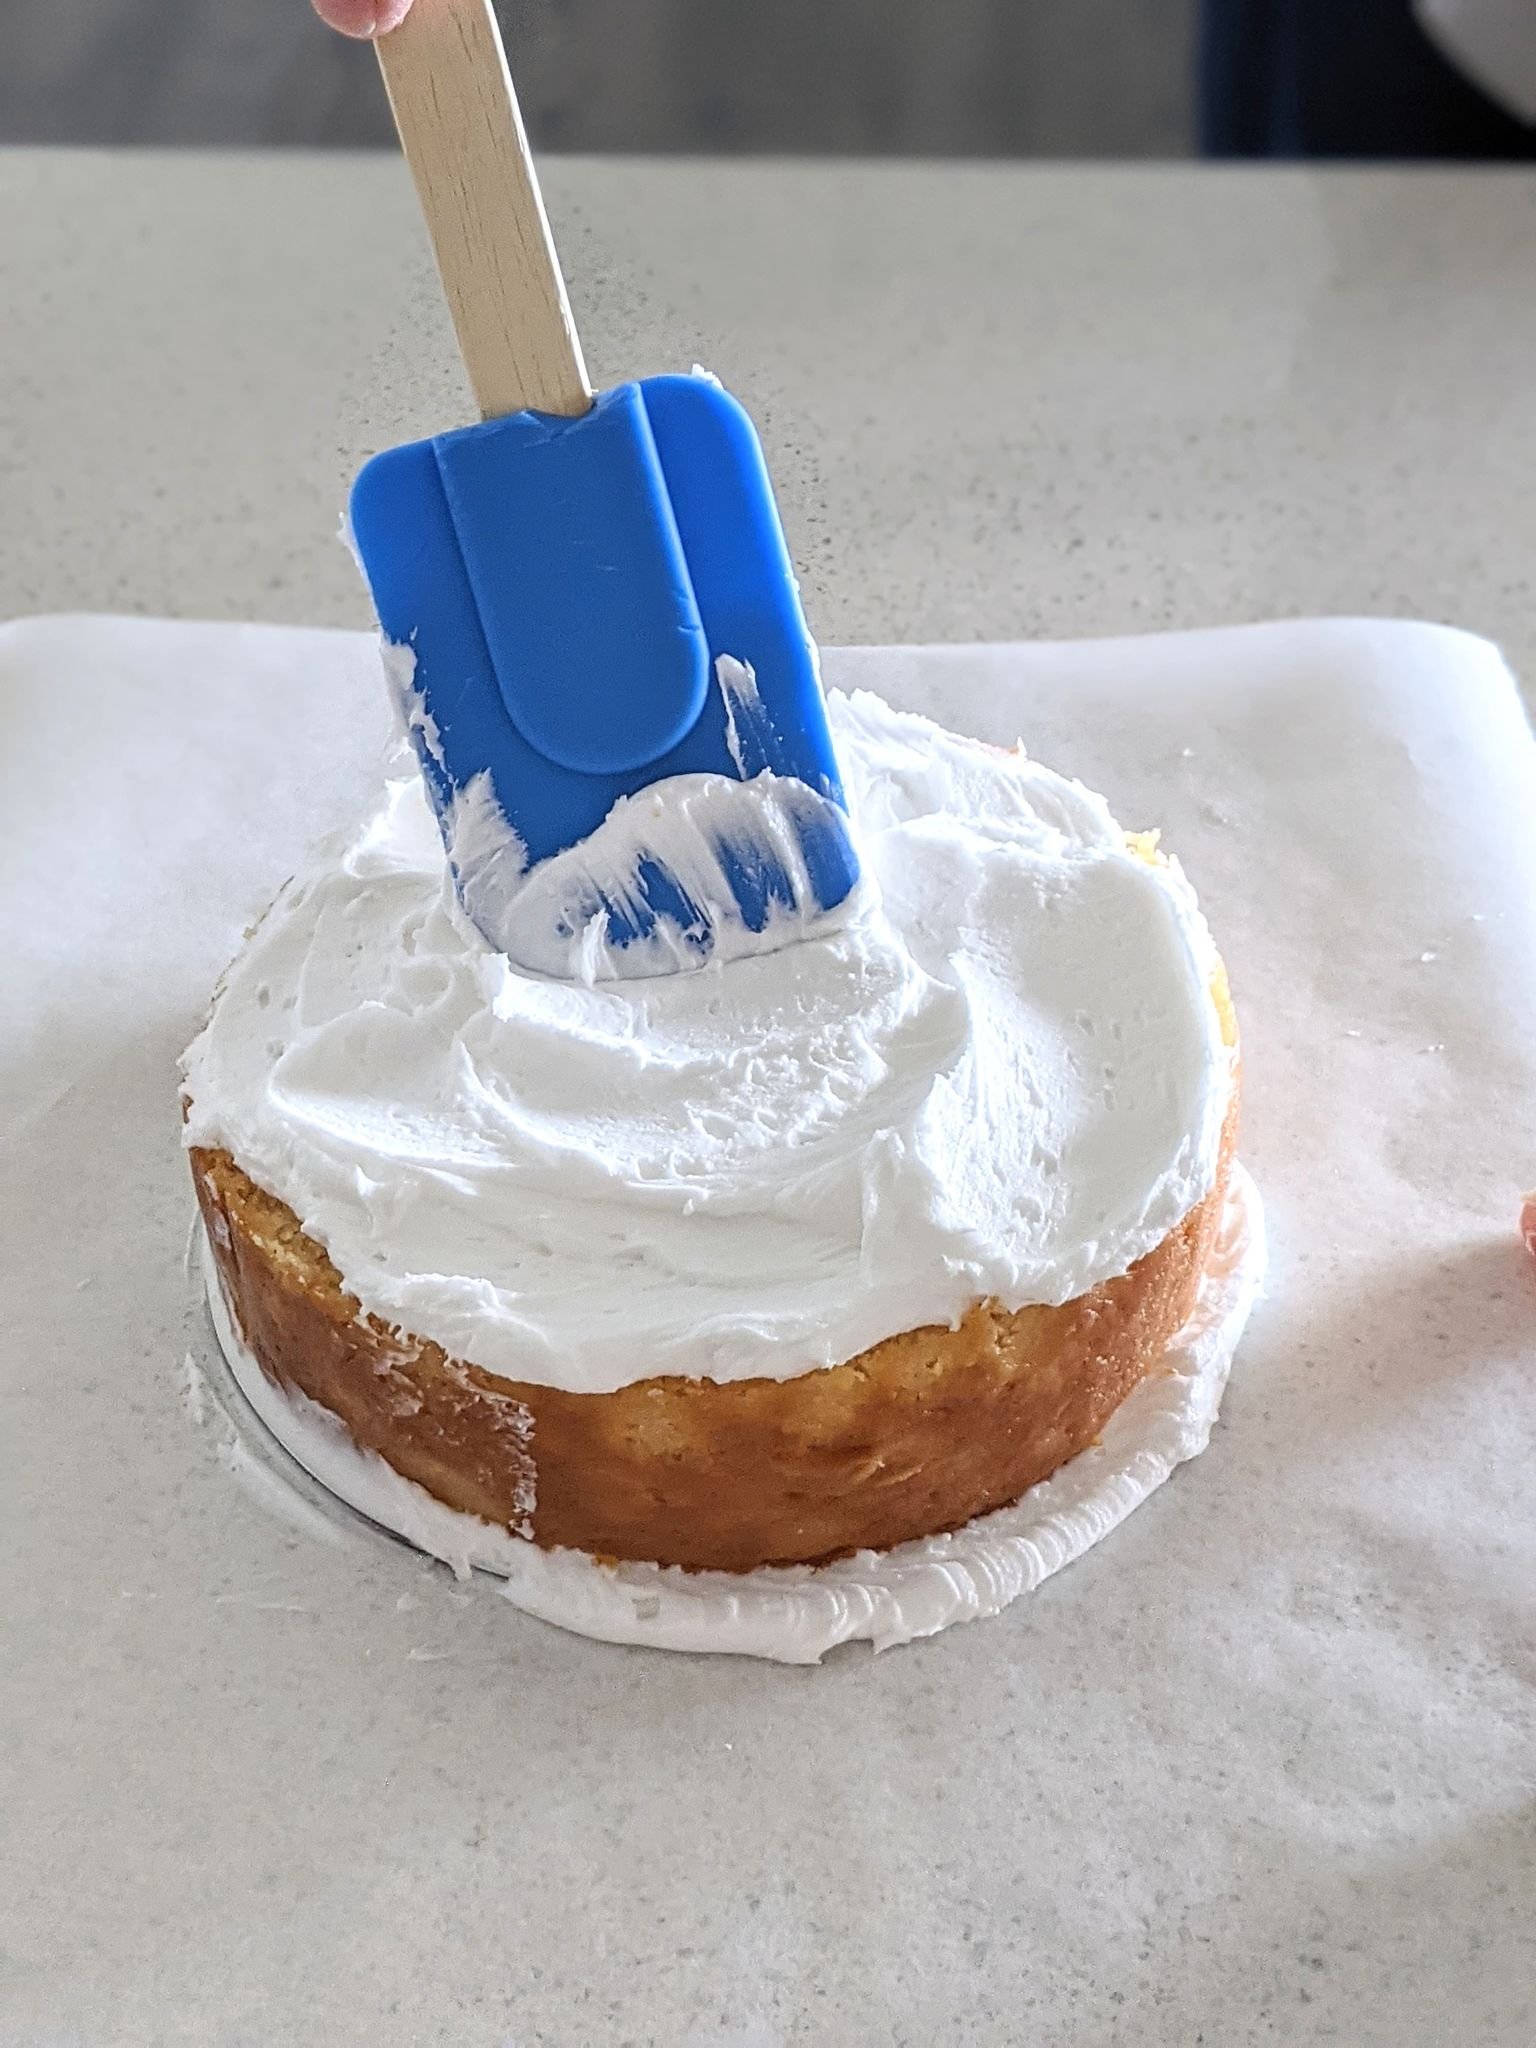
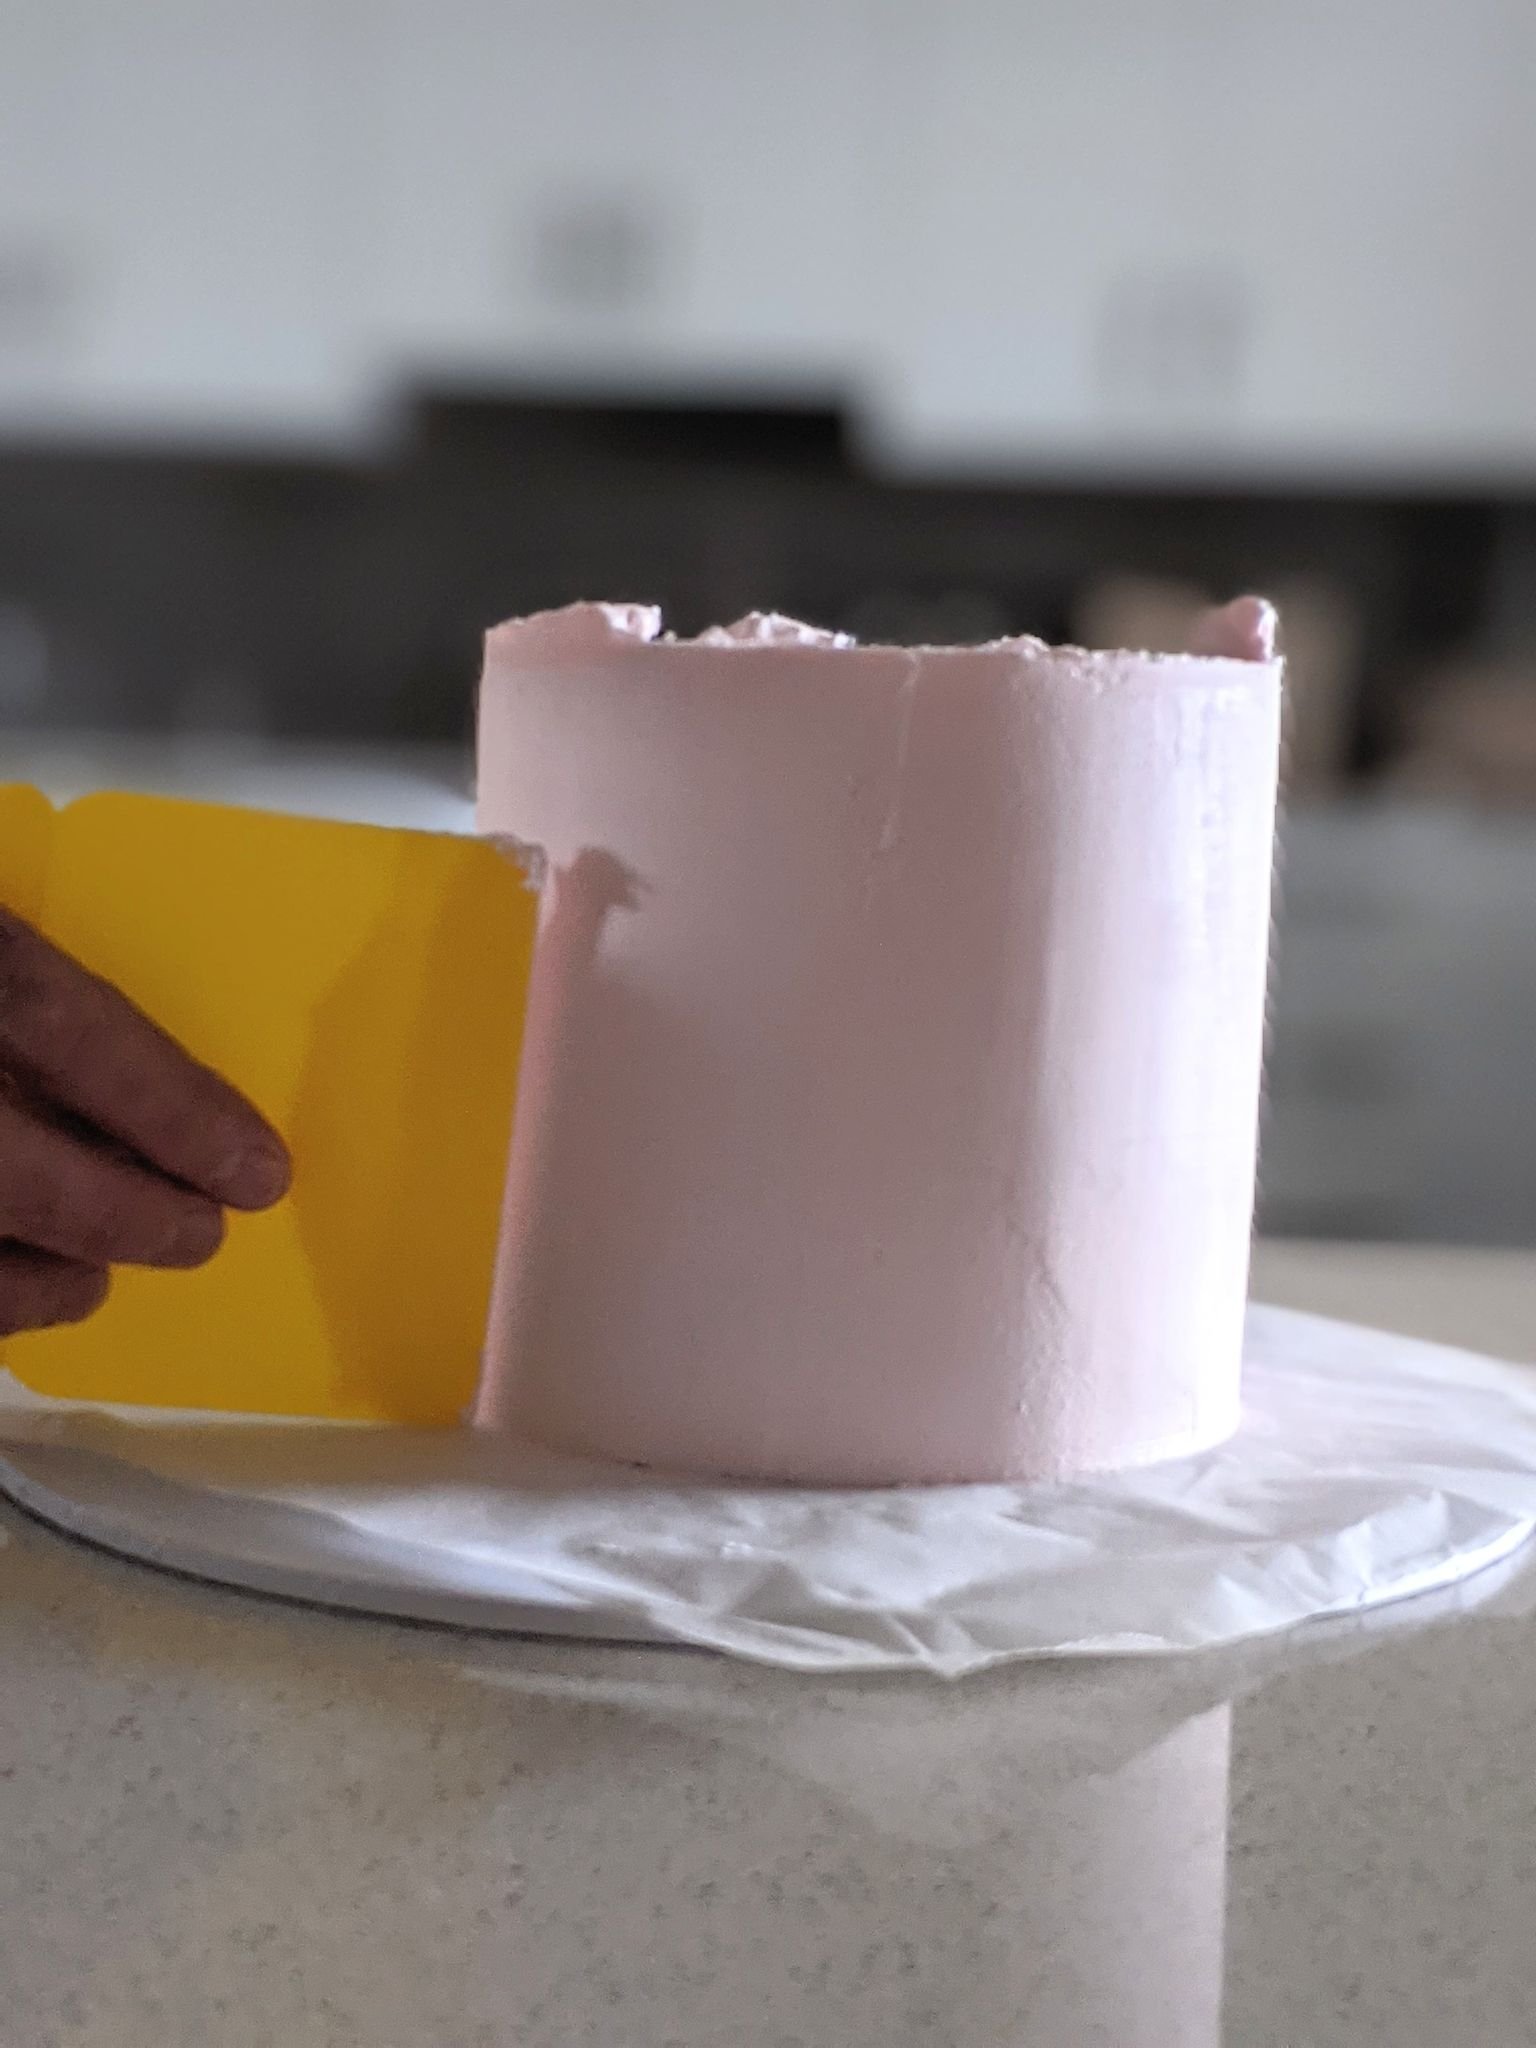
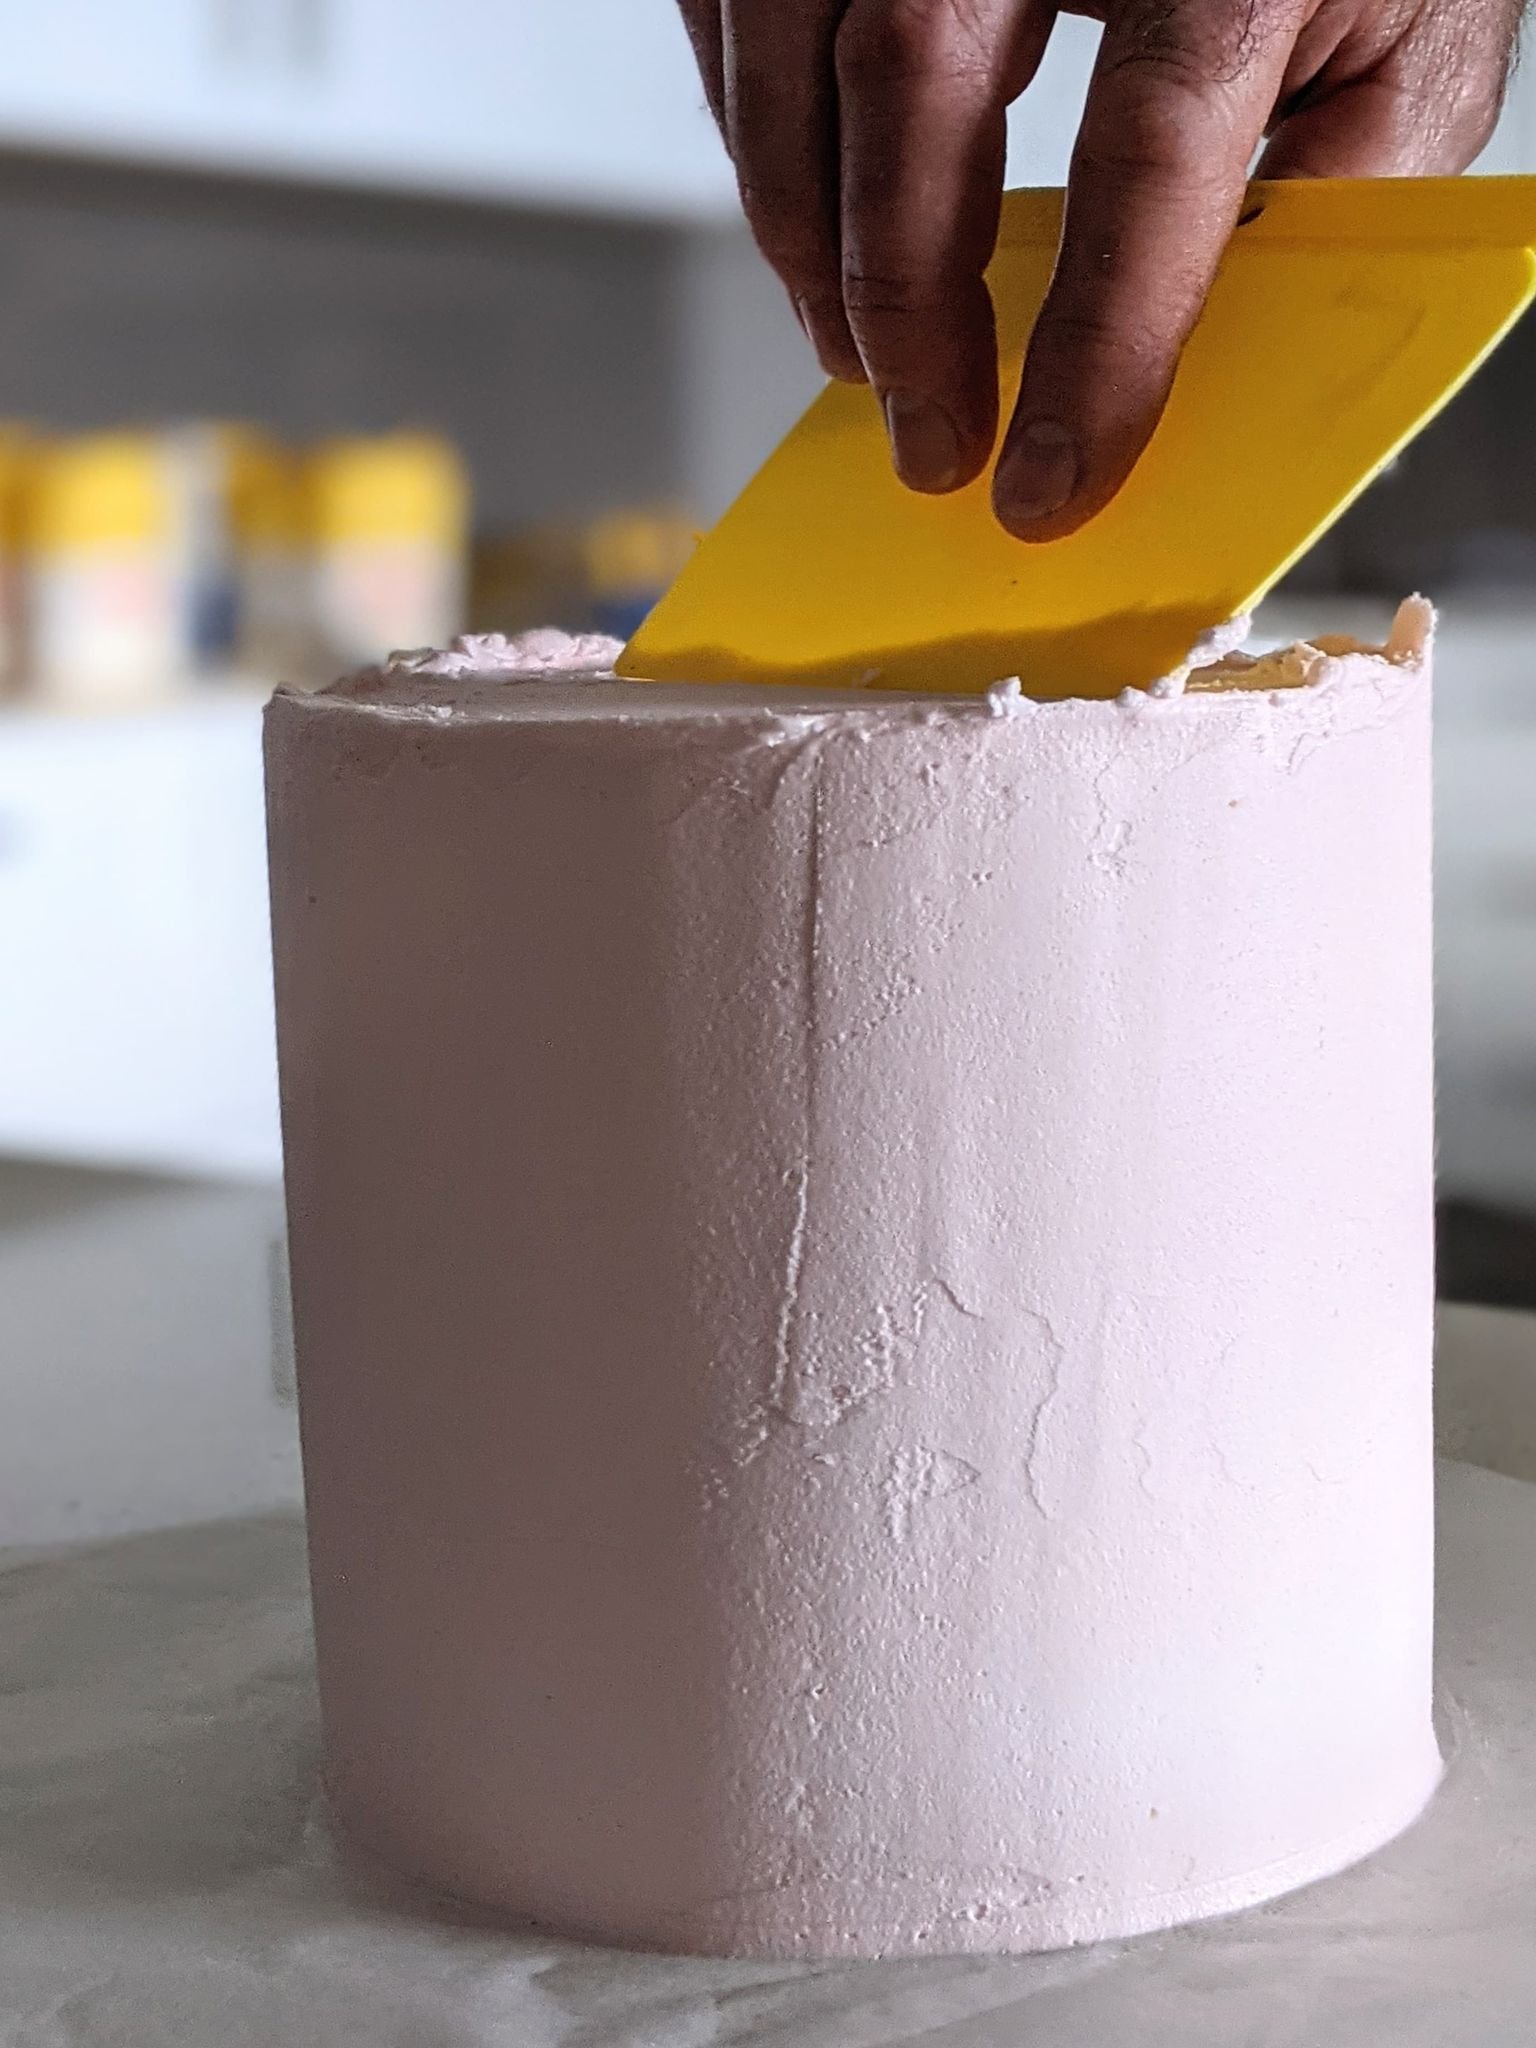
The next coat allows you to create that smooth & flawless professional finish. Once you are happy with your 2nd coat pop back in the fridge to firm up.
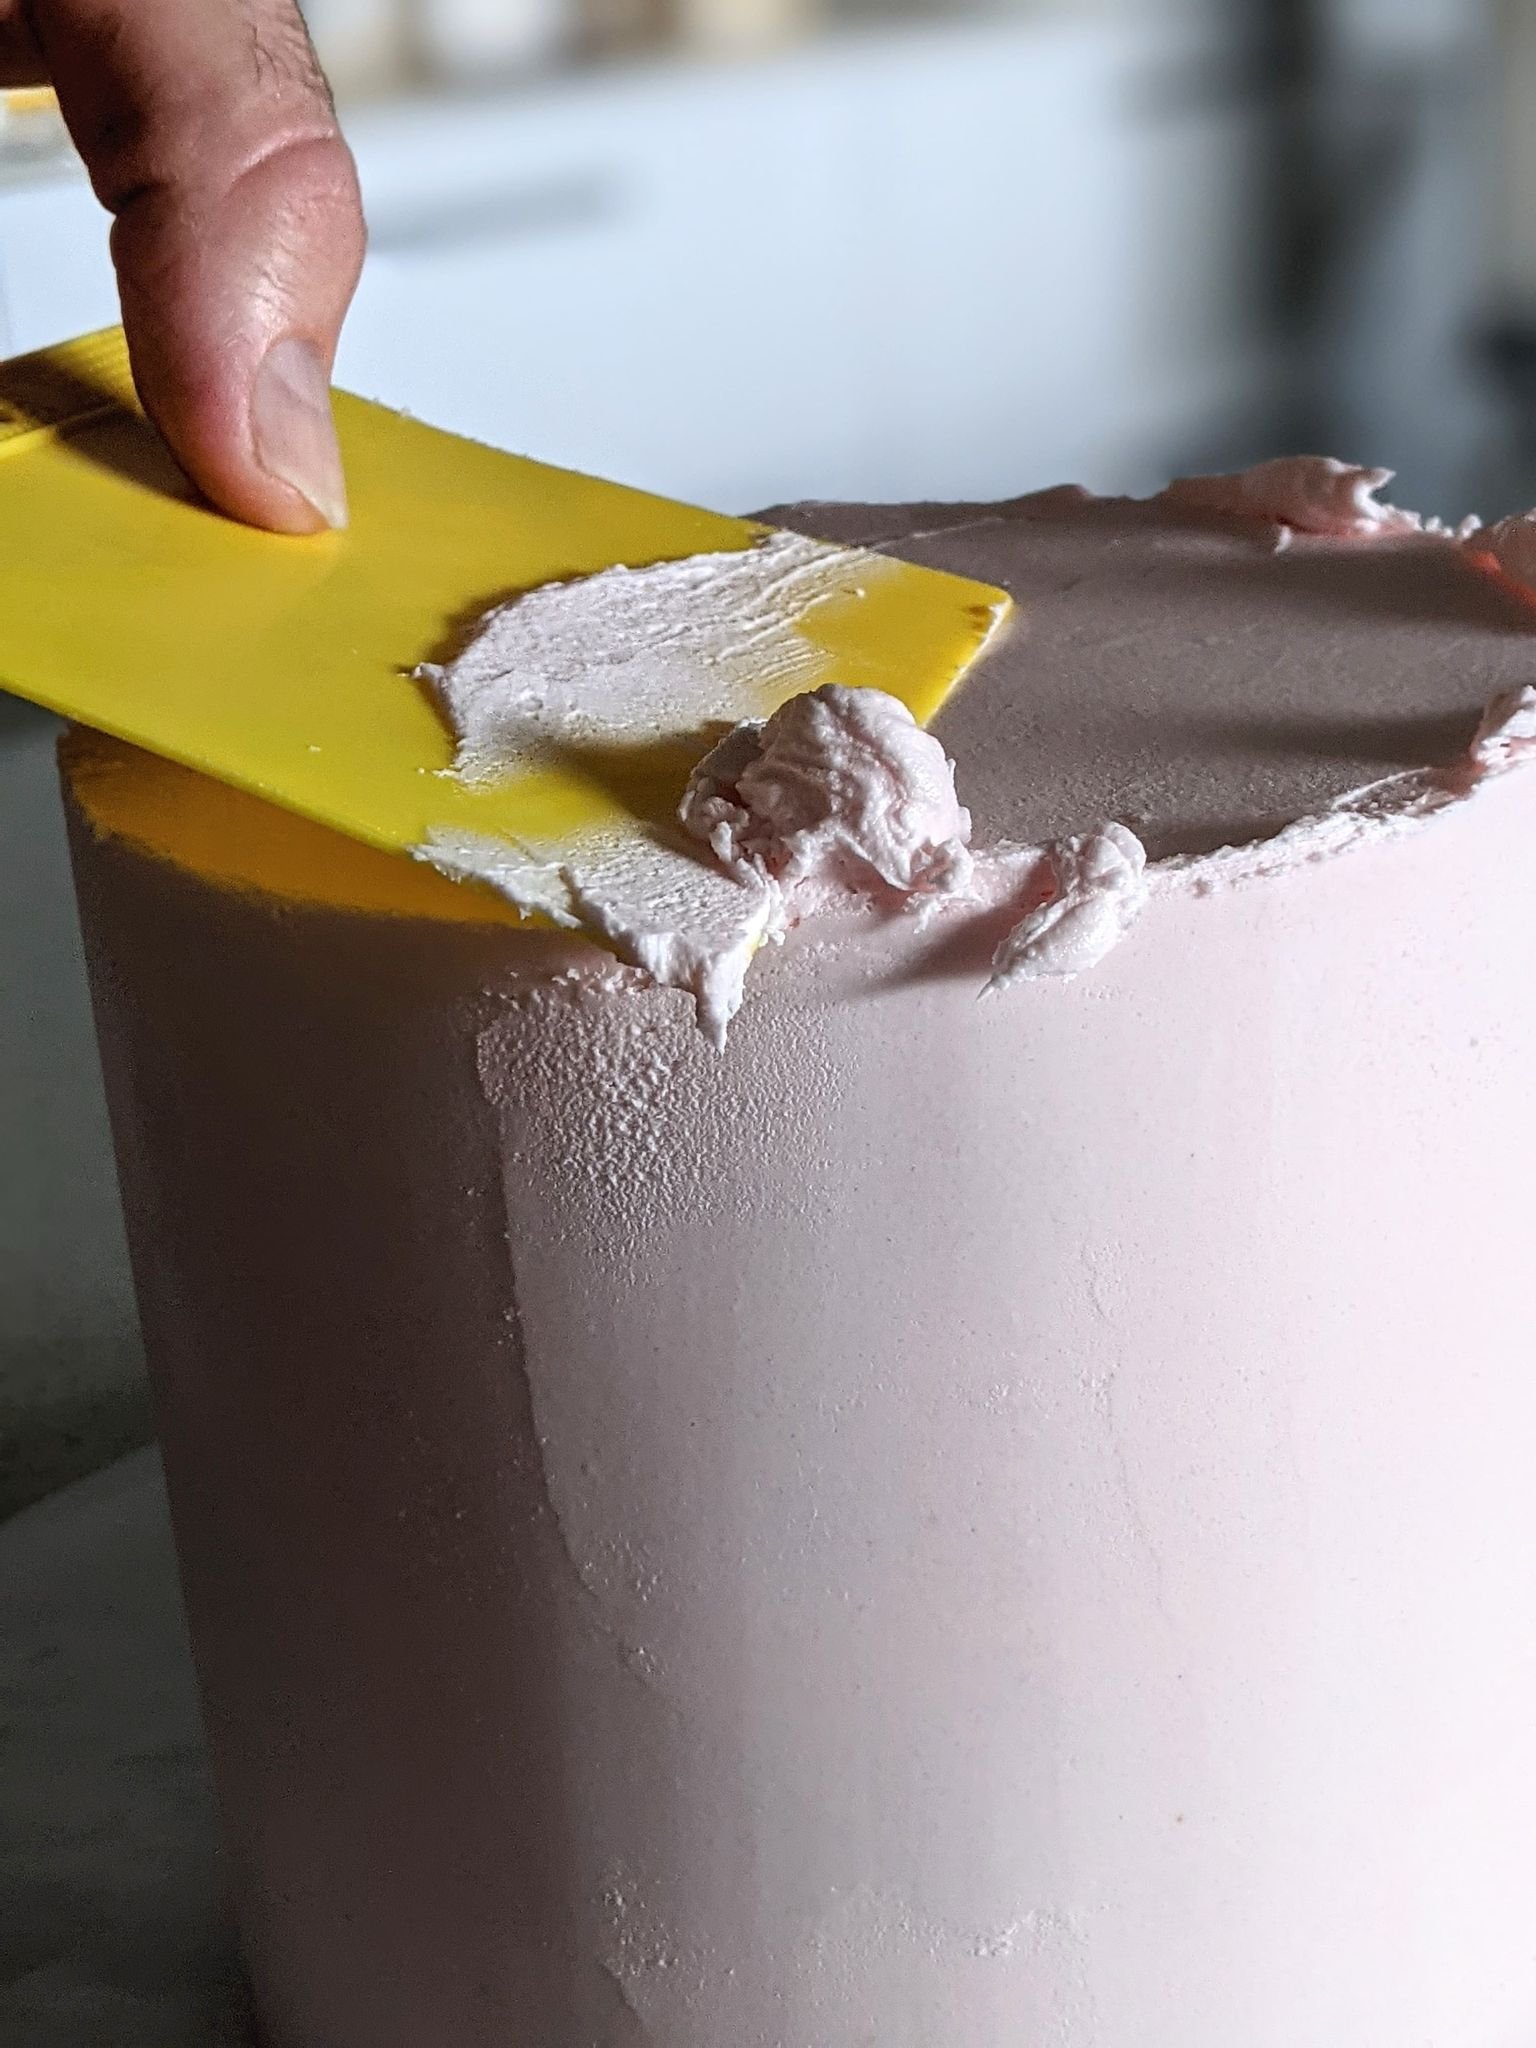
We now want to apply our icing to the top. Pop it in the fridge to chill again then you can scrape the top edge to make it flat or keep the rough edge, both are great looks.
Now for the fun part
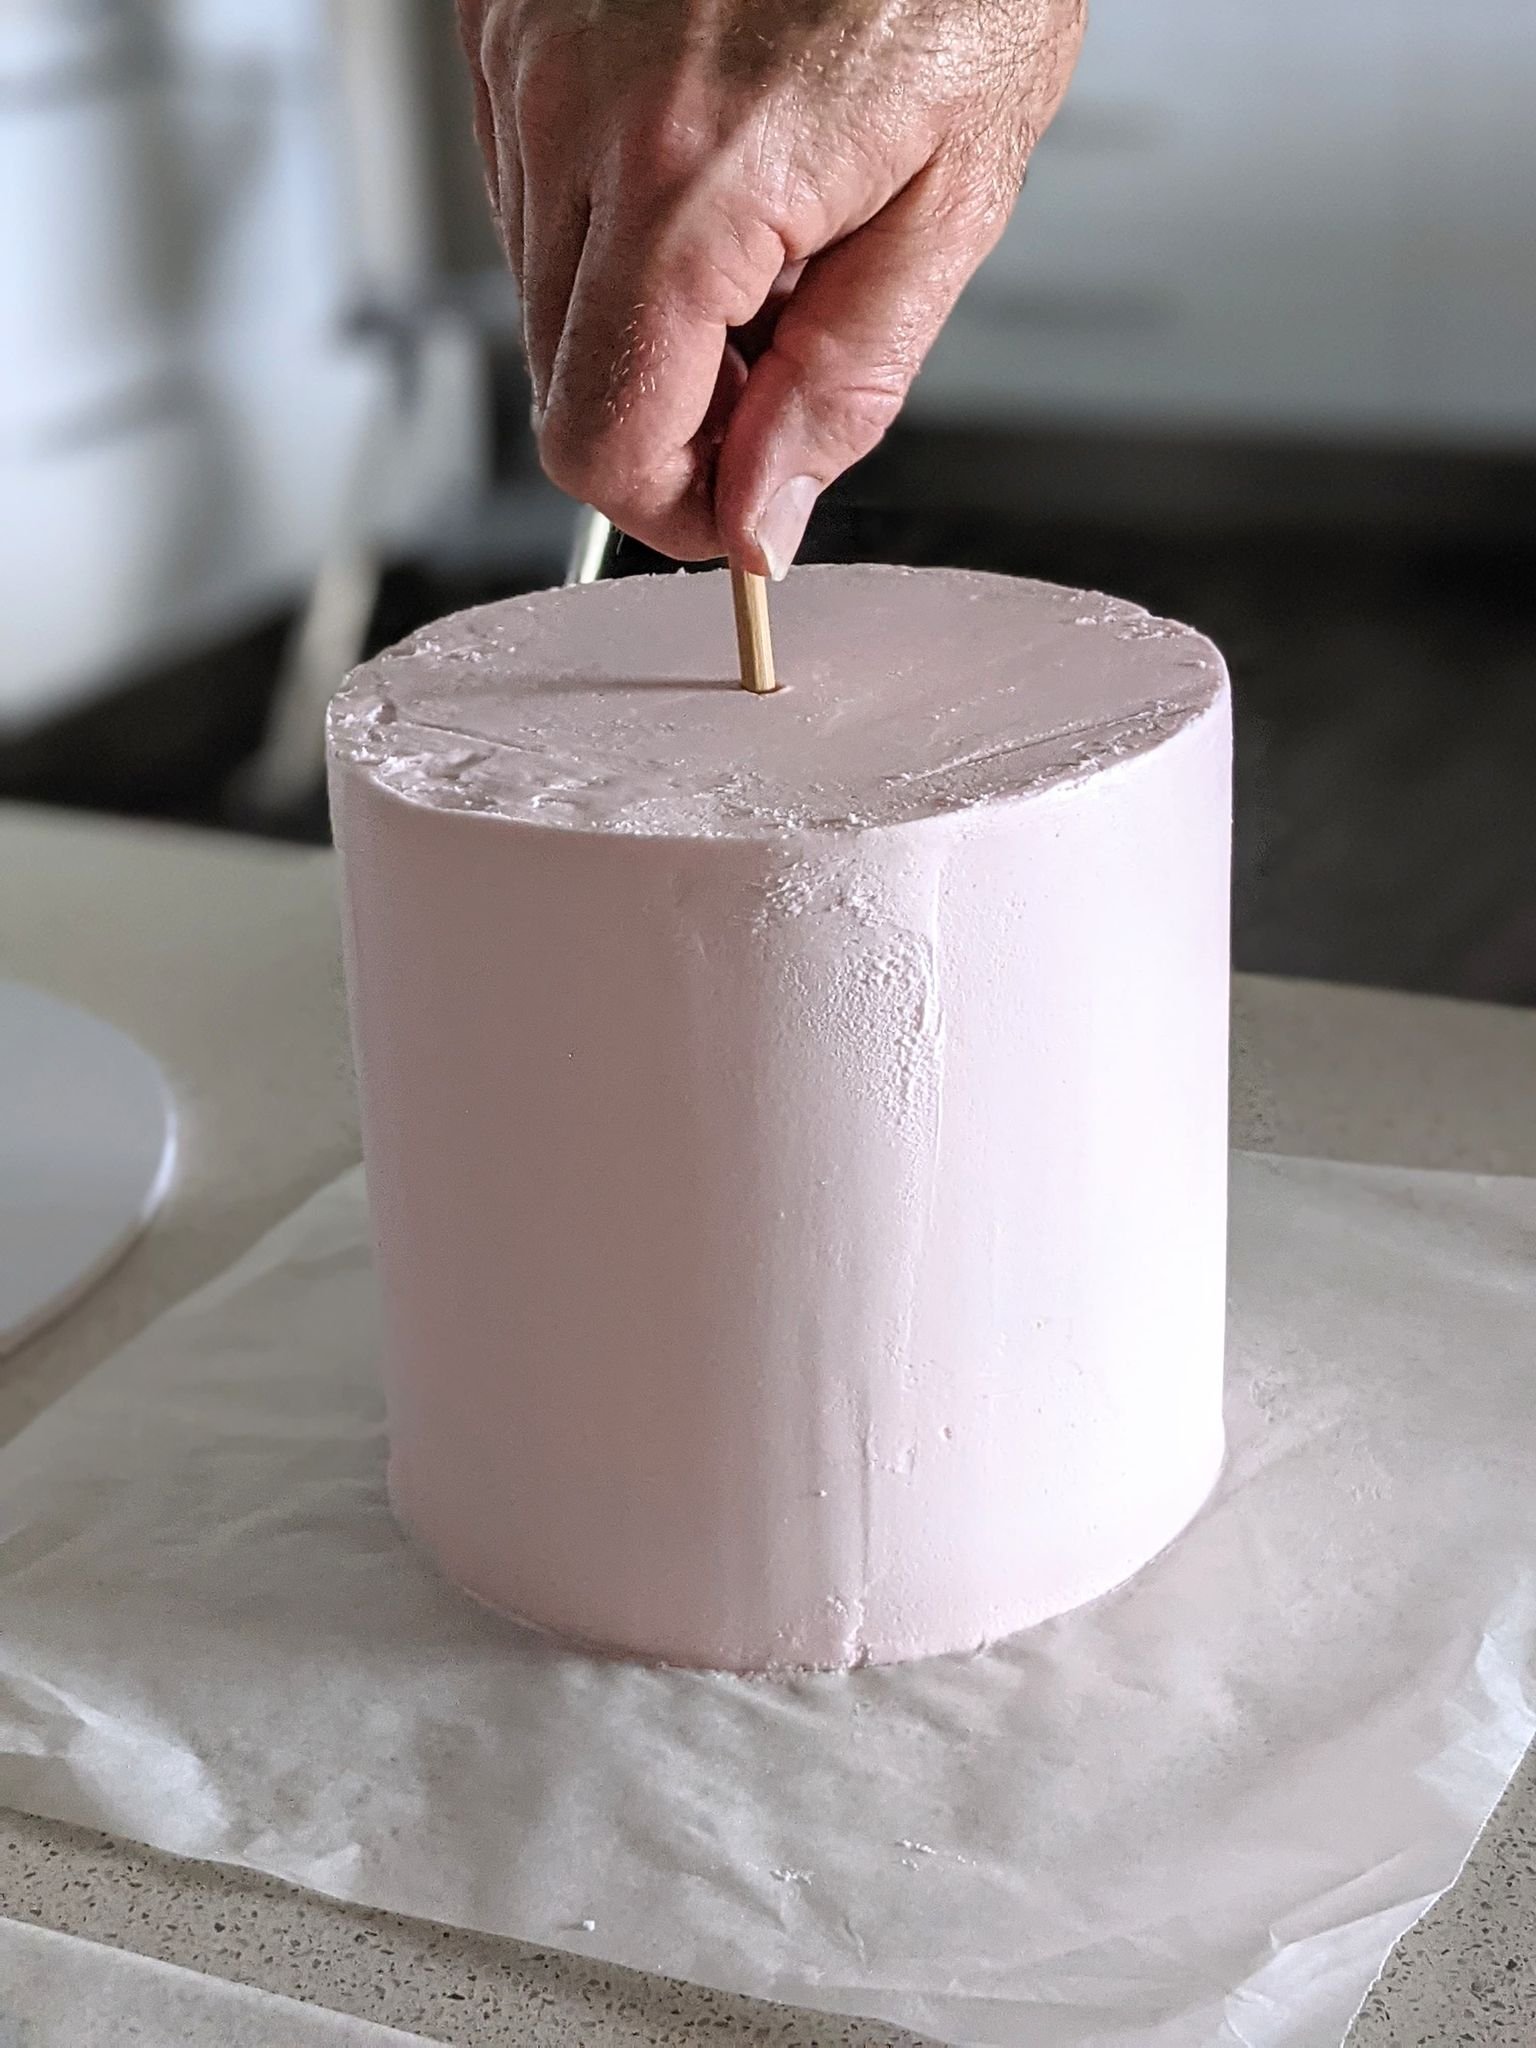
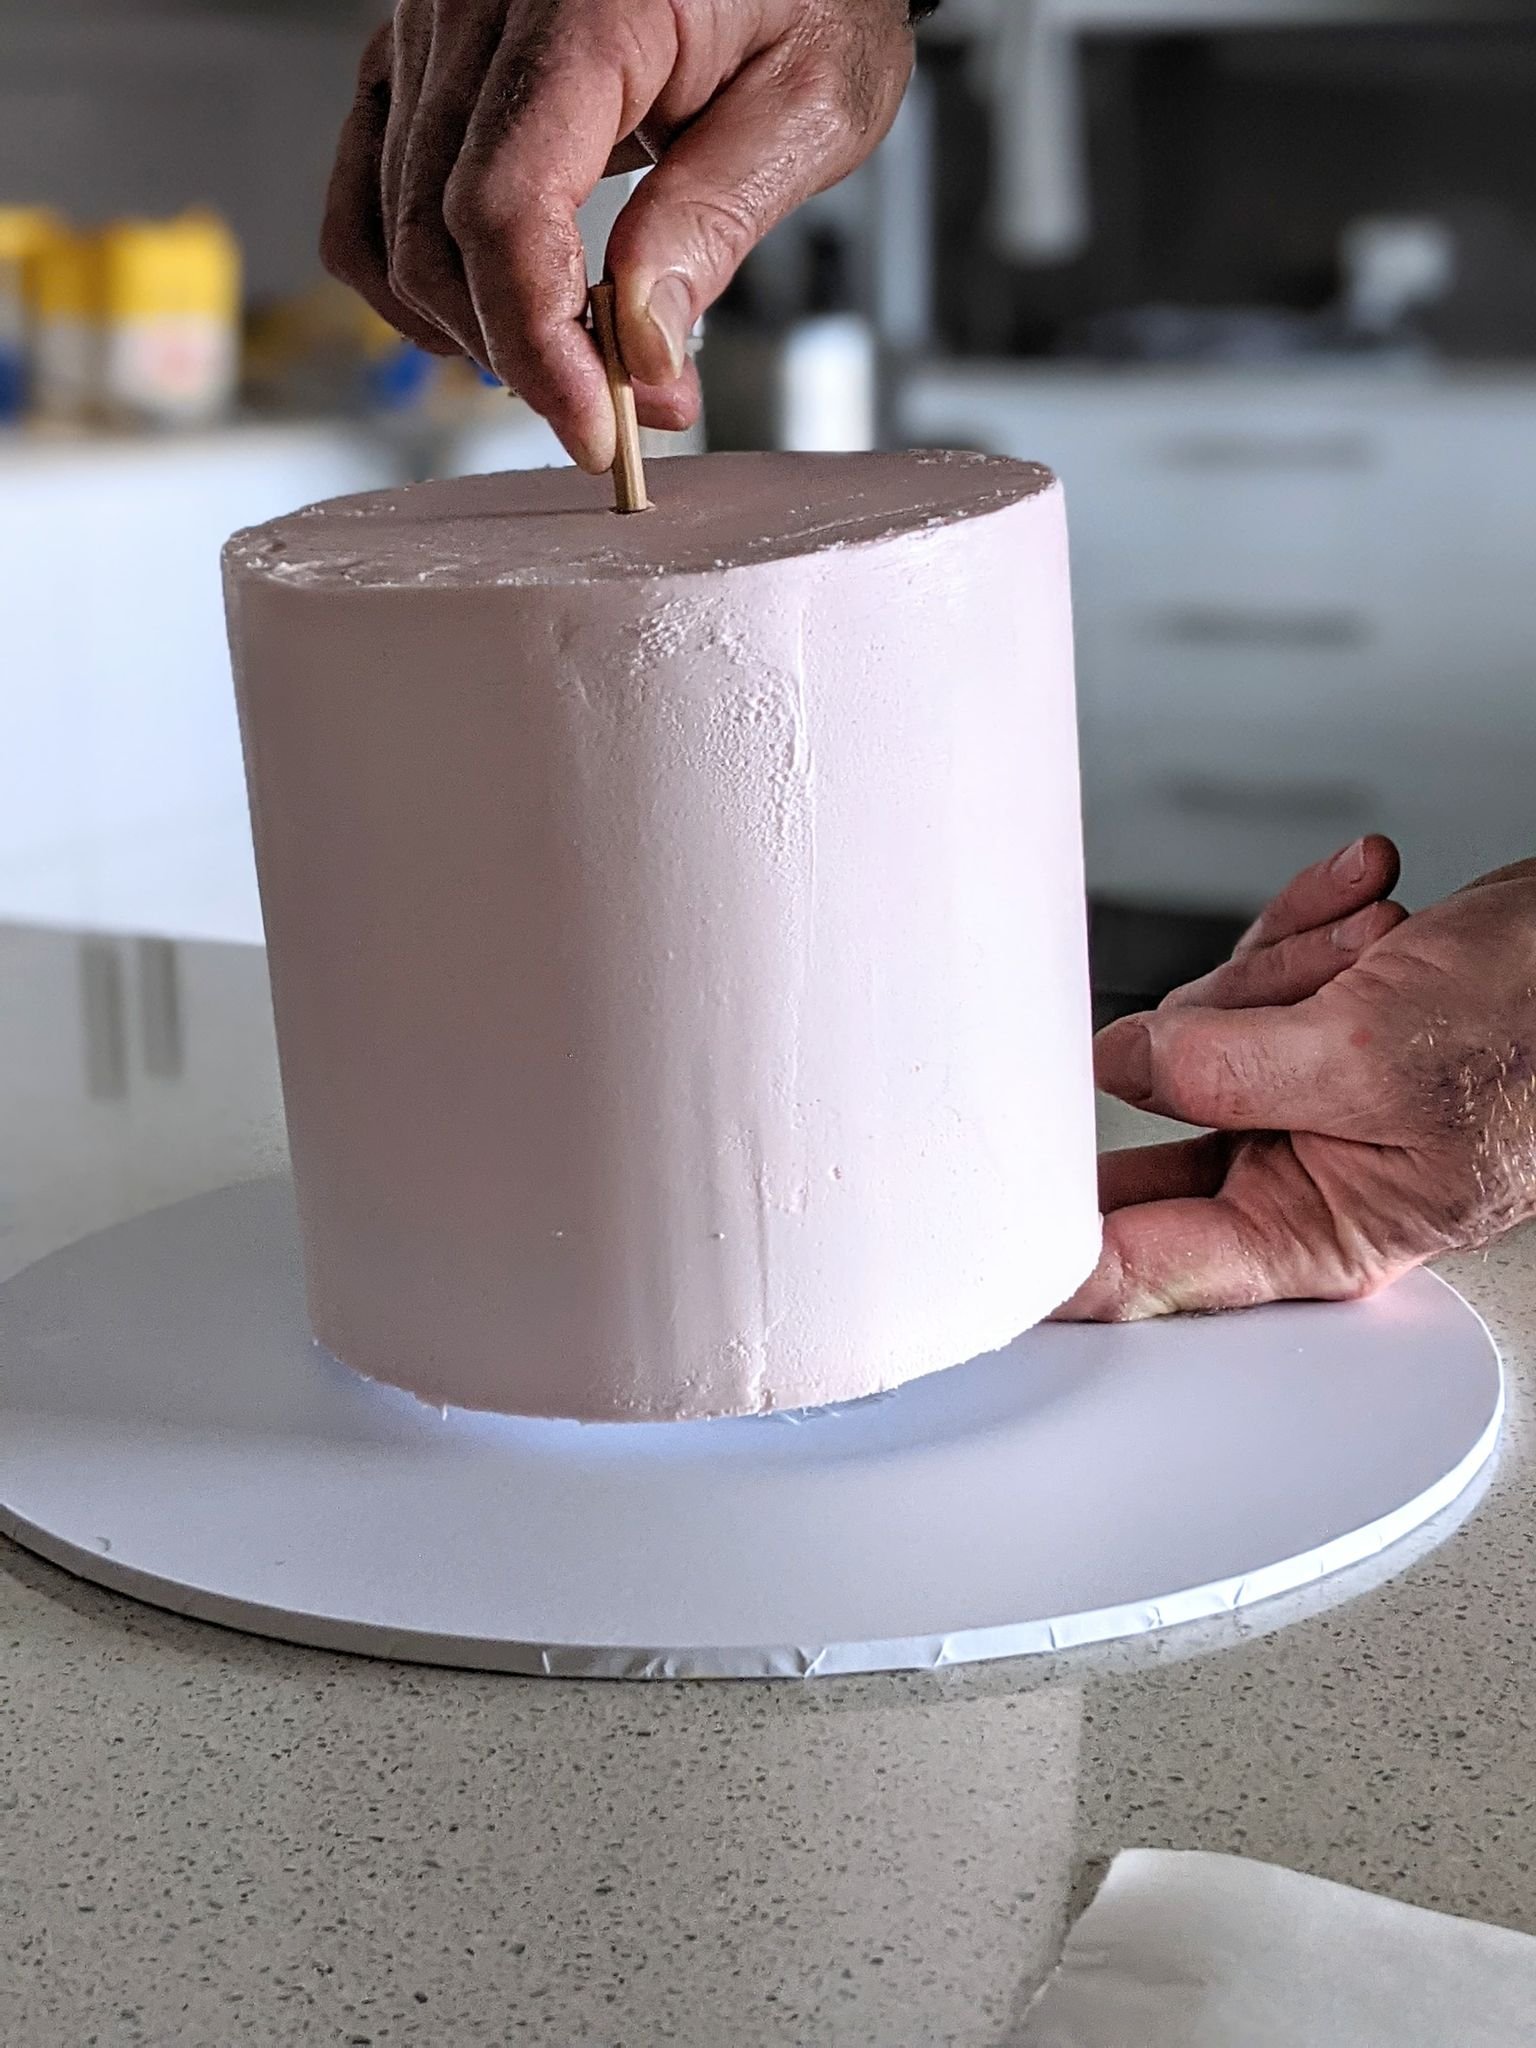
Let's stick it to your cake board, you can use either royal icing or very thin double sided tape.
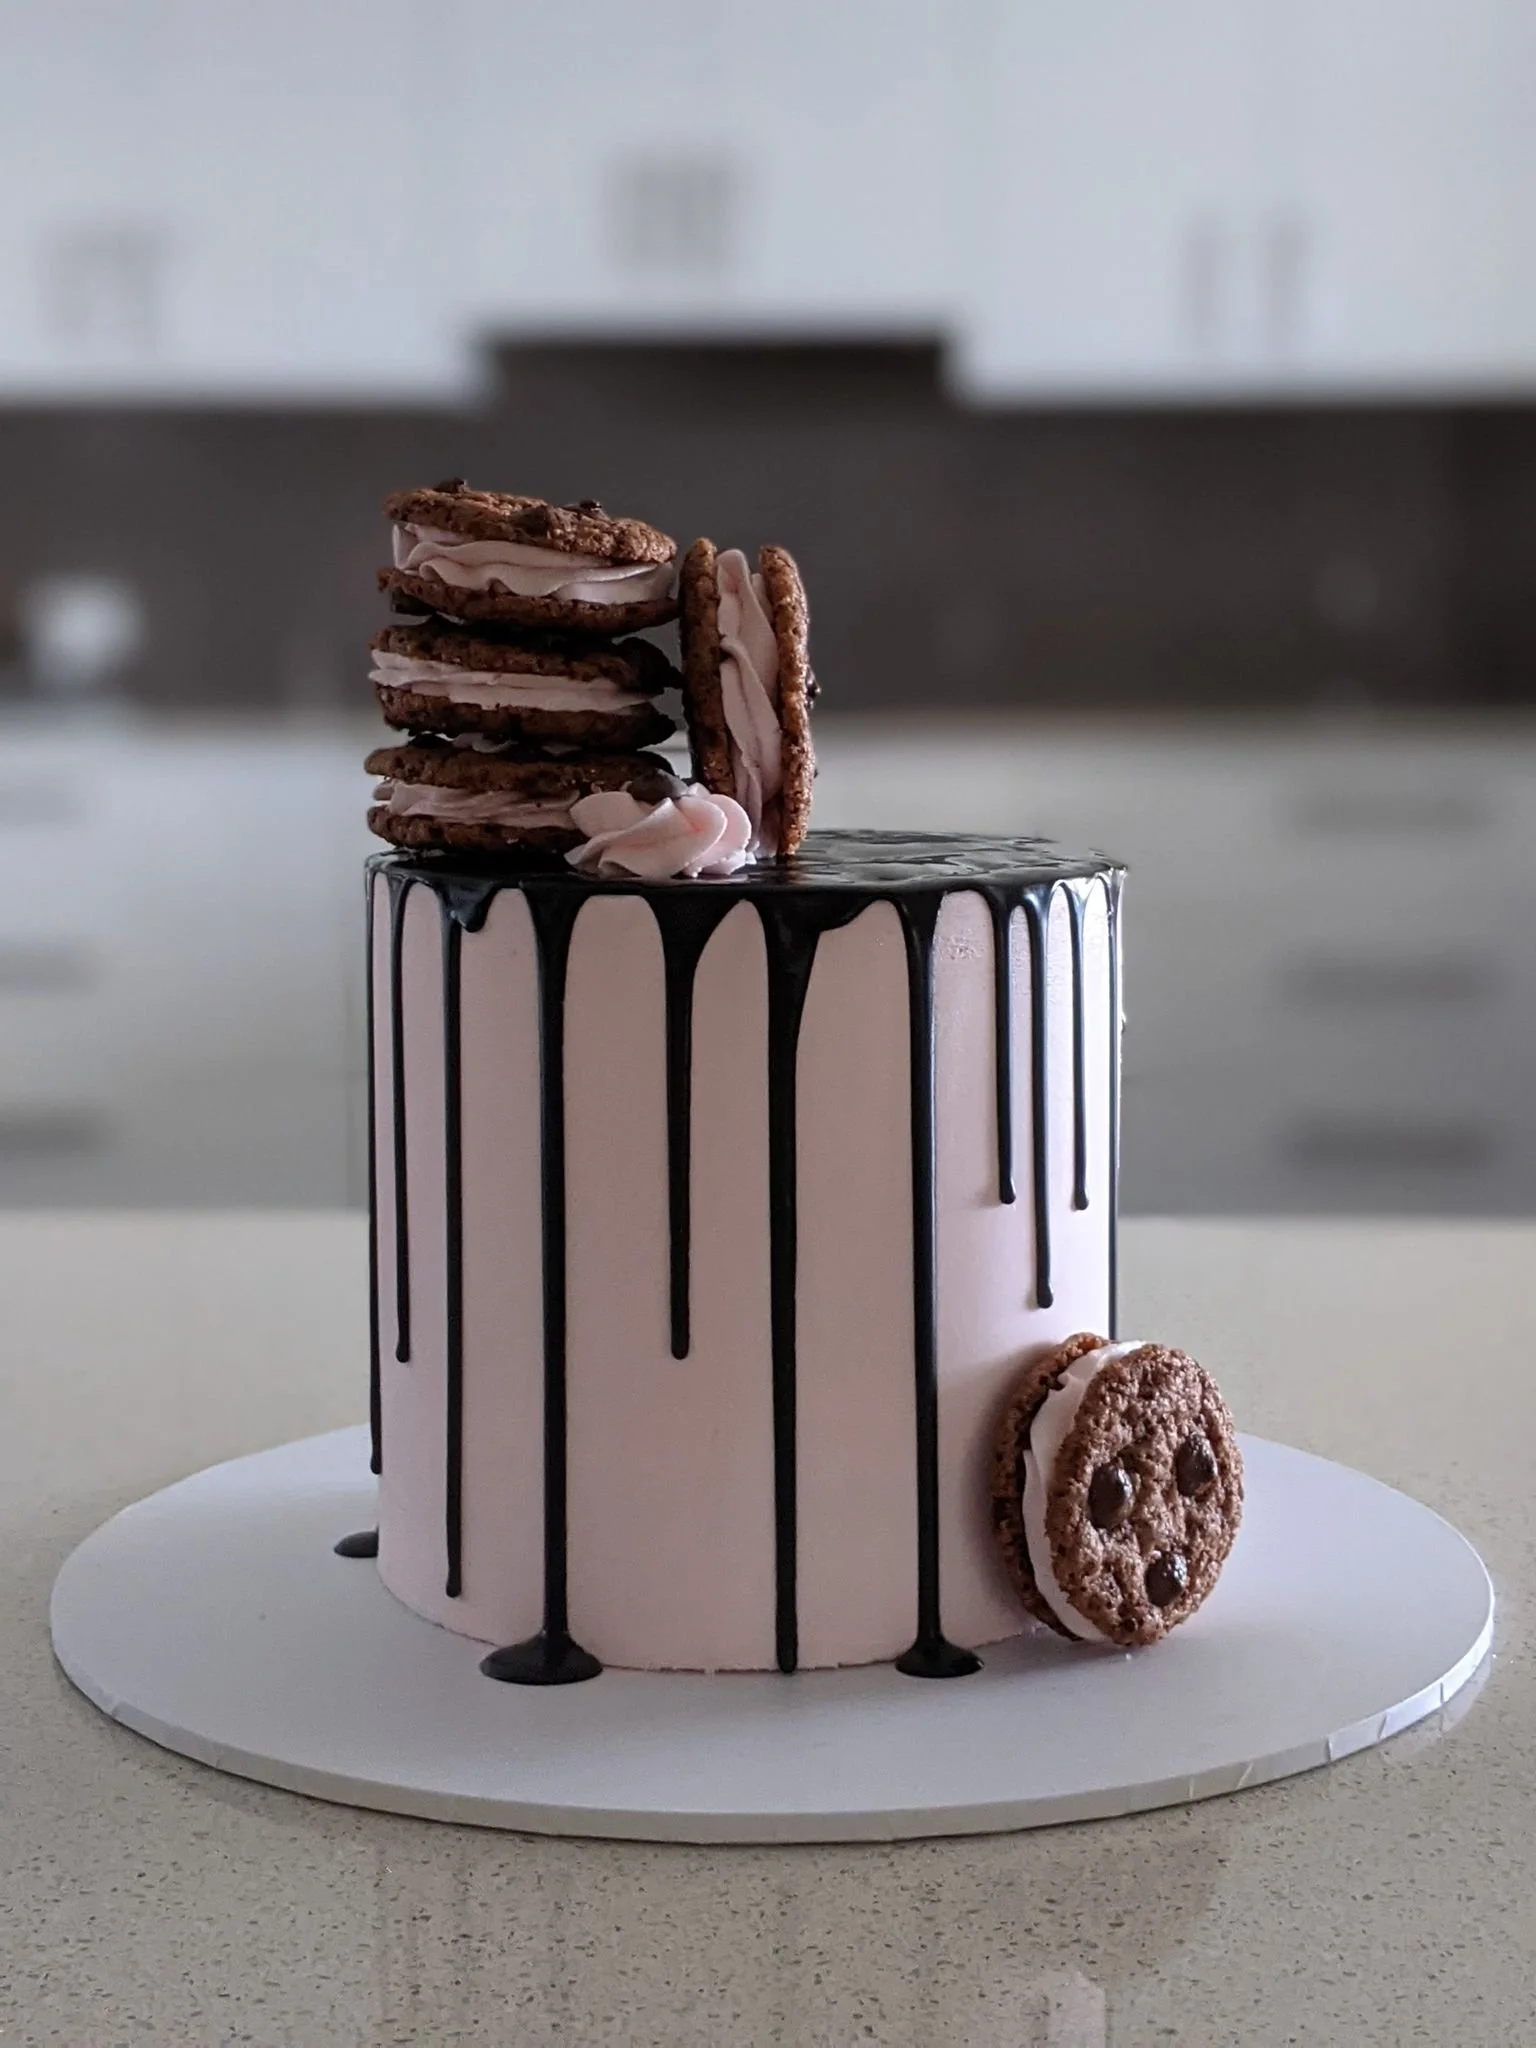
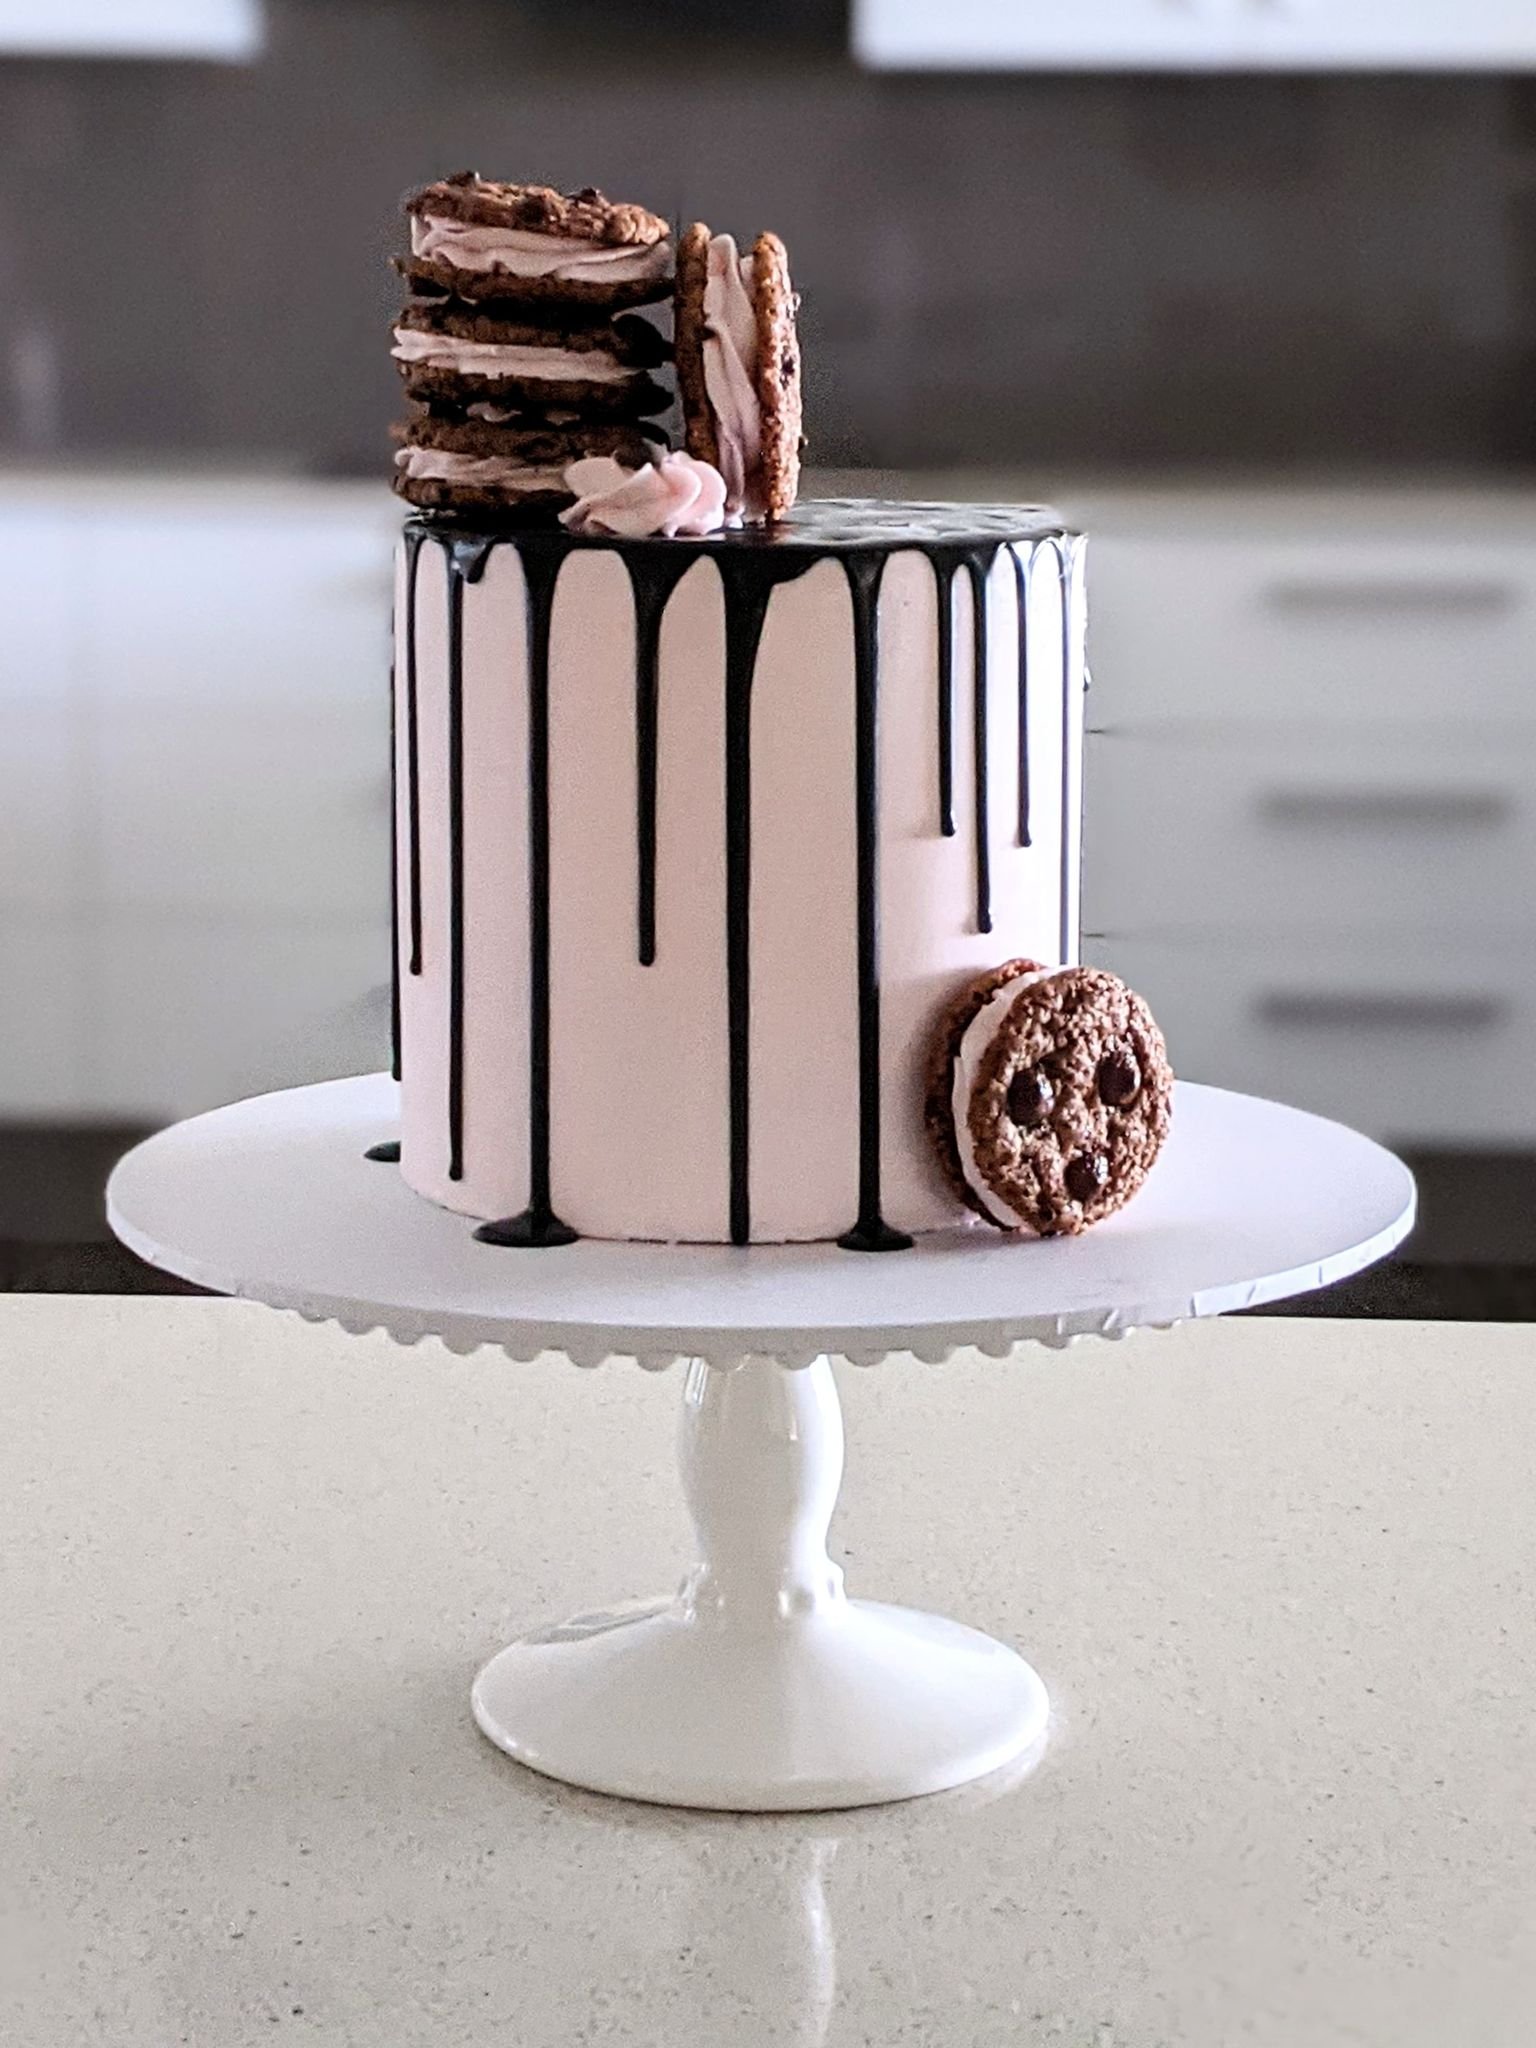
Let’s get decorating, you can let your creativity run wild or follow the steps that we did for our cookie cake.
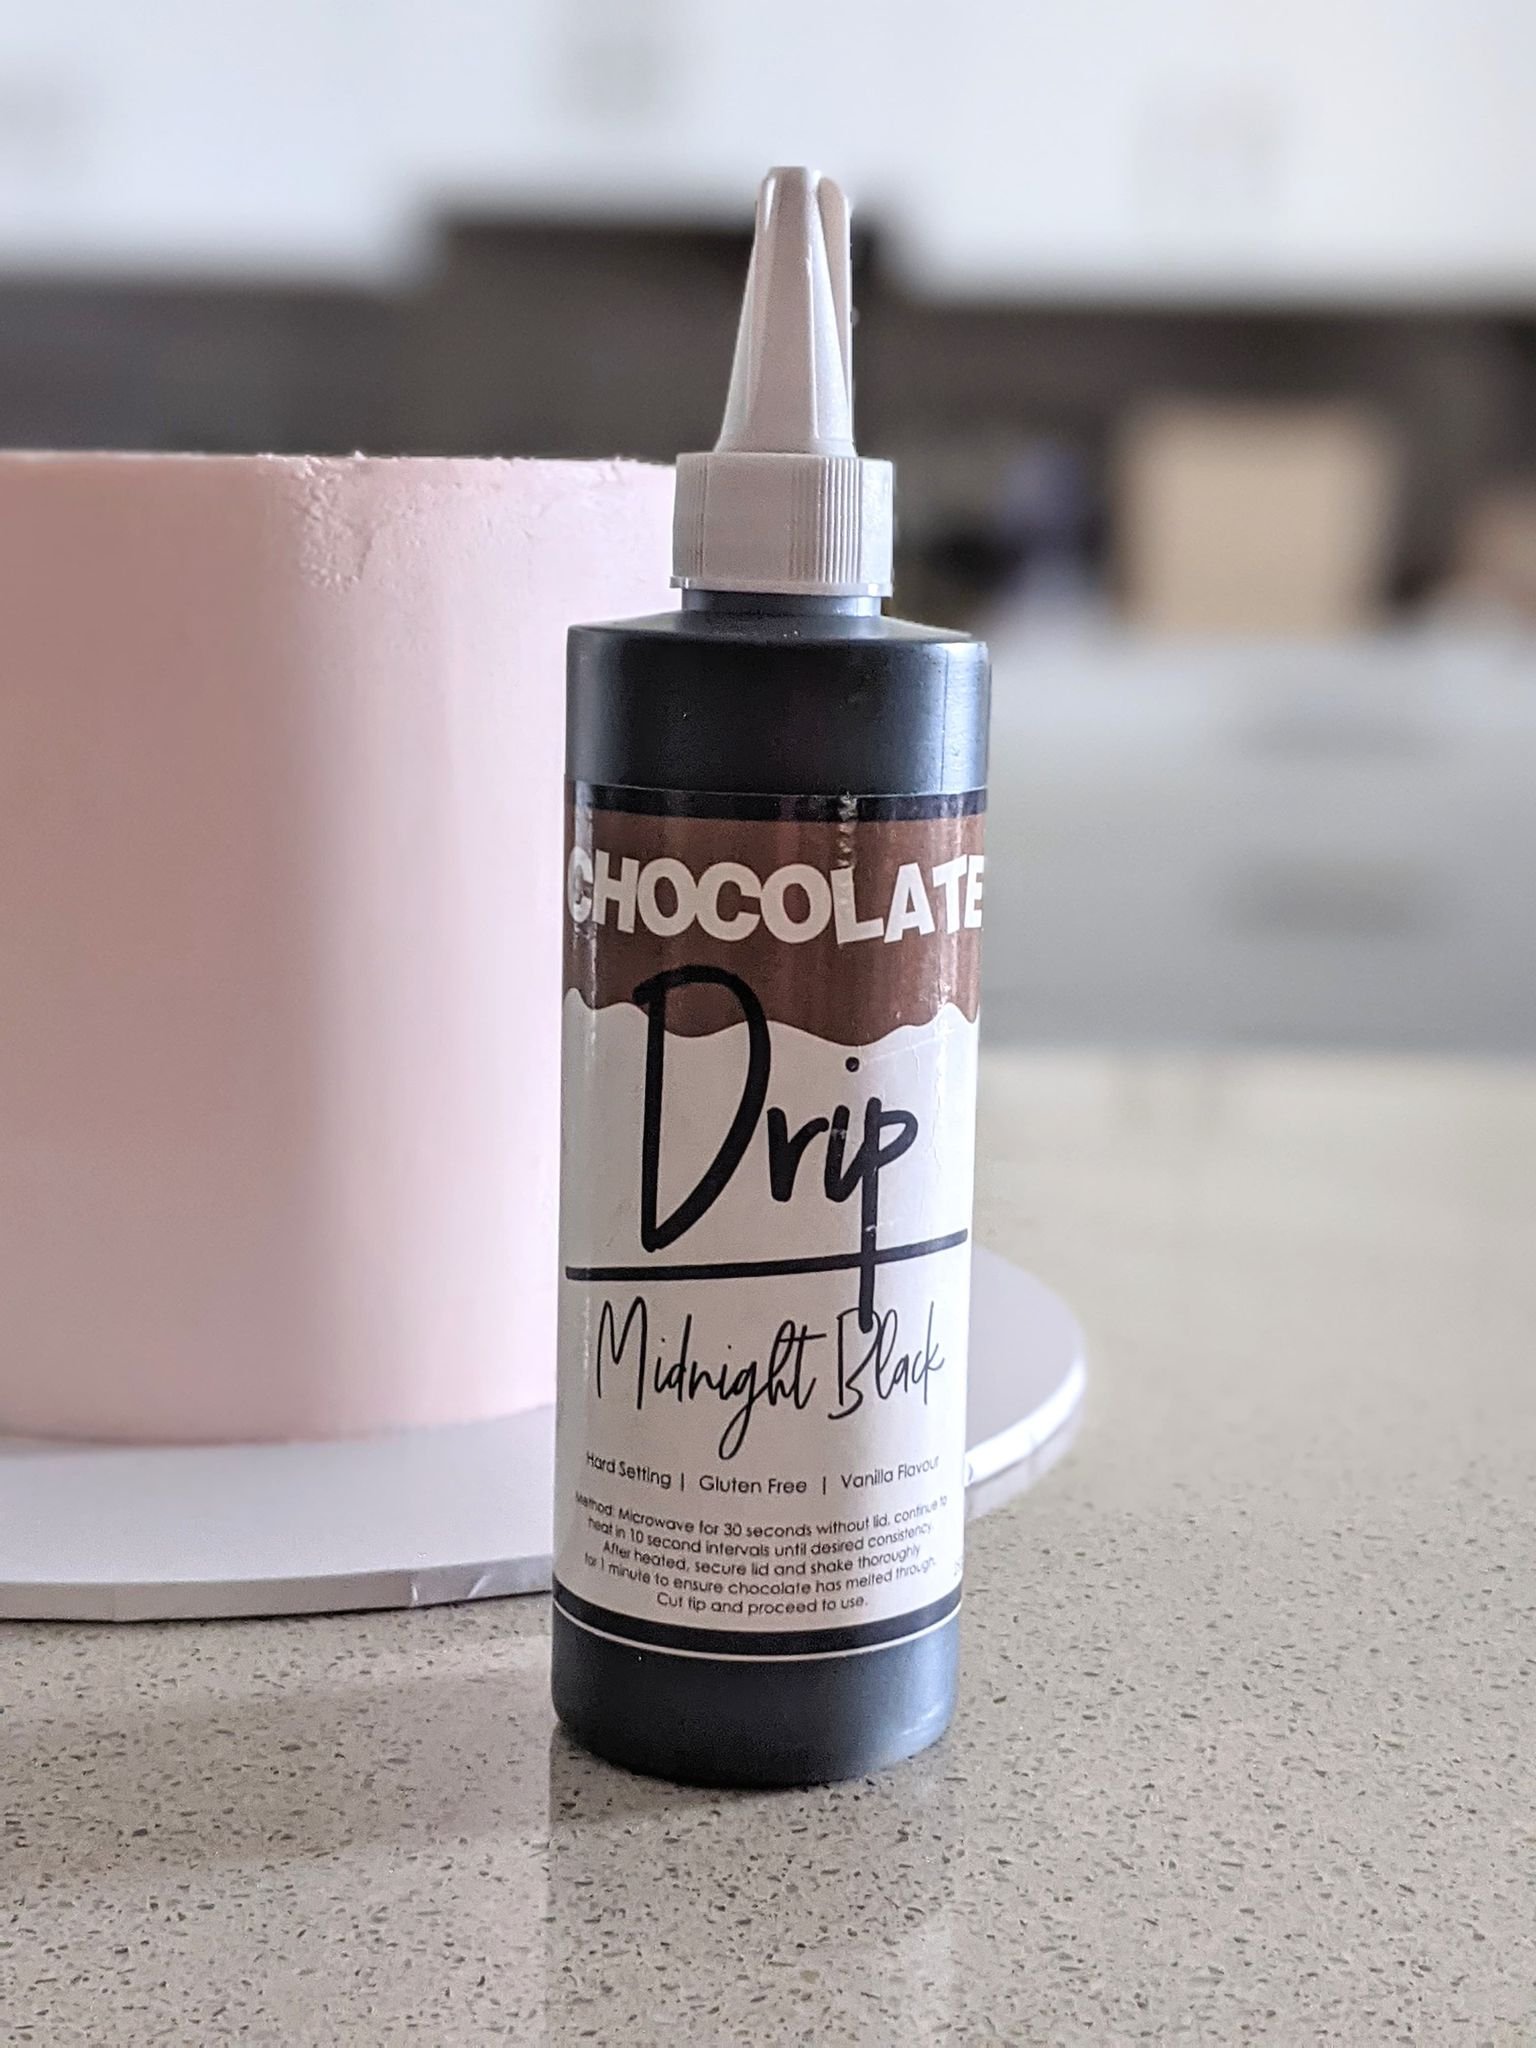
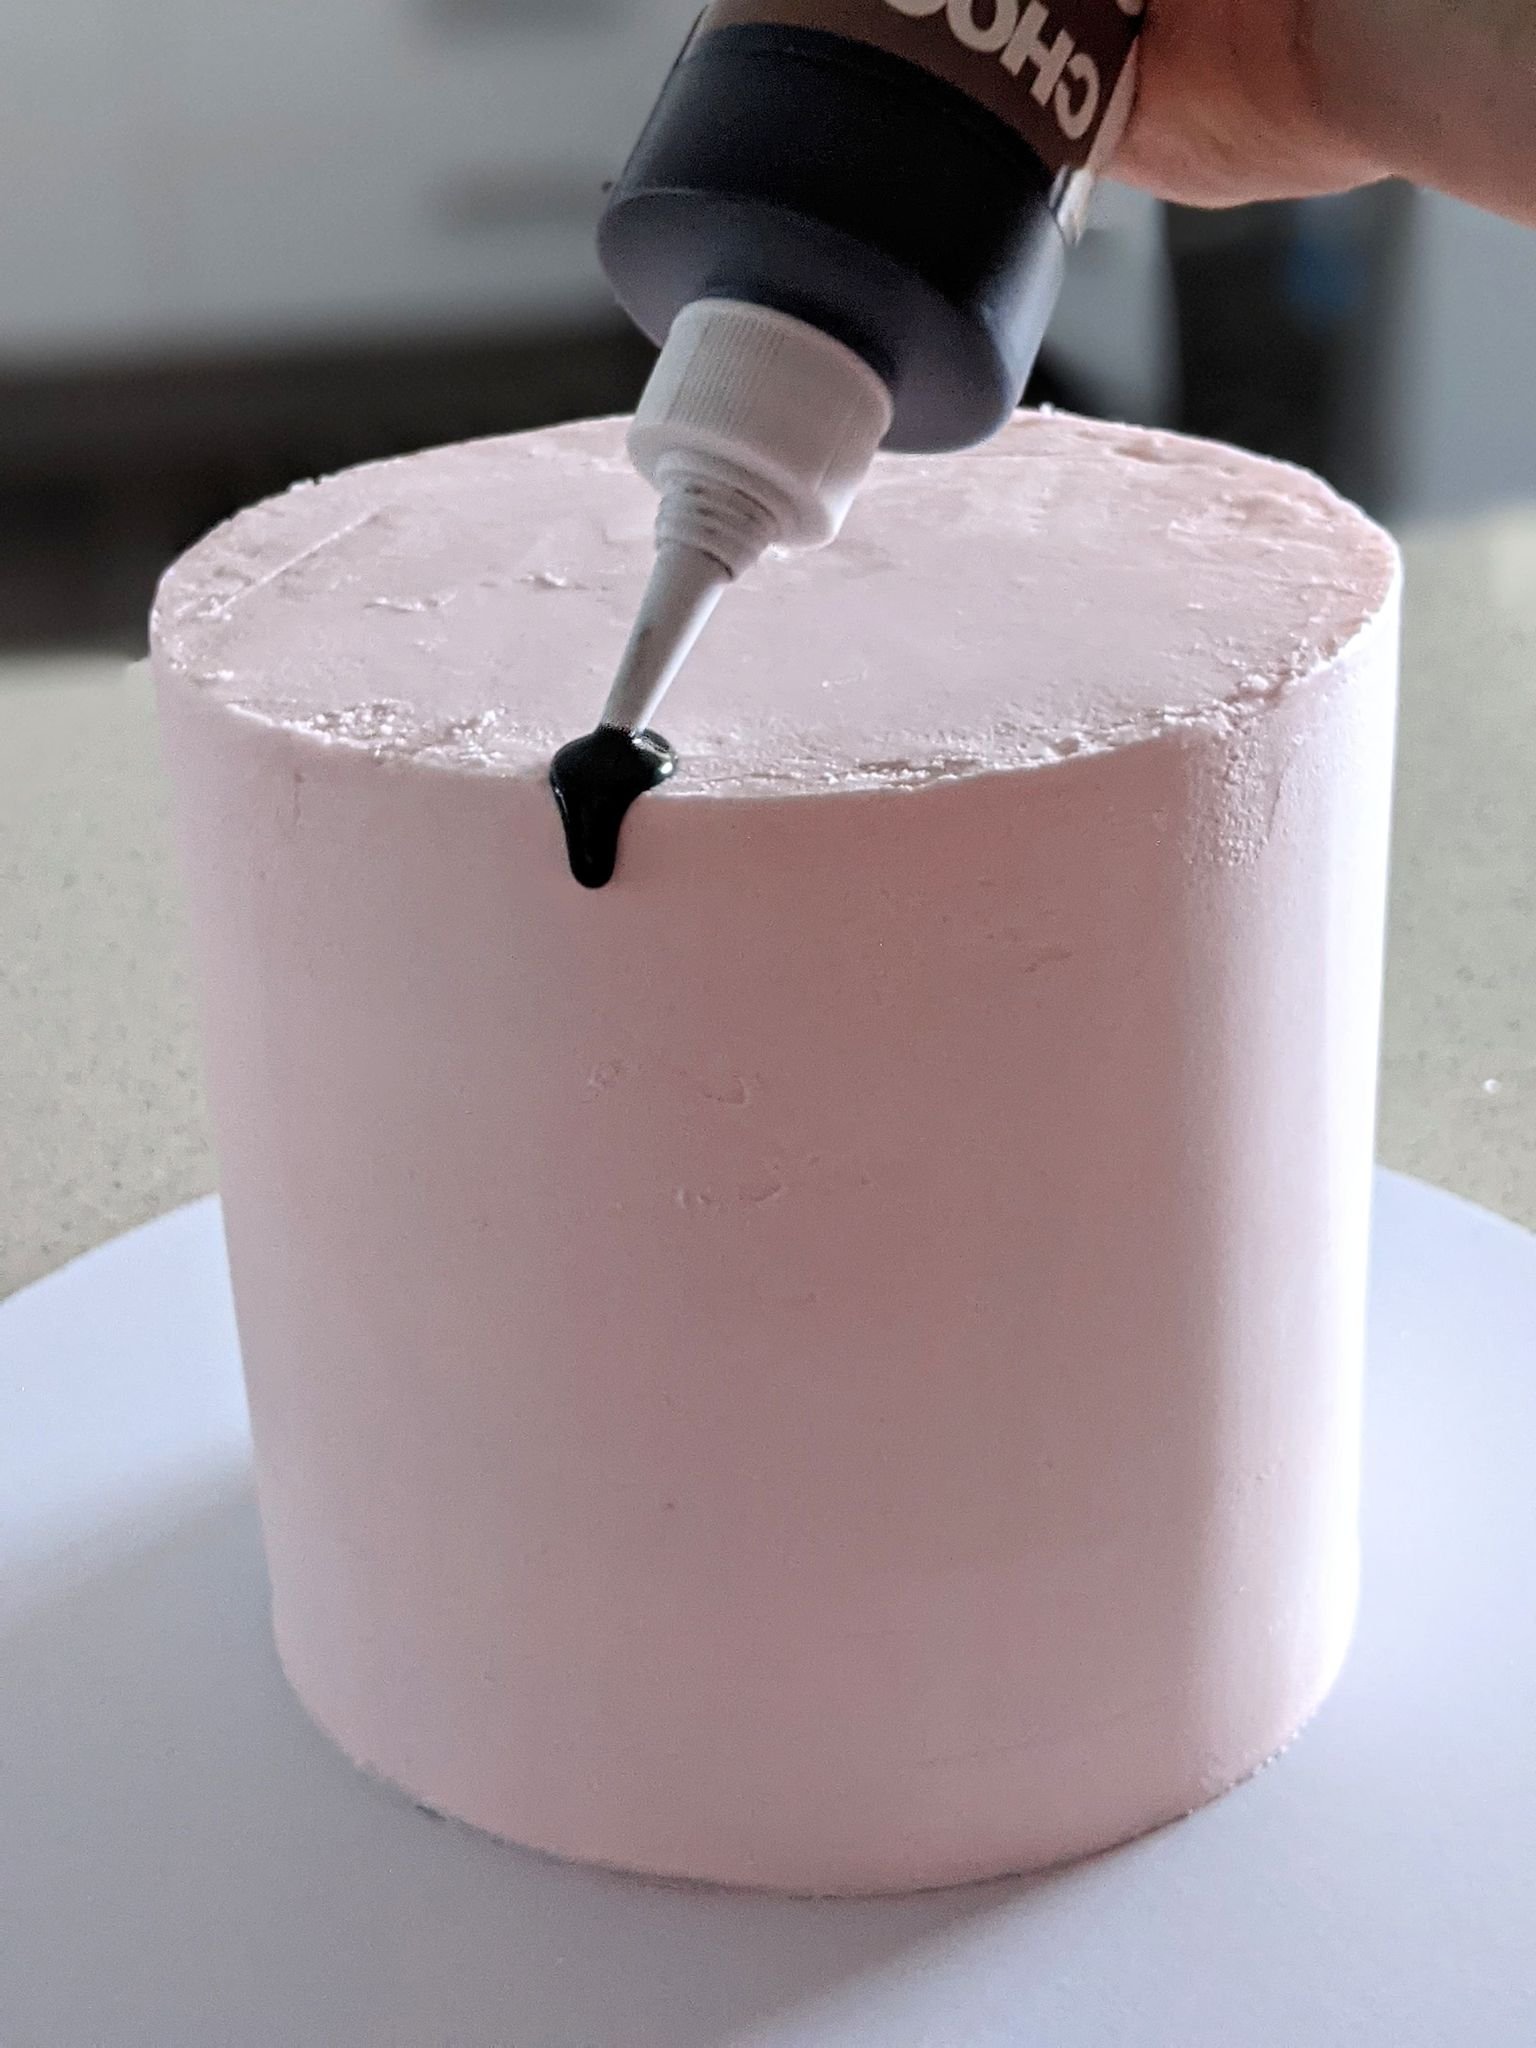
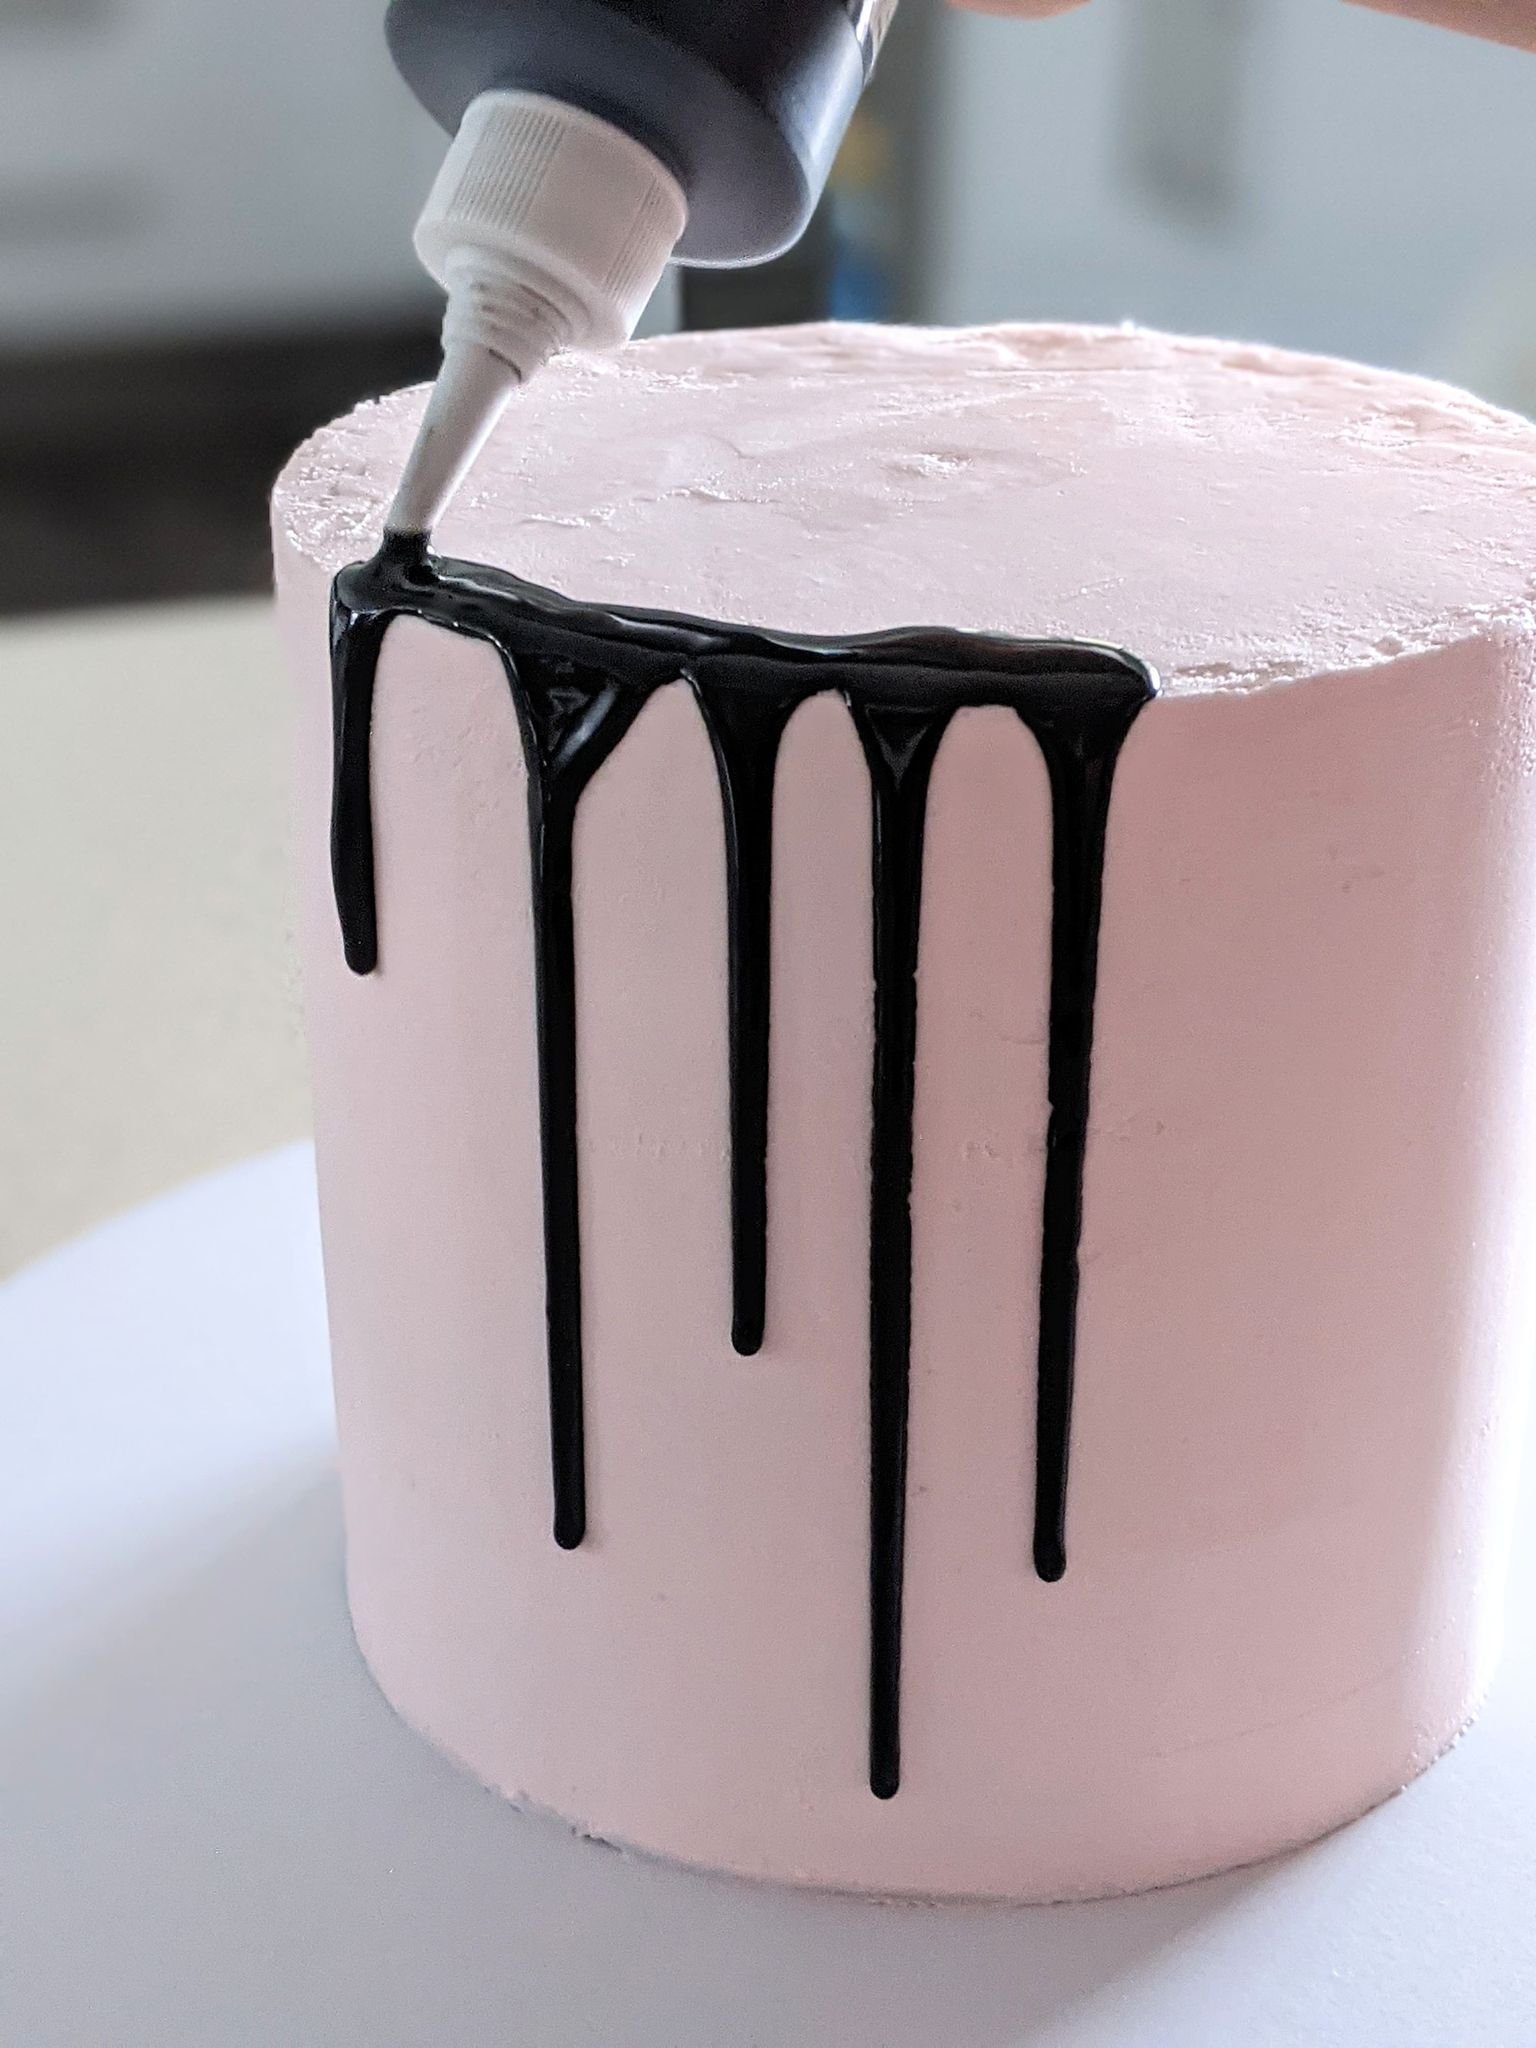
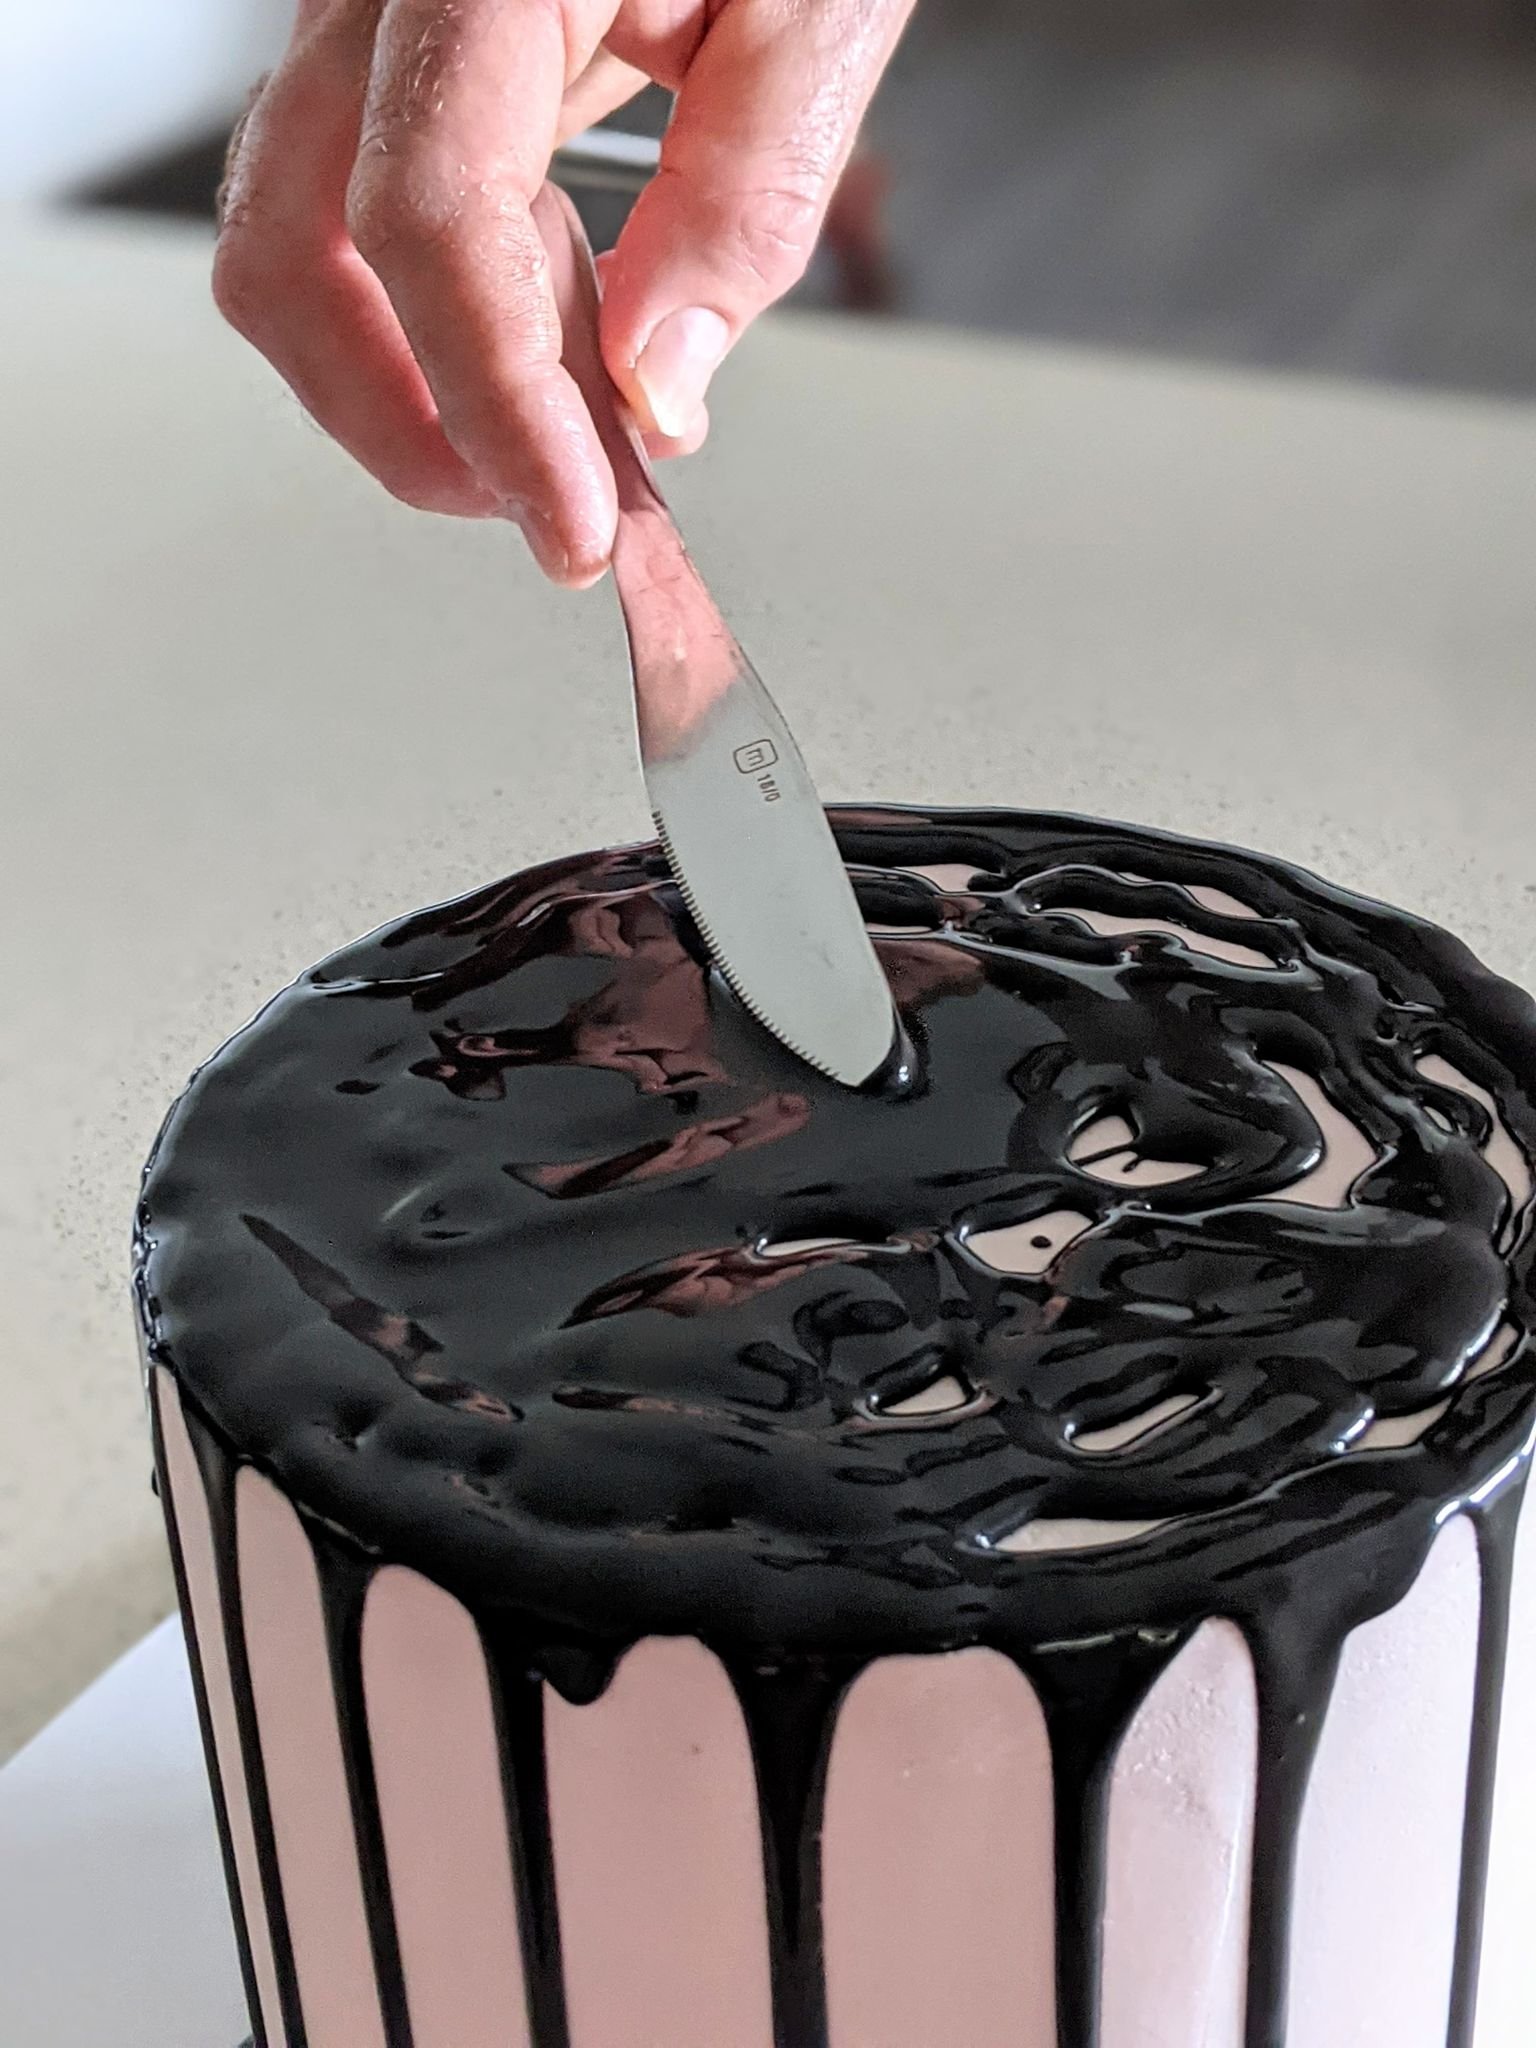
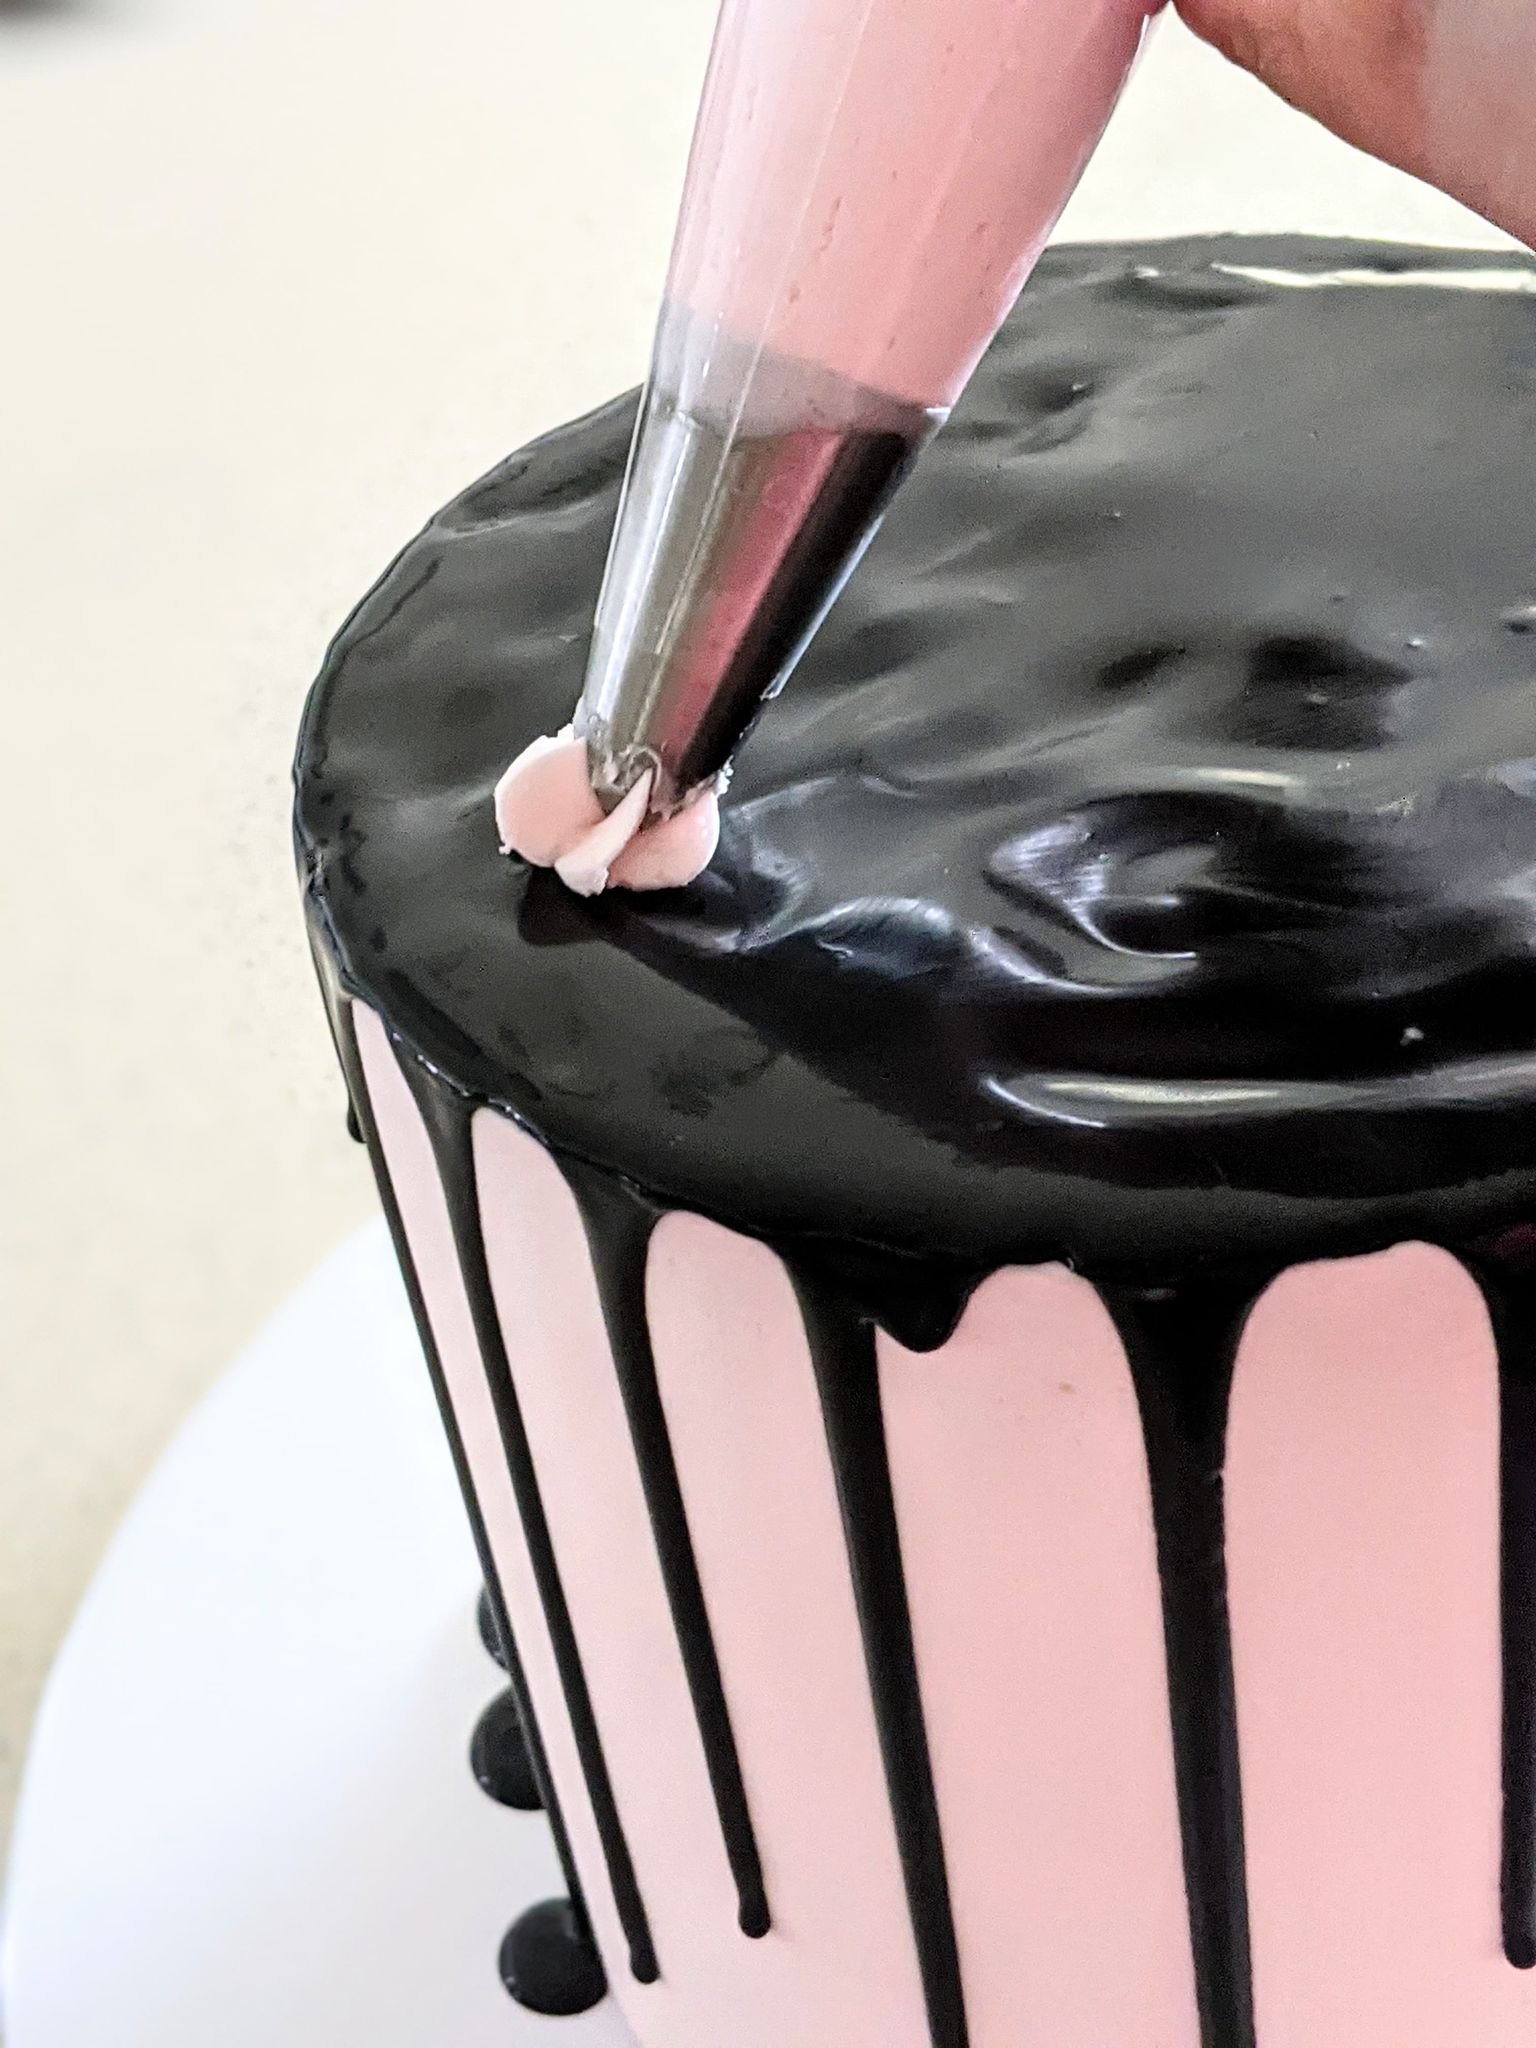
We used a midnight chocolate drip, simply microwave and squirt. Available at Cakers Paradise online store.
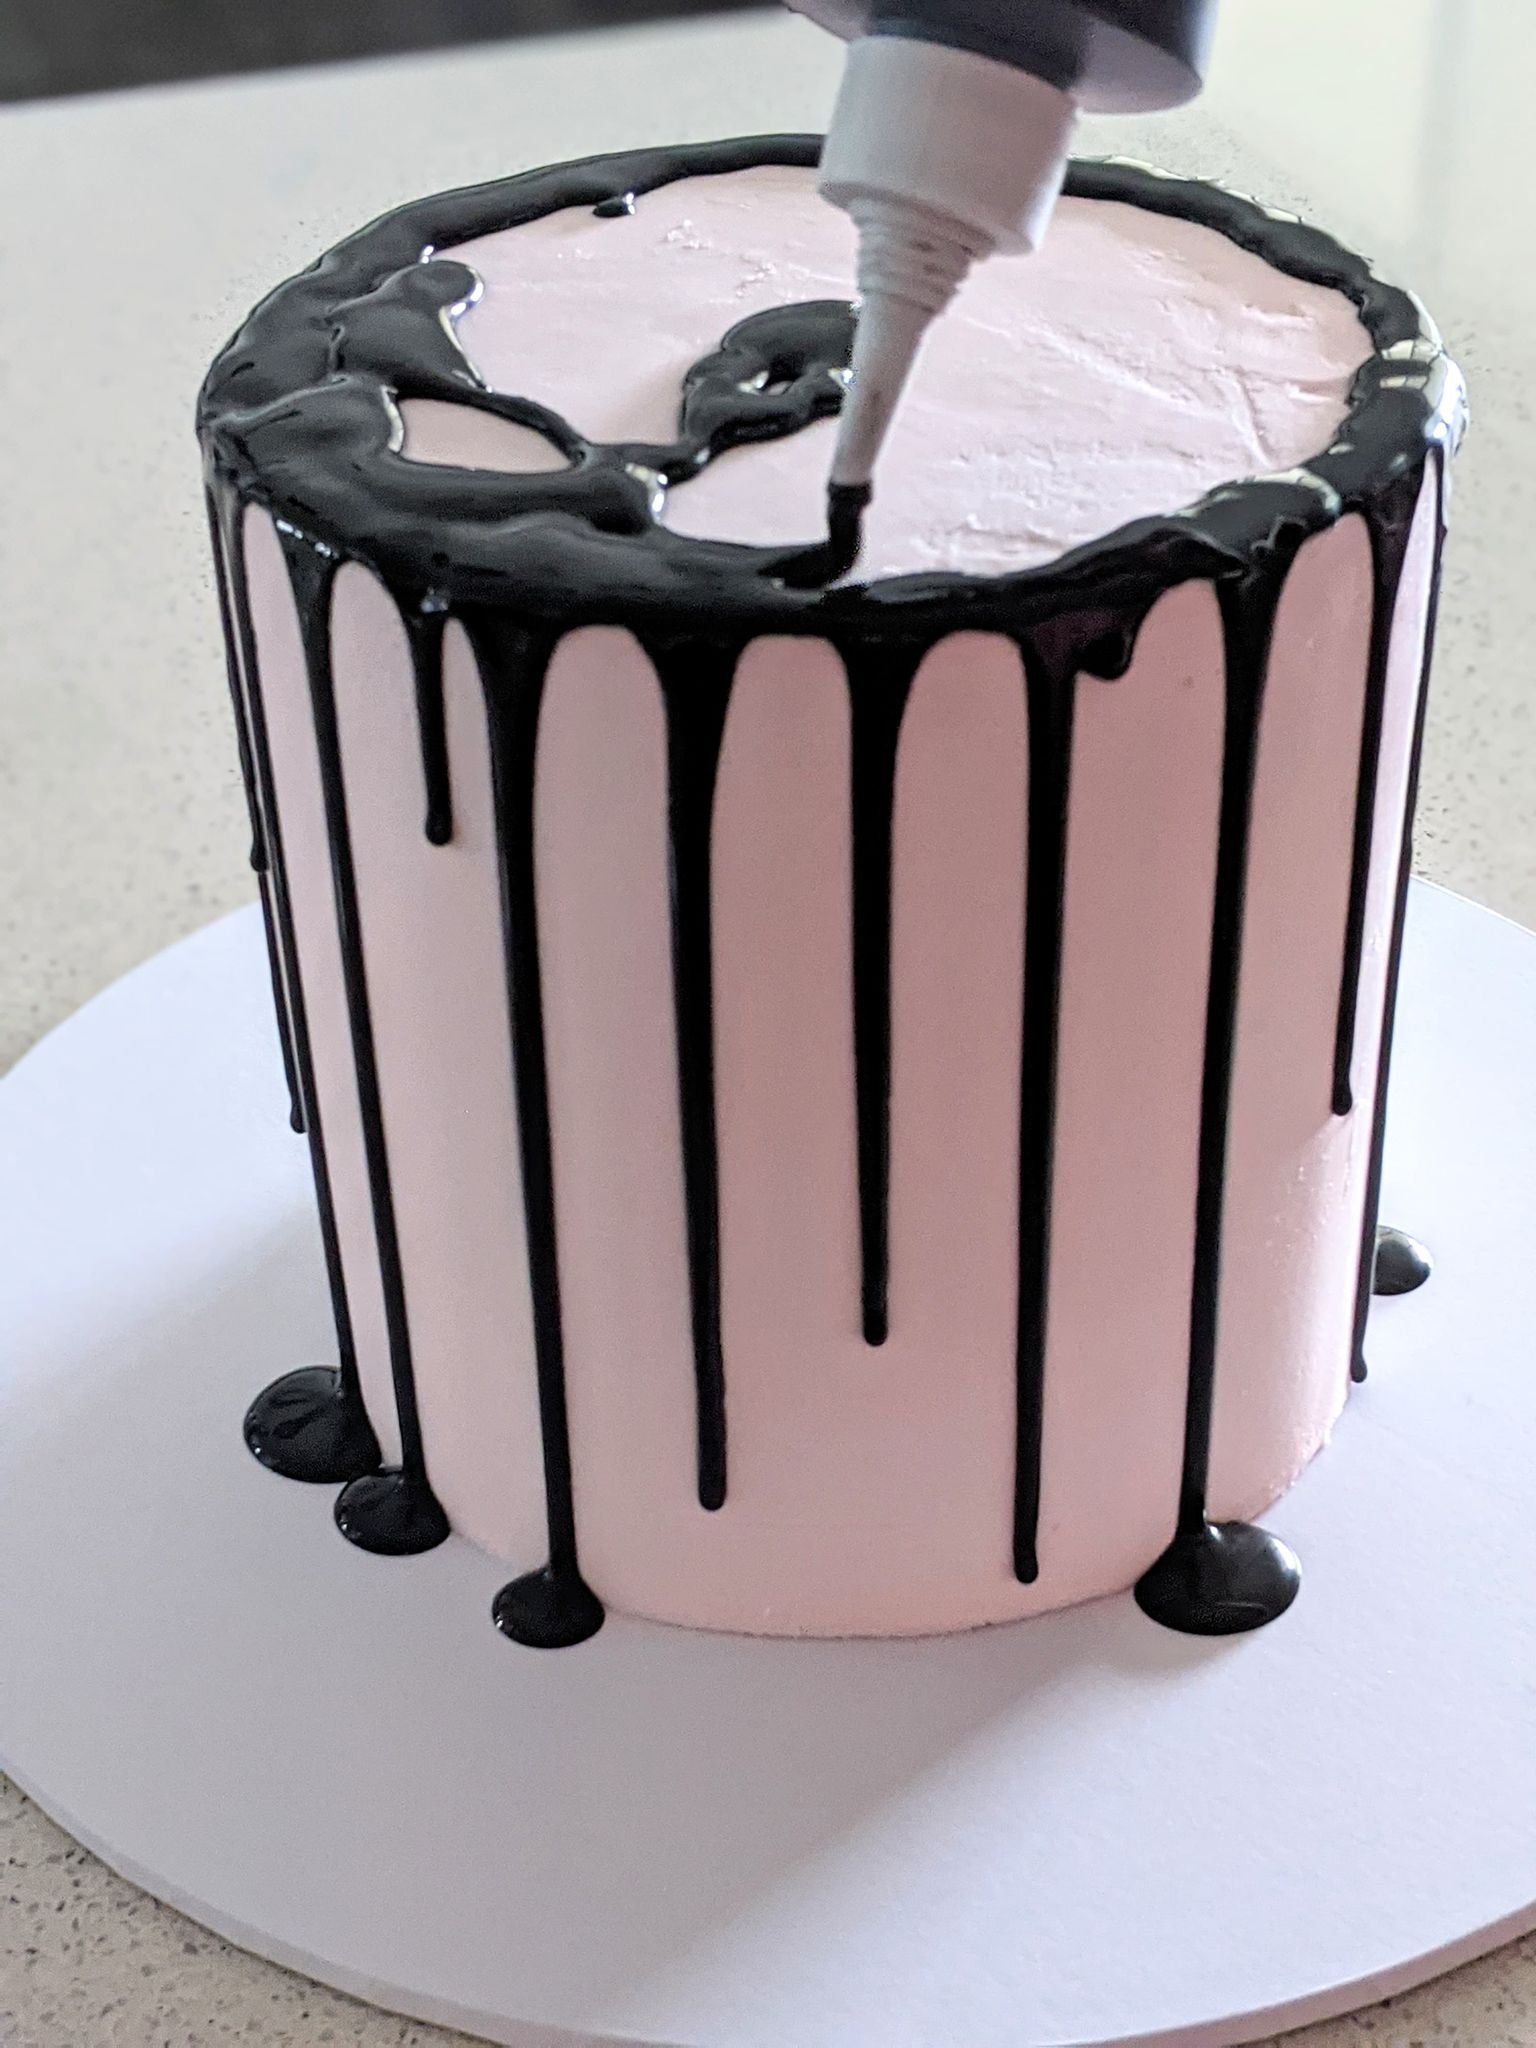
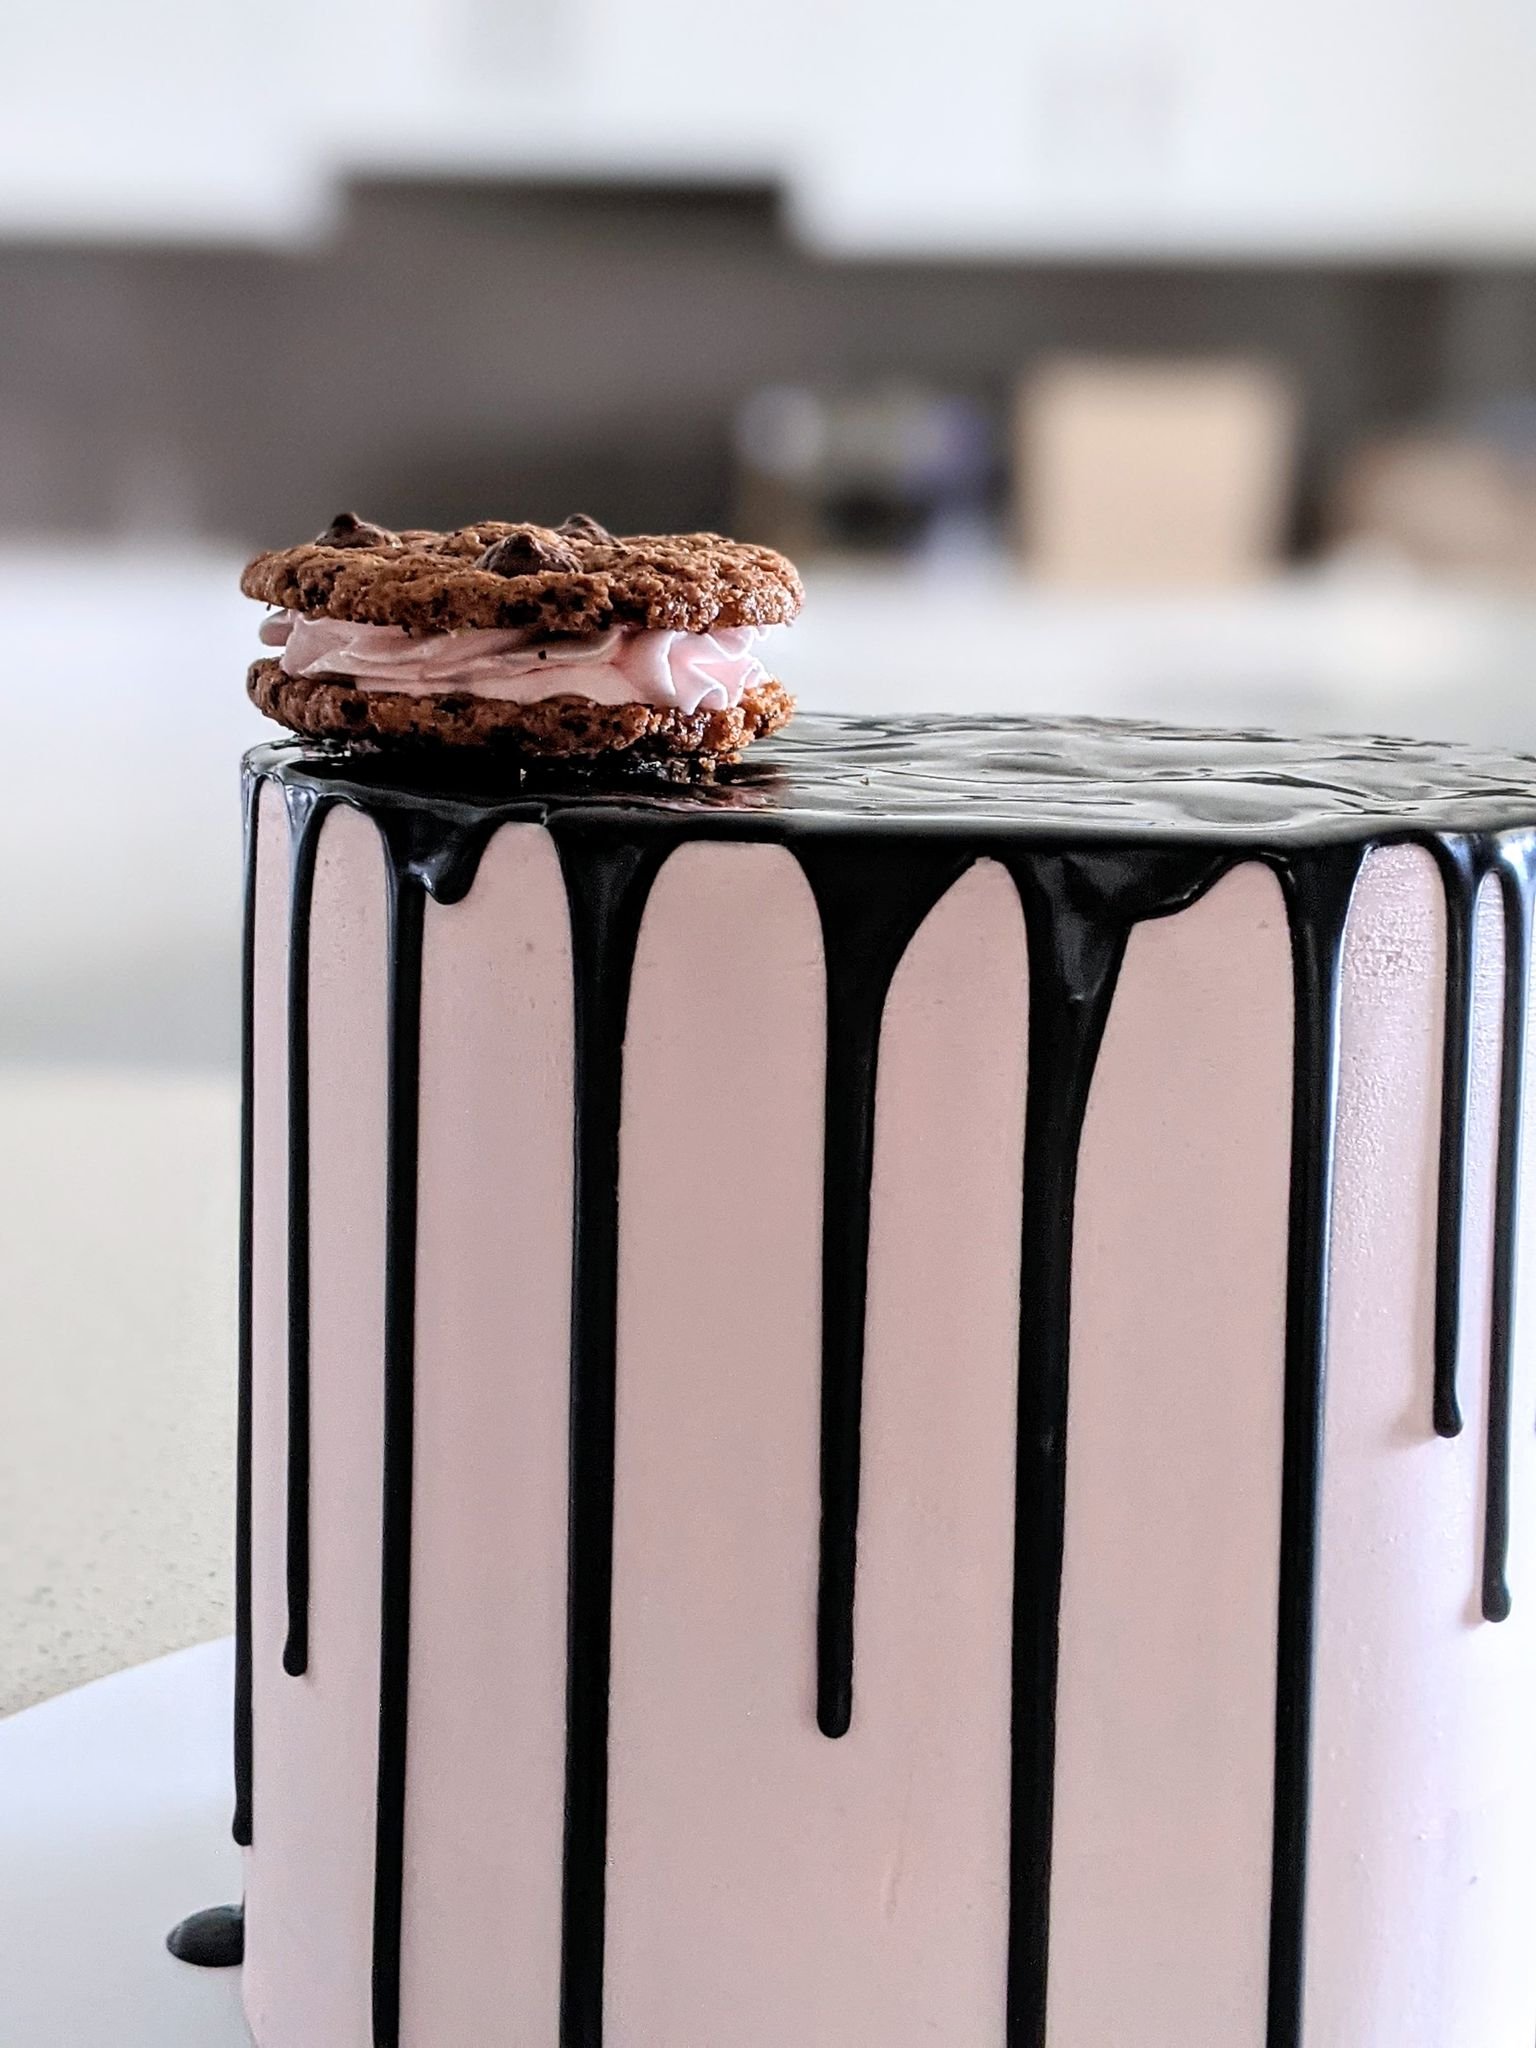
Start on the edge and go around your cake creating different lengths of drips then fill in the middle.
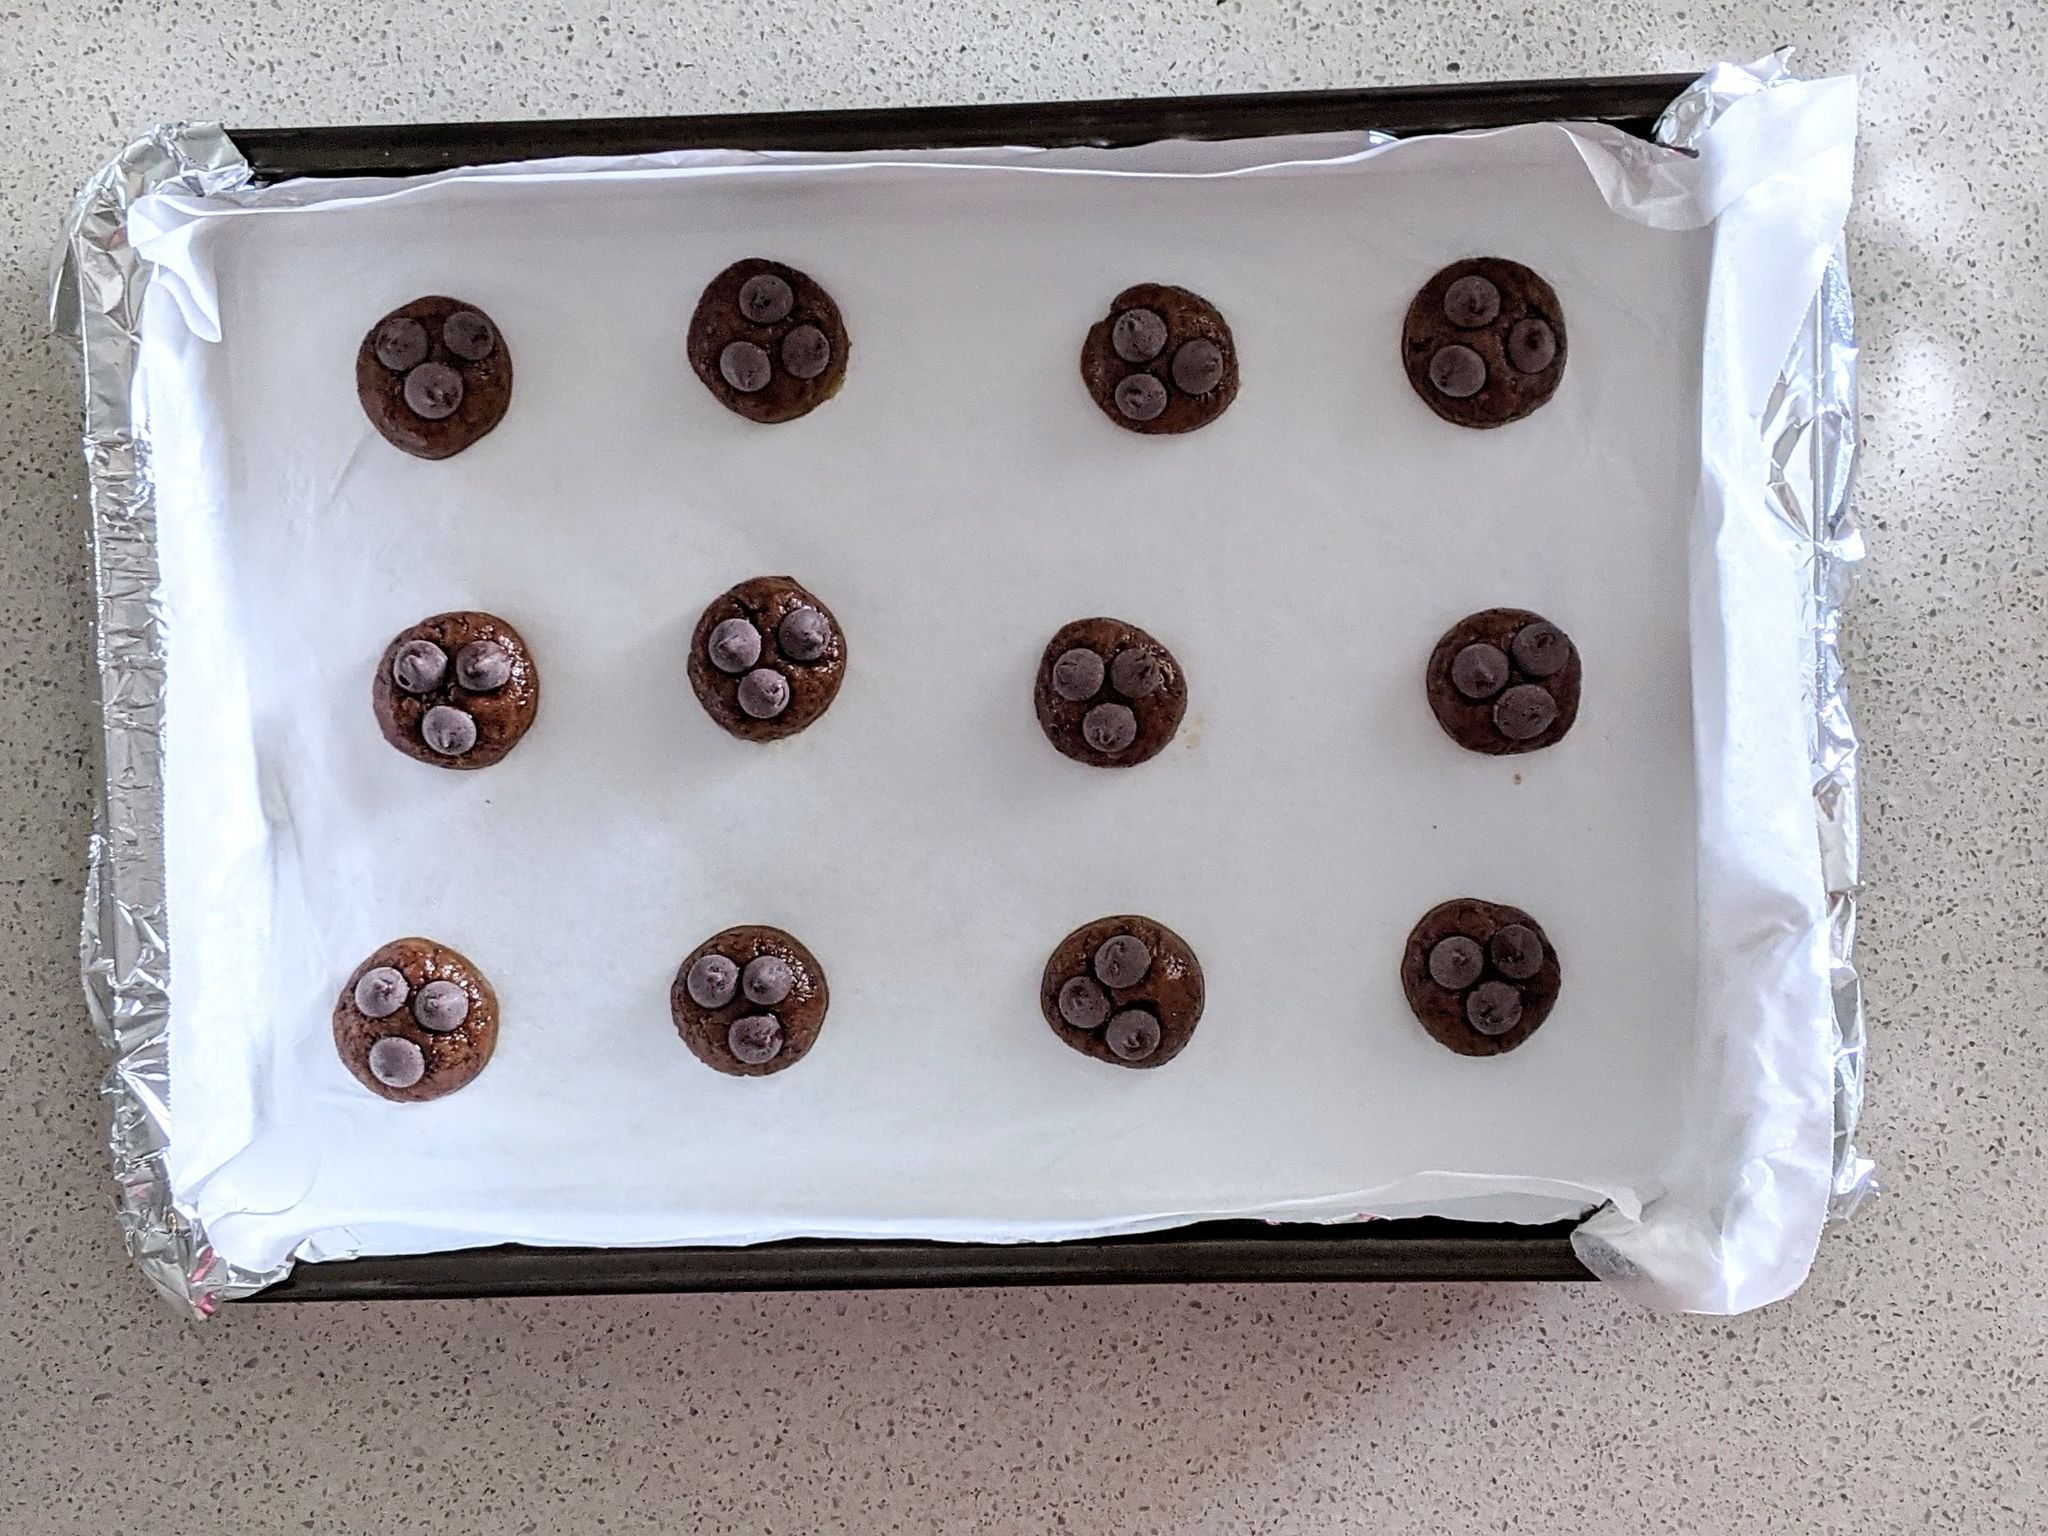
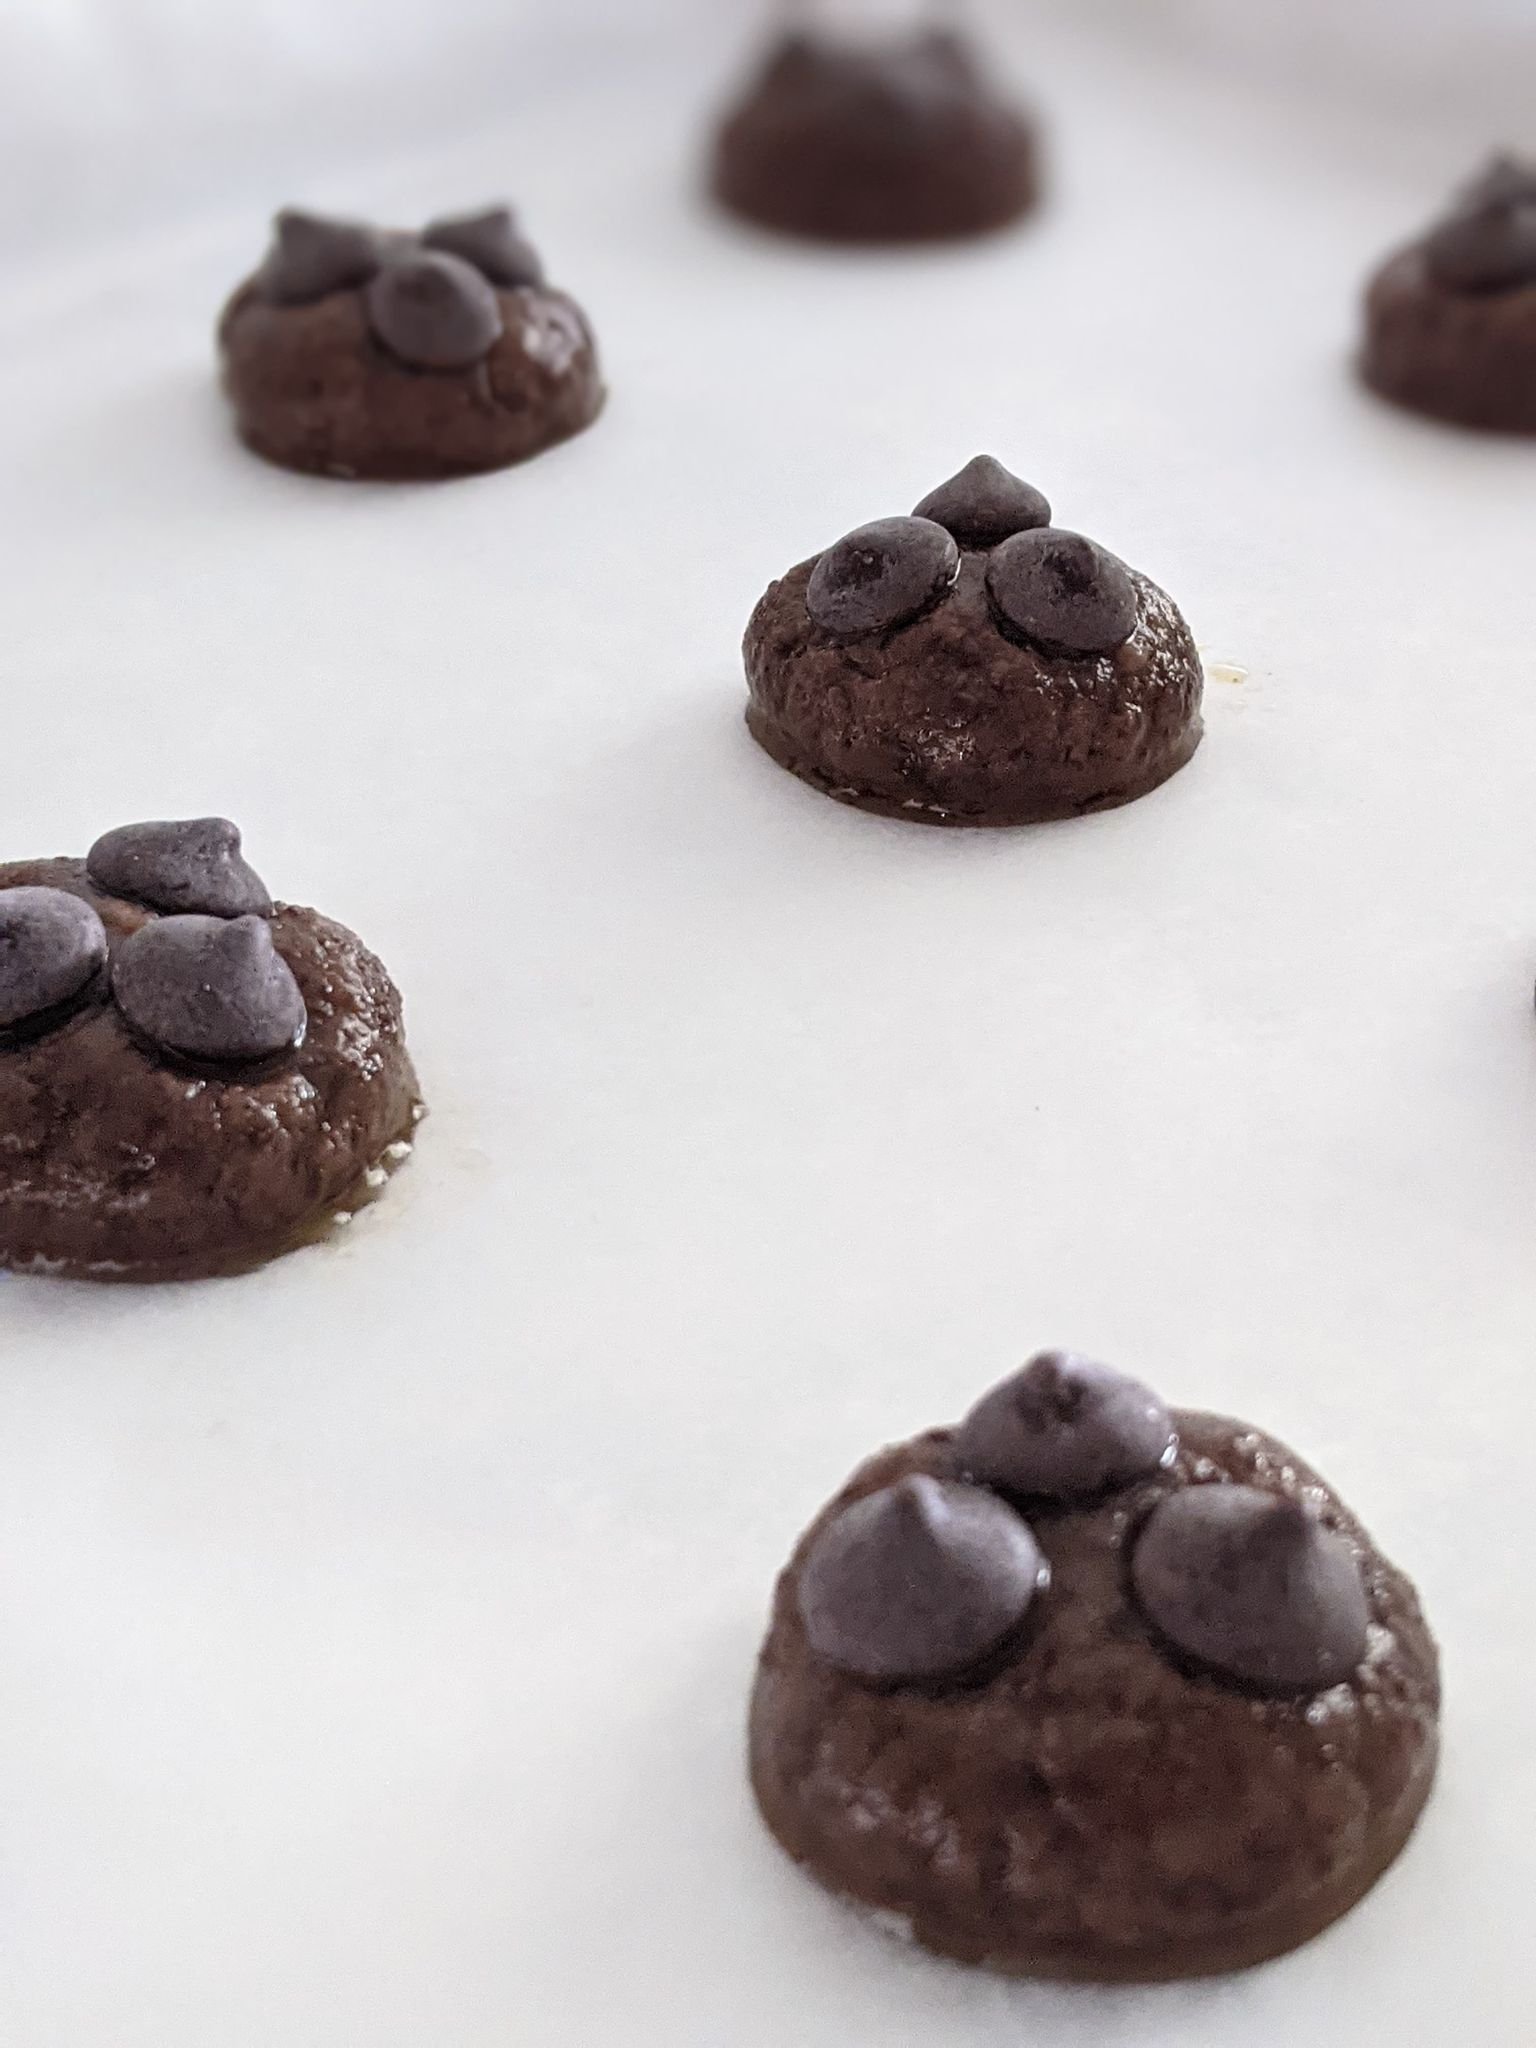
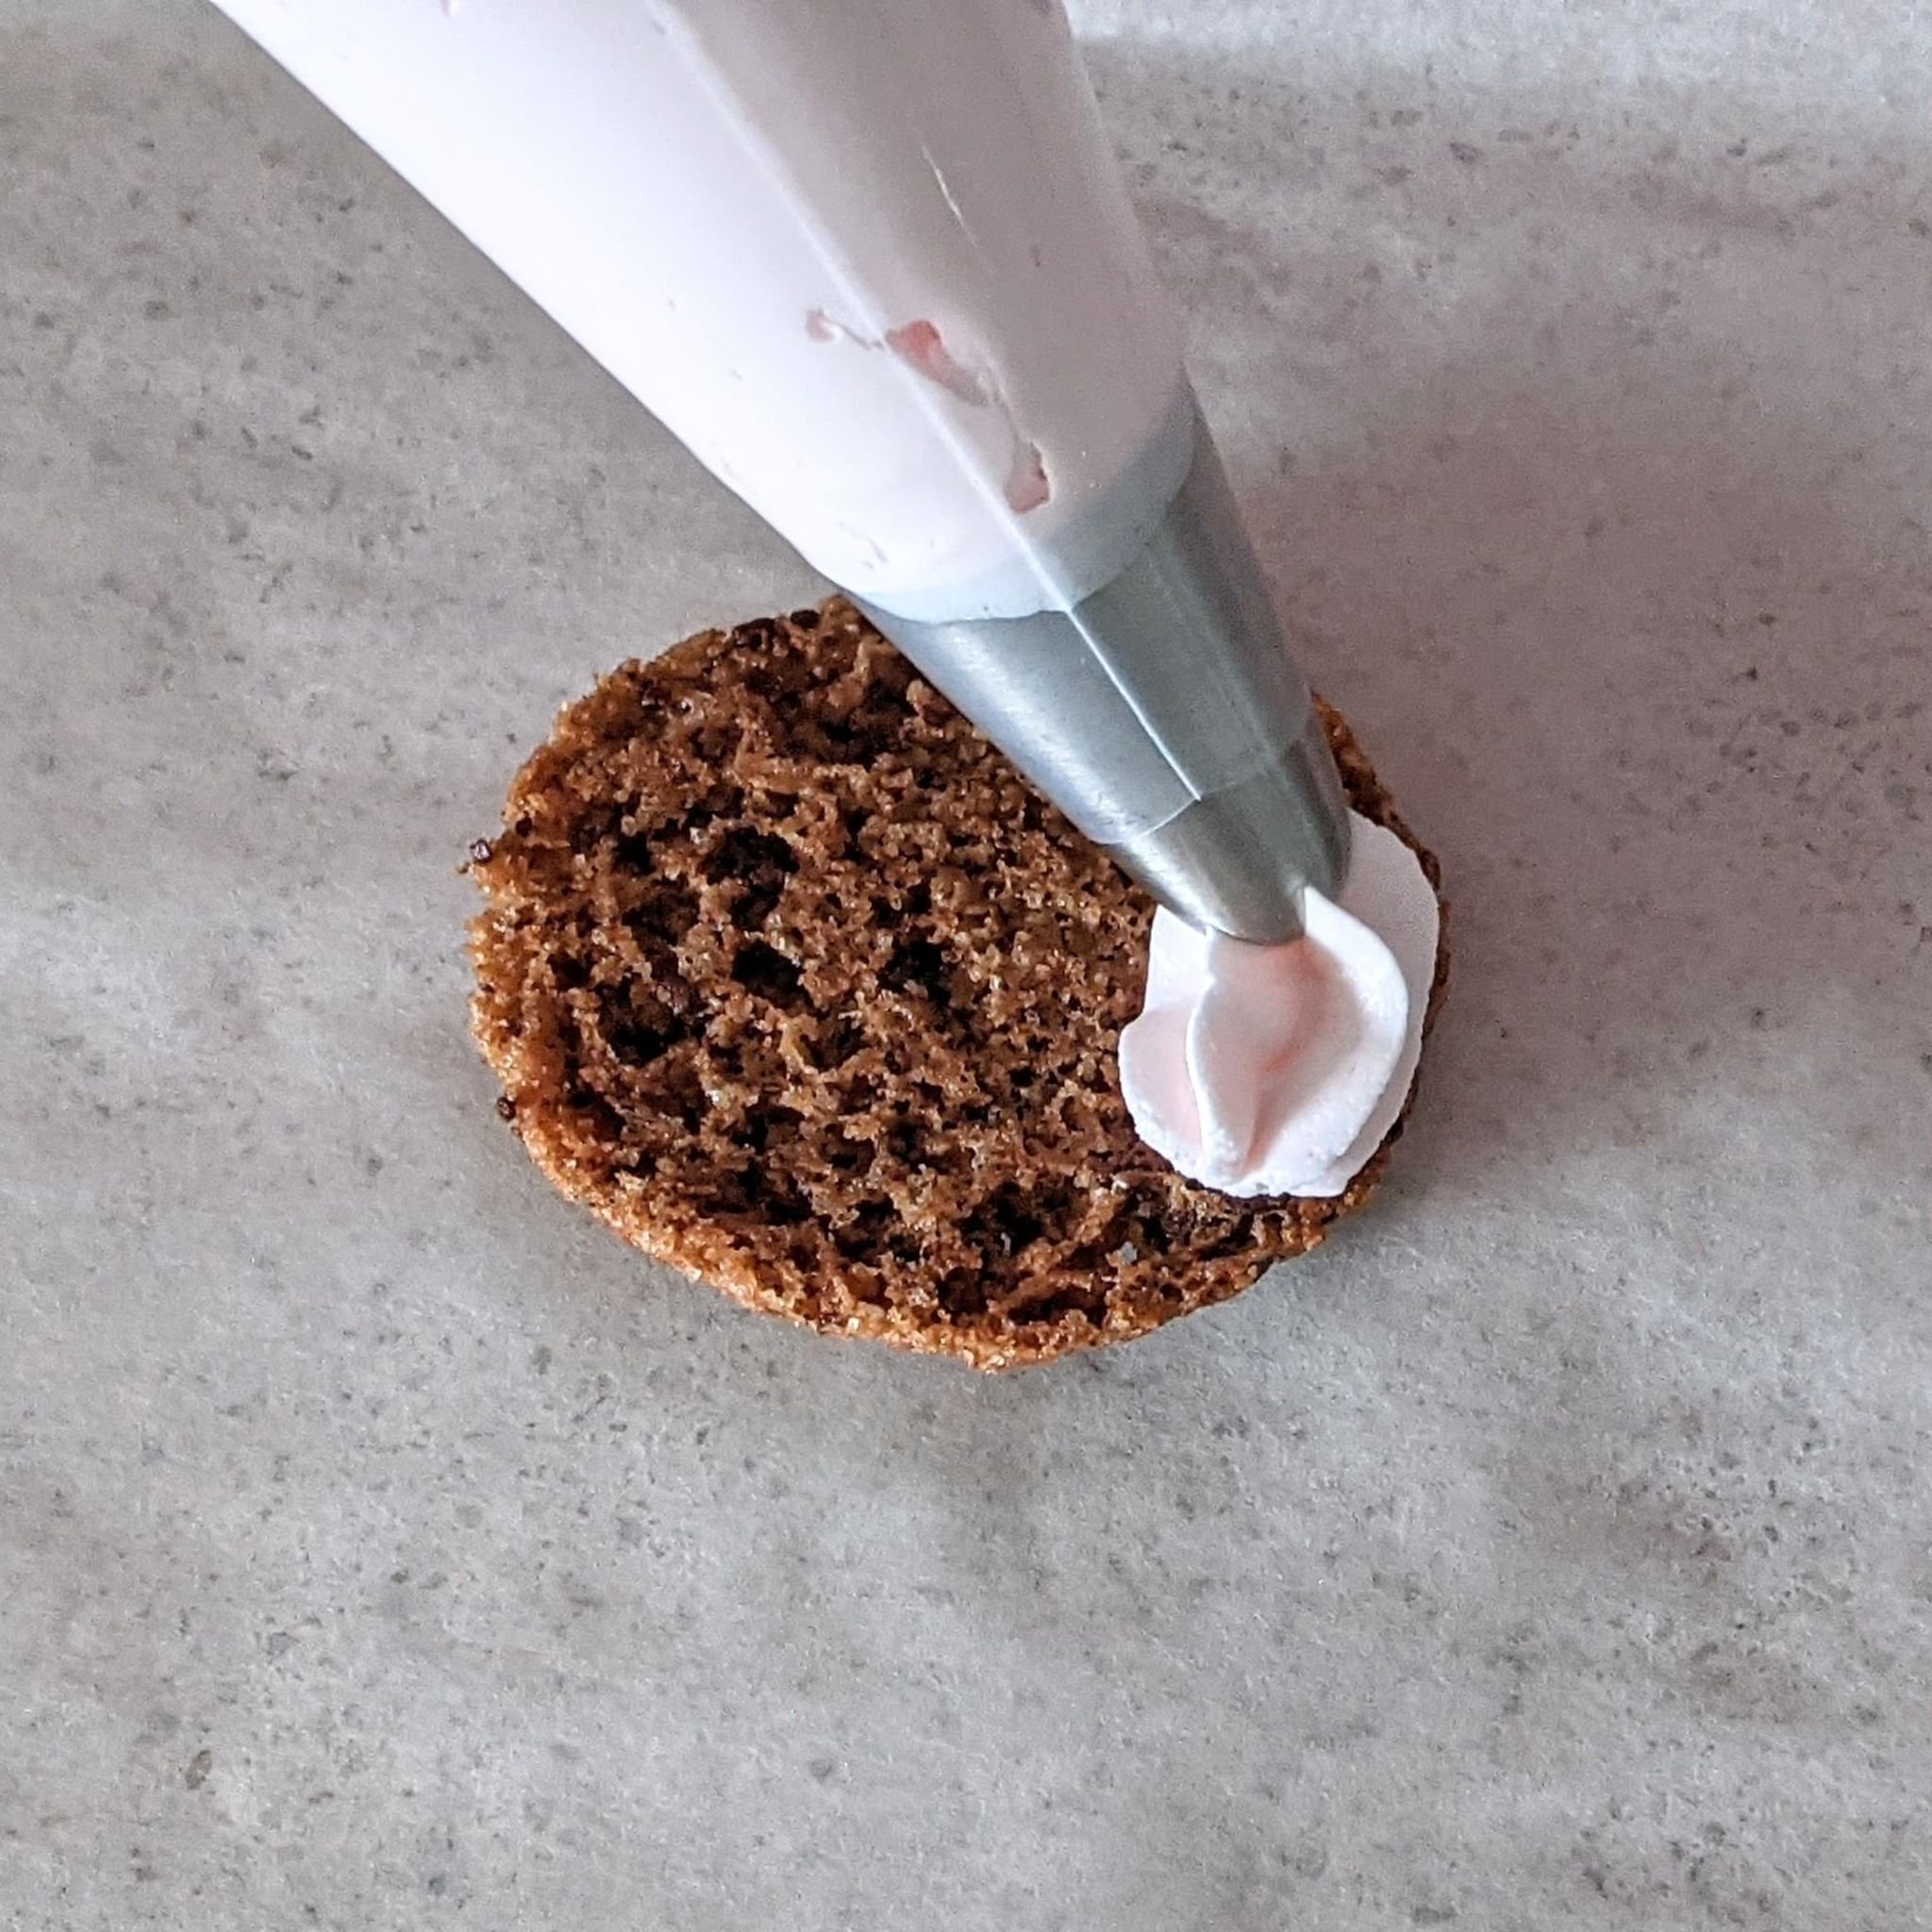
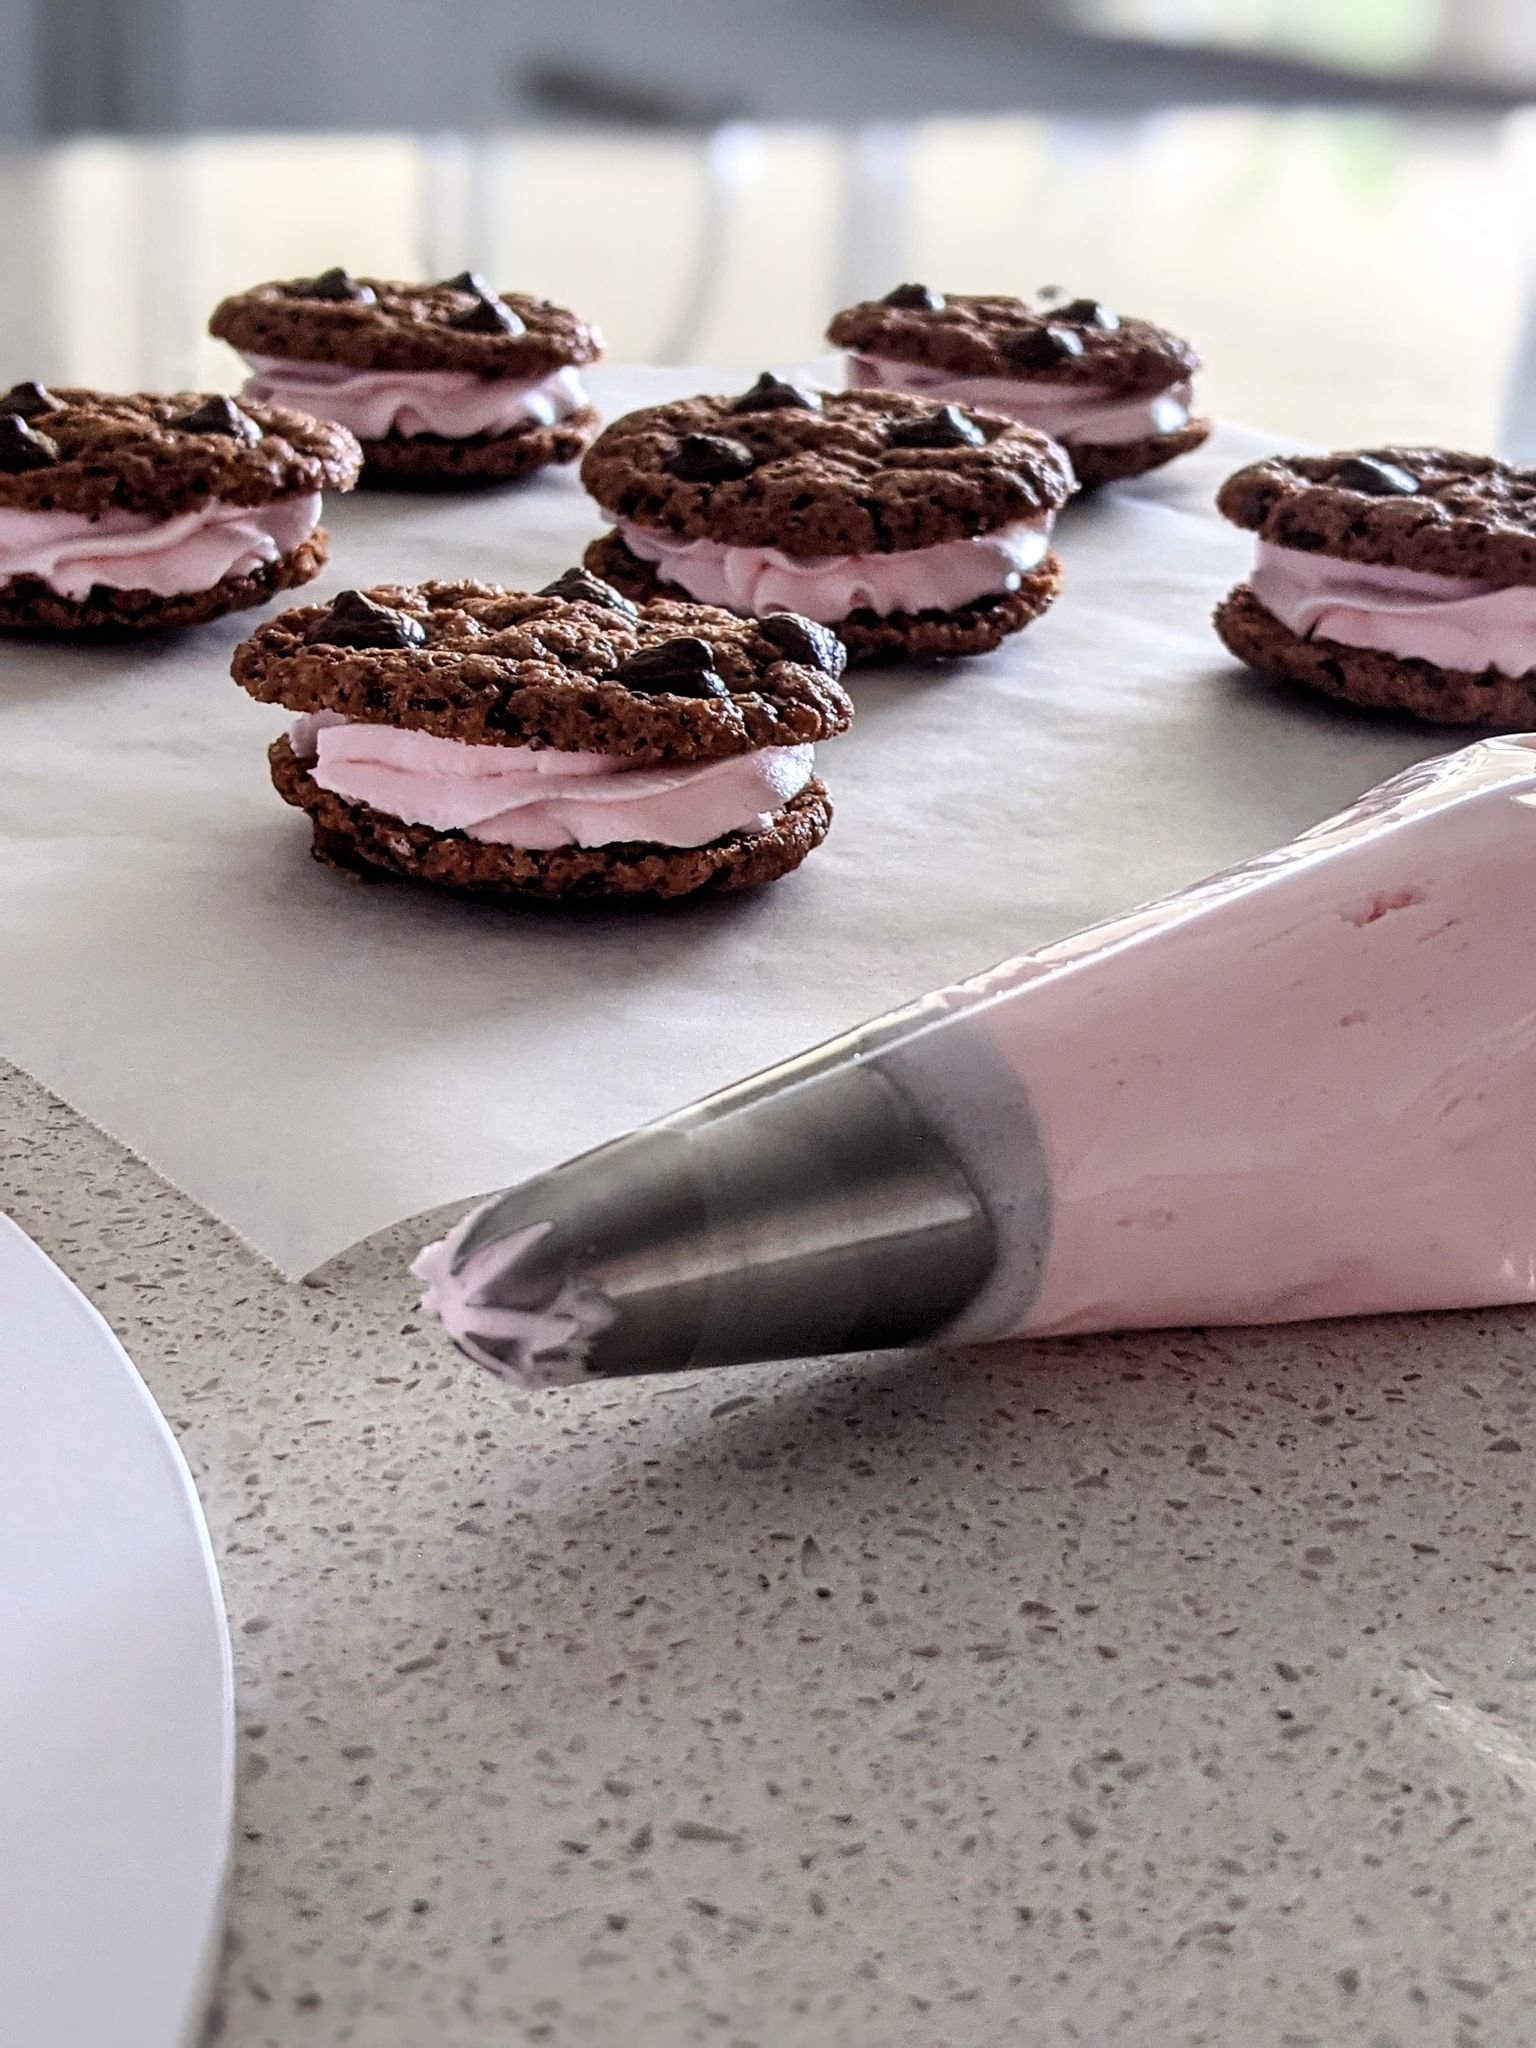
We created mini cookies using our recipe variation and filled them with an icing swirl. We then attached them with a small squirt of icing.
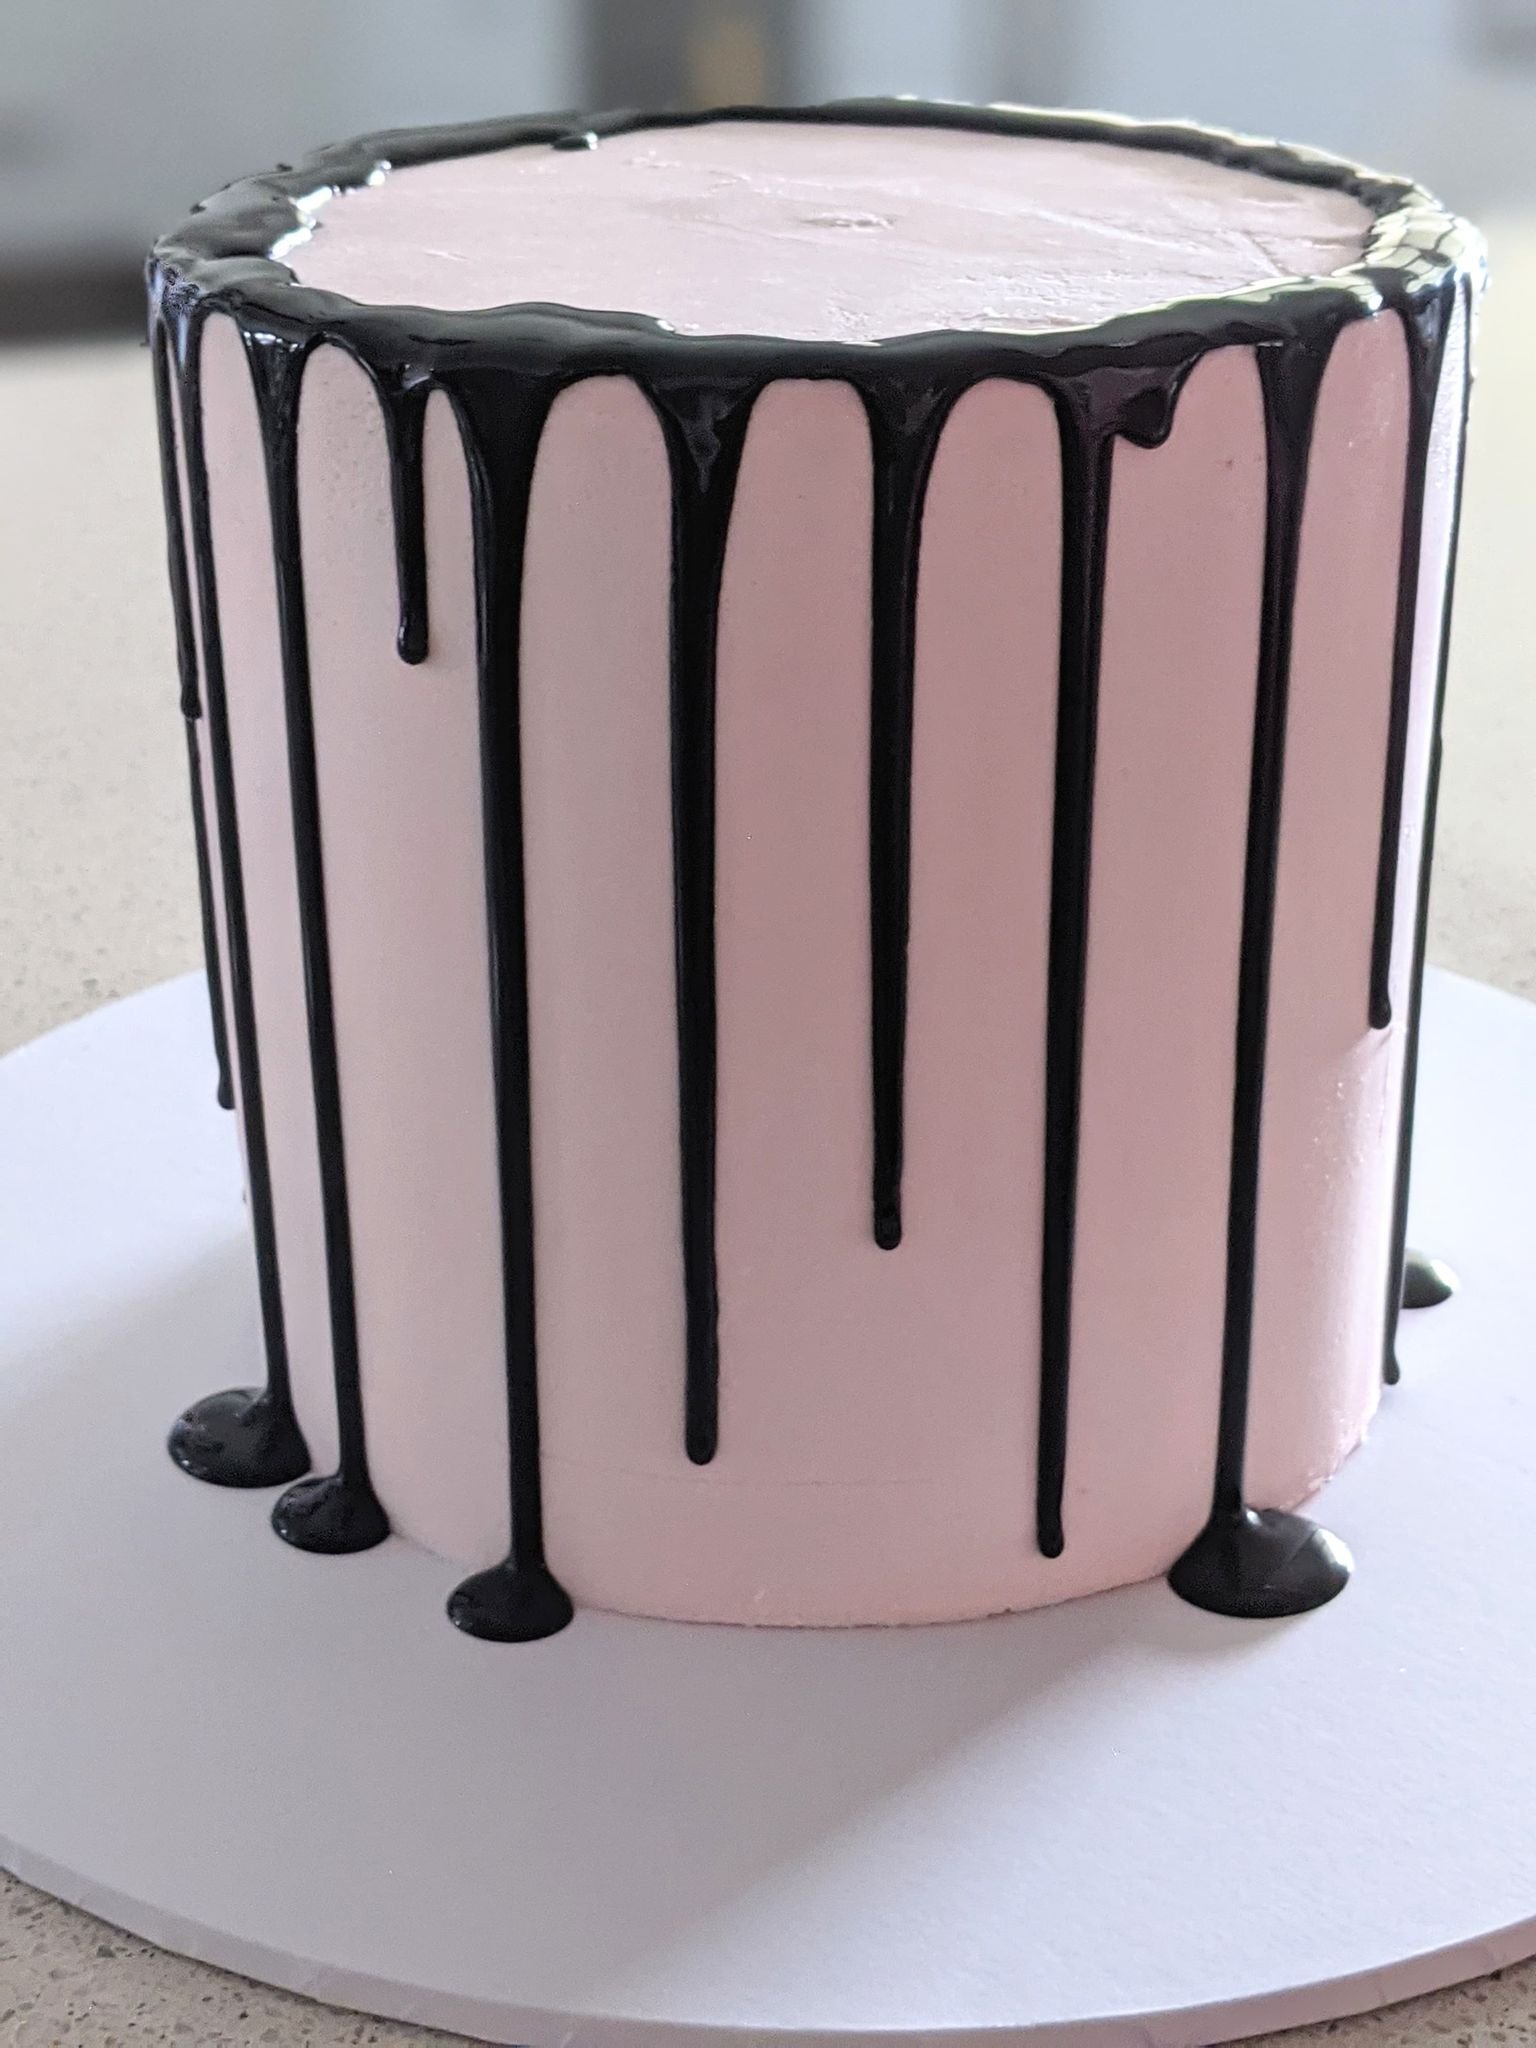
It is that simple!
See our visual step by step instructions below.


Decorating